How to Replace a Build Surface – V1.1 Data:06/16/2020
- 1 / 3 -
www.raise3d.com
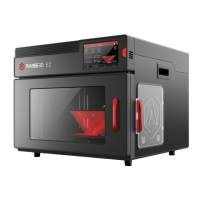
Manual Pro 2 Series – How to Replace a Build
Surface – V1.1
Replacing the build surface on the Rasie3D Pro 2 and Pro 2 Plus 3D printers is a straight-forward
process. The three main steps to replace the build surface on the Pro 2 Series 3D printers are
removing the build plate, cleaning the build surface, and reinstalling the build plate. Raise3D
generally recommends replacing the build surface every 3 months. However, the replacement
depends on how heavily it is used.
Required Tools:
①Scraper
Step I: Removing the Build Plate
1. Remove the build plate from the printer and place it gently on a flat workplace.