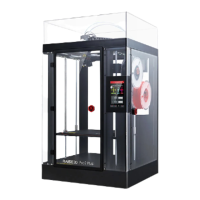
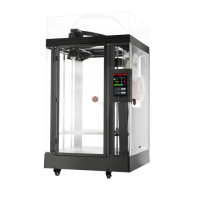
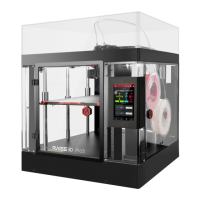
Pro2-Series 3D Printer
/ Quick Start Guide
H. Dual-Extruder Print - Slicing (continued)
Confirm your printer type and materials for both extruders, then select the standard
slicing template.
Click “Edit” to select the type of Platform Addition and the type of Support.
5
Choose the other model and set Extruder as the Right Extruder using the 'Model Info' window.
3
Click the "Start" or “i” button to begin the slicing of the model.
4
01 02
03 04 05 06
07 08 09 10
11 12 13 14
15 16 17 18
19 20 21 22
23 26
24 25
27