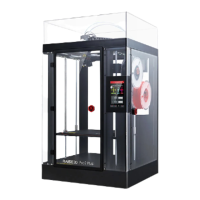
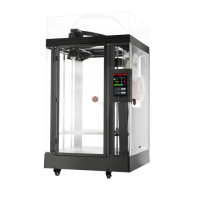
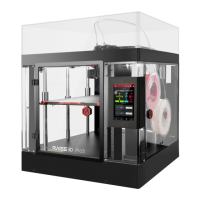
Pro2-Series 3D Printer
/ Quick Start Guide
B. Hardware Installation (continued)
Re-install the thumb screws, rotating
clockwise, to lock the build plate into position.
Slide the build plate onto the Z platform with
the logos facing upwards, and the handle edge
facing the front of the machine.
12
13
01 02
03 04 05
06
07 08 09 10
11 12 13 14
15 16 17 18
19 20 21 22
23 26
Using the included spatula, remove the
leveling calibration model from your
build plate.
11
24 25
27