354 IN CASE OF EMERGENCY
4. Reach behind the headlamp and disengage
the access cover by rotating counter-
clockwise.
5. Disconnect the internal lamp wiring harness
connector from the high beam bulb.
6. Rotate the bulb counterclockwise a quarter
turn to unlock the bulb from the lamp.
7. Pull the bulb straight out from the housing.
8. Reverse the procedure for installation of
new bulb and covers.
Front Park And Turn
1. Open the hood.
2. Disconnect and isolate the negative battery
cable.
3. Look under the hood and behind the
headlamp to find the park and turn socket.
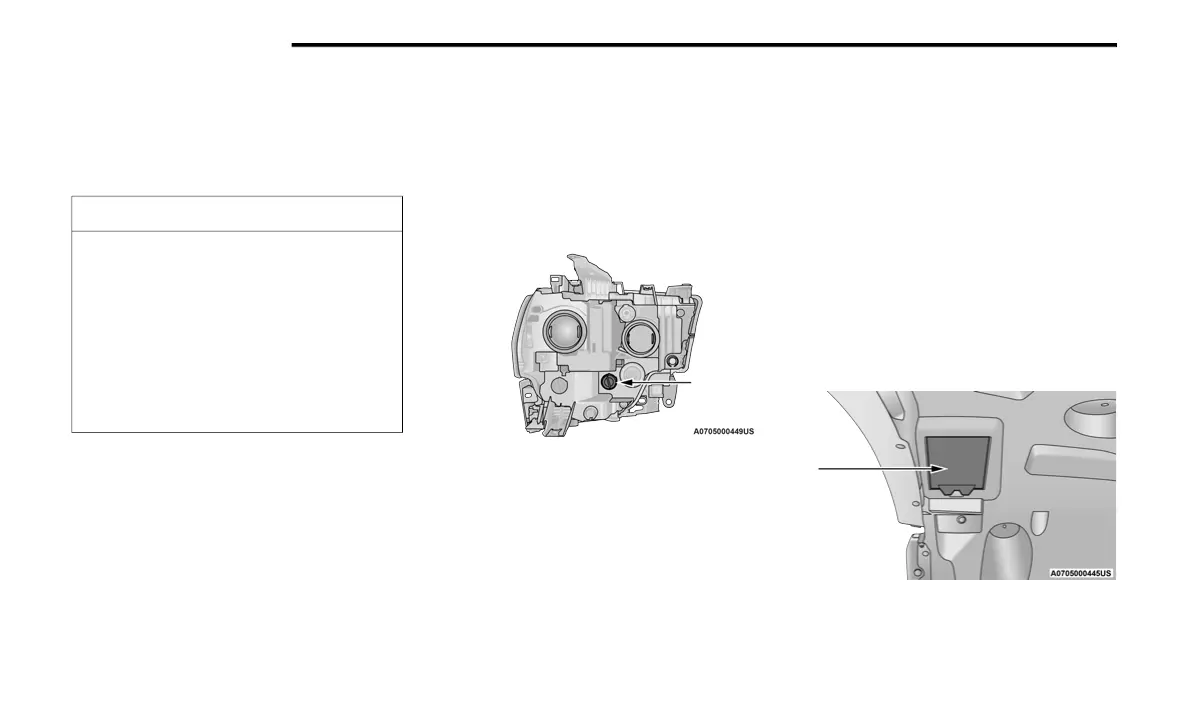
Park And Turn Socket
4. Reach behind the headlamp and unlock the
park and turn socket from the lamp by
rotating counterclockwise a quarter turn.
5. Pull the bulb straight out from the housing.
6. Separate the bulb from the socket without
twisting.
7. Reverse the procedure for installation of
new bulb and covers.
Side Marker Lamp
1. Open the hood.
2. Disconnect and isolate the negative battery
cable.
3. Reach into the front wheel house ahead of
the front wheel, remove the fastener, and
lift the cover over the access hole in the
front of the wheel house splash shield.
Access to the rear of the lamp can be gained
through this access hole.
Splash Shield Access Cover
CAUTION!
Do not contaminate the bulb glass by
touching it with your fingers or by allowing it
to contact other oily surfaces. Shortened
bulb life will result.
Always use the correct bulb size and type
for replacement. An incorrect bulb size or
type may overheat and cause damage to
the lamp, the bulb socket, or the lamp
wiring.
20_DJD2_OM_EN_USC_t.book Page 354