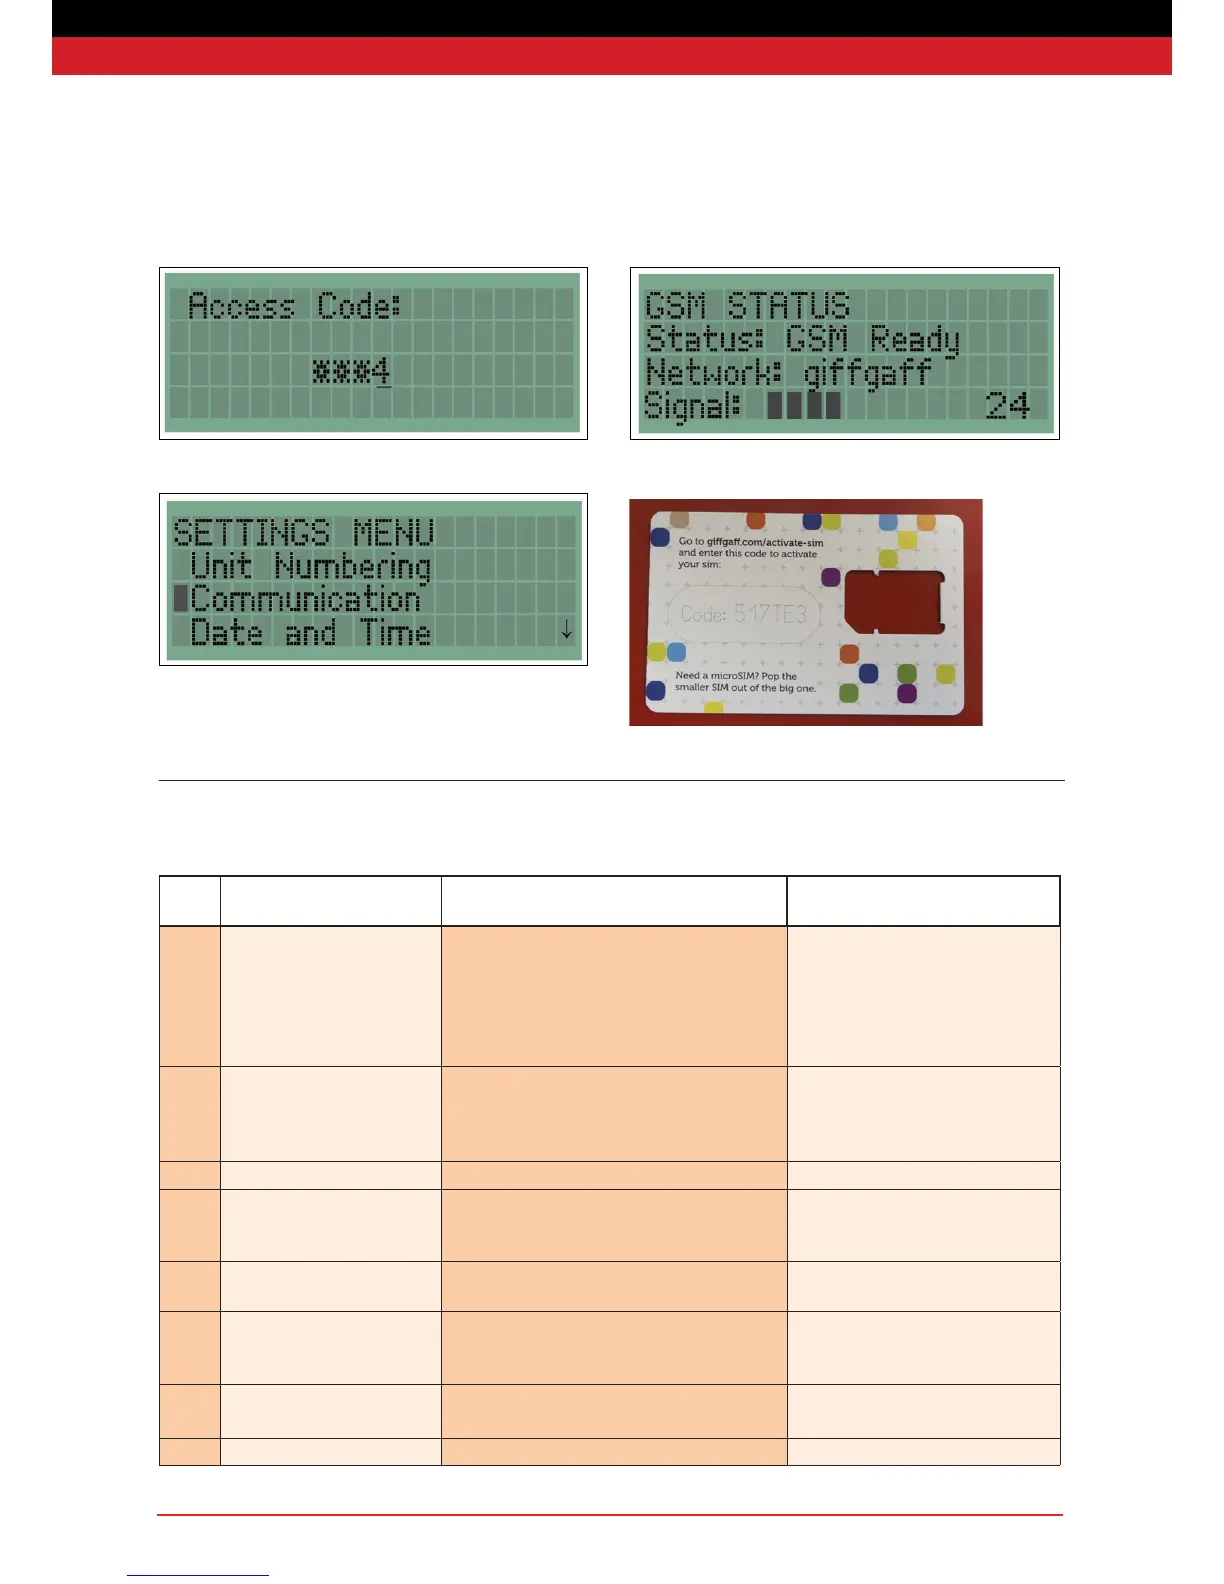
Now select Communication from the Menu.
On the next menu select GSM-Status. Wait a short time for the unit
to nd a signal. If the unit fails to nd a signal - go back to the
beginning and start the process again.
In case of any problem with the sim card, cello tape the reaming
packaging to the back of your unit (as shown below).
Your unit is now ready to use.
Final Testing
Step
No.
Action Pass criteria Notes
1. Hold unit at on workbench.
Hold button “A” and press ‘B’
three times in quick succession
Red, Amber and Green LEDs simultameously ash
three times.
Amber LED then ashes in groups of 3
Brings unit out of “Transit’ mode.
If amber LED ashes in groups of 4 then
ensure back tamper is held down rmly
and wait for 10 seconds or until ashes
are in groups of three.
2. Hold “A” button down on both
units. Release buttons when
LEDs units illuminate green.
Amber LEDs on both units illuminate, then turn to
green.
This pairs the units with the re point to
test the radio communication and
conrms that the internal tamper is not
active.
3. Intermittent ashing green LED Green LED ashes once every four seconds Indicates no fault warnings are active.
4. Press the manual call point on
captive test re point
Check that unit sounds and strobe ashes, or display
and captive re point strobe ashes
Alarm has been raised by the unit and
a message has been sent via radio to
captive re point.
5 Reset manual call point Amber LED will ash in groups of 5, within 5 seconds
of call point reset.
Units in re-arm mode
6. Stand unit up (to release back
tamper), then hold ‘A:’ and press
“B” three in quick succession.
Red, Amber and Green LEDs simultaneously illumi-
nate and then extinguish
Unit in transit mode
SIG Low Signal Unit NNN has a low radio signal Yes
TST Silent Test Unit NNN initiated a Silent Test Yes