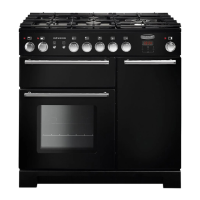
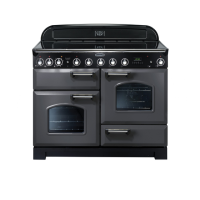
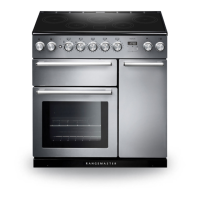
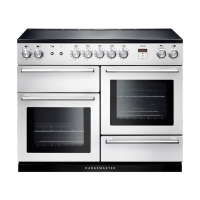
10
Please read and follow the manufacturers’ instructions
carefully before using cookware on your induction hob.
The Grill / Glide-out Grill
CAUTION: This appliance is for cooking purposes
only. It must not be used for other purposes, for
example room heating.
CAUTION: Accessible parts may be hot when the grill
is in use. Young children should be kept away.
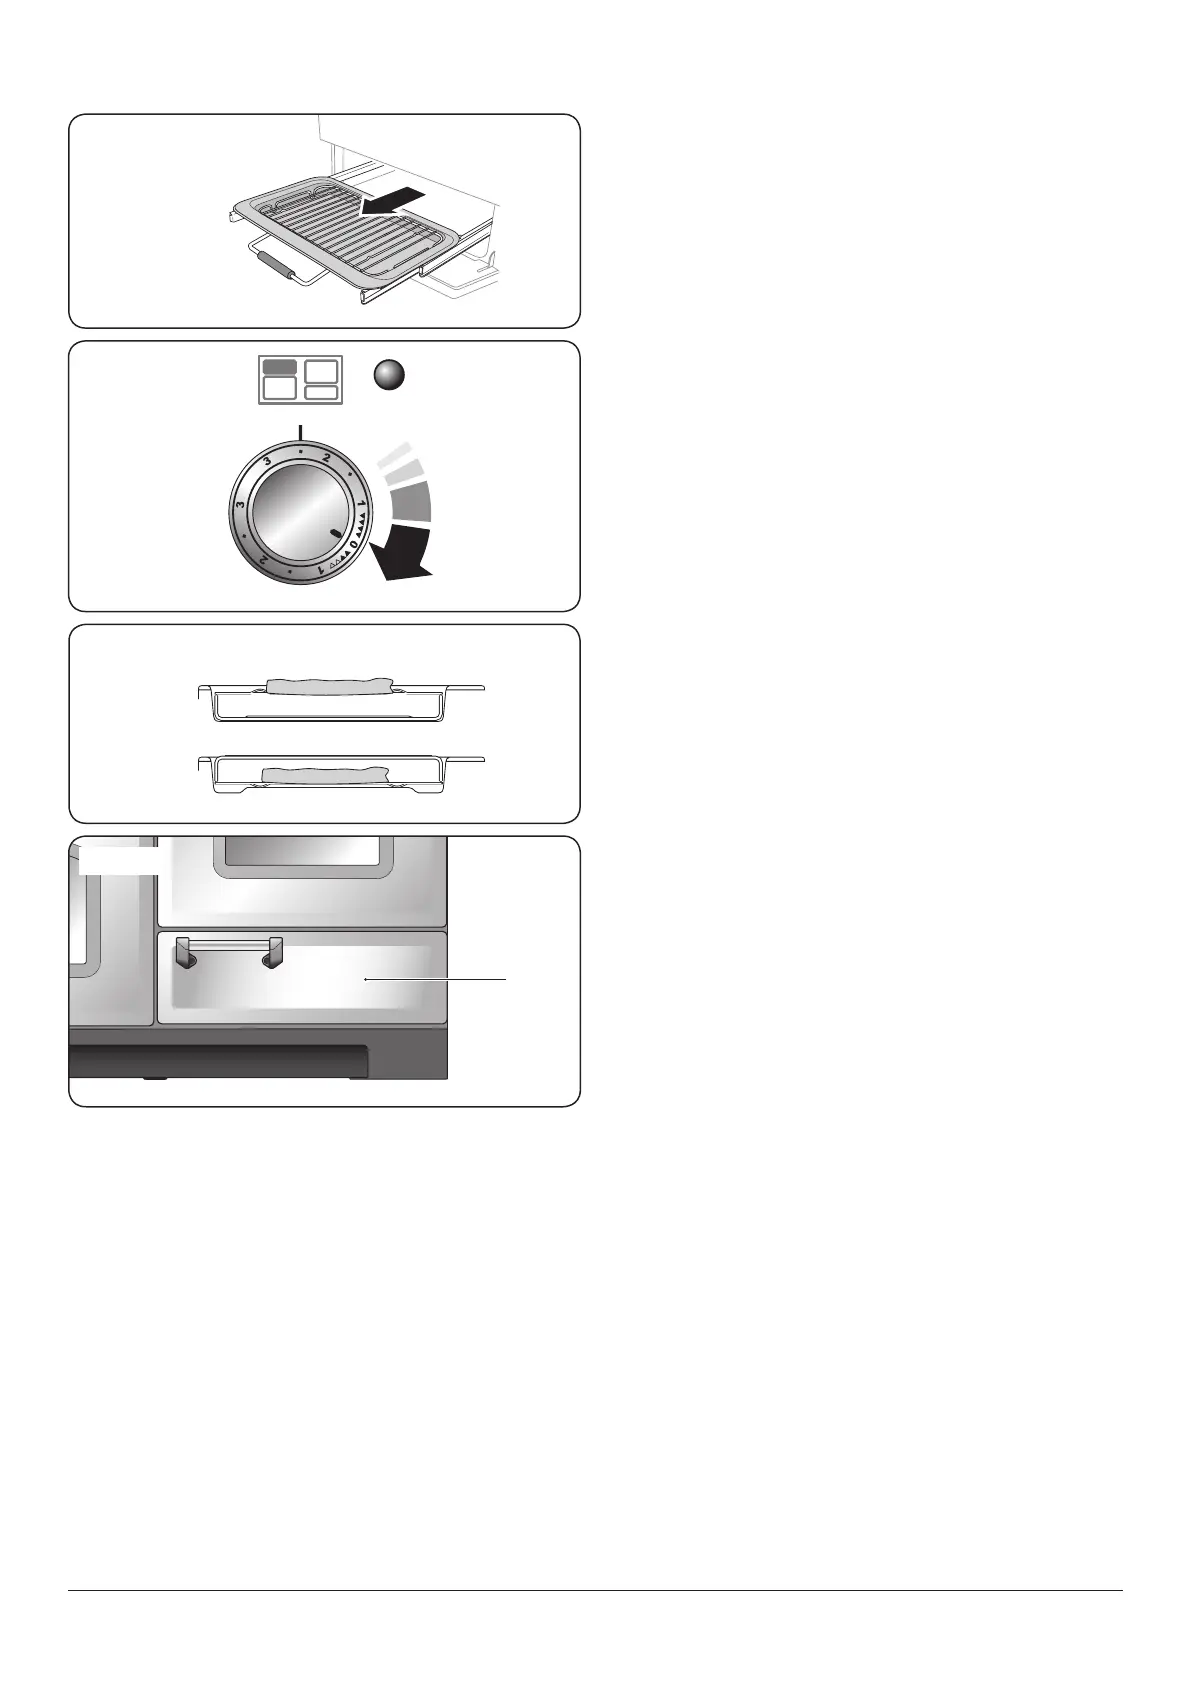
Open the door and pull the grill pan carriage forward using
the handle (Fig. 2.9).
The grill has two elements that allow either the whole area of
the pan to be heated or just the right-hand half.
Adjust the heat to suit by turning the knob. To heat the whole
grill, turn the knob clockwise (Fig. 2.10).
To heat the right-hand half, turn the knob counter-clockwise.
The neon indicator light by the grill control will come on.
For best results, slide the carriage back into the grill chamber
and preheat the appropriate part(s) of the grill for two
minutes. The grill trivet can be removed and the food placed
on it while you are waiting for the grill to preheat.
DO NOT leave the grill on for more than a few
moments, without the grill pan underneath it,
otherwise the knobs may become hot.
Once the grill has preheated, slide the carriage out again.
With the trivet back in place with the food on it, slide the
carriage back into the grill chamber. Make sure that it is
pushed right in.
The grill pan trivet can be turned over to give two grilling
positions (Fig. 2.11).
NEVER close the grill door when the grill is on.
Storage Drawer
The bottom drawer is for storing oven trays and other
cooking utensils (Fig. 2.12).
NEVER store ammable materials in the drawer.
This includes paper, plastic and cloth items, such
as cookbooks, plastic ware and towels, as well as
ammable liquids.
DO NOT store explosives, such as aerosol cans, on or
near the appliance.
Flammable materials may explode and result in re
or property damage.
ArtNo.331-0001Grill pan pulled forwards
ArtNo.331-0002 Grill pan high/low position
Fig. 2.9
Fig. 2.10
Fig. 2.11
Fig. 2.12