EasyManua.ls Logo

Raymarine 150/400 User Manual

Raymarine 150/400
64 pages
To Next Page IconTo Next Page
Page #1 background imageLoading...
Page #1 background image
Type 150/400
Autopilot
System
Installation Guide
Document number: 81173-3
Date: June 2001
81173_3.book Page i Thursday, June 7, 2001 11:51 AM

Table of Contents

Question and Answer IconNeed help?

Do you have a question about the Raymarine 150/400 and is the answer not in the manual?

Raymarine 150/400 Specifications

General IconGeneral
BrandRaymarine
Model150/400
CategoryAutopilot System
LanguageEnglish

Summary

Important Information

Critical Safety Warnings and Precautions

Critical warnings regarding product installation, electrical safety, calibration, and navigation aid usage.

Step 1: Check the Installation Kit

Step 2: Check Locations

Identify Suitable Component Locations

Determine appropriate mounting positions for system components, considering environmental and operational factors.

Step 3: Install the Course Computer

Select Course Computer Location

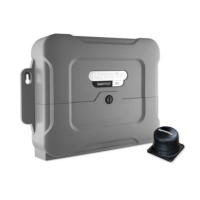
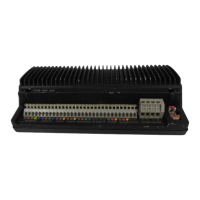
Choose an appropriate mounting location for the course computer, considering dimensions and environmental factors.

Attach Power Cables to Course Computer

Connect the power supply cables to the course computer, ensuring correct polarity and safety.

Step 4: Install the Compass

Select Compass Mounting Location

Identify the optimal mounting position for the fluxgate compass to ensure accurate readings.

Step 5: Install the Rudder Position Sensor

Rotary Rudder Position Sensor Installation

Detailed instructions for installing the rotary type rudder position sensor.

Step 9: Integrate the System

Set Up the Autopilot System

Procedure for configuring and setting up the autopilot system after installation.

Maintenance

Autopilot System Fault-Finding

Troubleshooting common issues and symptoms related to the autopilot system.

Related product manuals