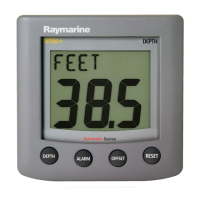
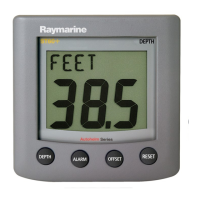
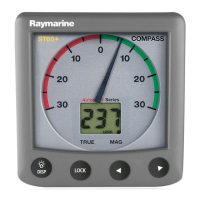
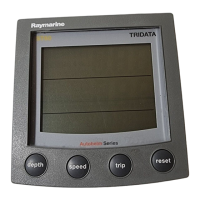
20 ST60 Tridata Instrument Owner’s Manual
Fitting the low-profile bezel
In order to flush-mount your ST60 instrument, you must first replace the
standard bezel with the low-profile bezel as follows:
1. Hold the instrument in both hands with the display towards you.
2. Using both thumbs, gently press an upper corner of the instrument
from the bezel, then remove the bezel from the instrument. Retain the
rubber keypad which is released when the bezel is removed.
3. Referring to the Fitting the low-profile bezel illustration, place the
instrument face upwards on a flatsurface and placetherubber keypad
(7) in position around the display window (i.e. so that each key out-
line is located over its associated key on the instrument).
4. Snap the low-profile bezel (8) in position over the instrument, so that
the rubber keys are correctly located in the holes on the bezel.
CAUTION:
Itisessential thatonly screws of the correct size are used to securethe
instrument to the bezel. Failure to observe this caution could result
in damage to both the instrument and the bezel.
5. Using the four, self-tapping screws (9) provided, secure the instru-
ment andbezel together. Fit the screws from the rear of the instrument
and tighten them sufficiently to secure the instrument and bezel
together. DO NOT OVERTIGHTEN.
D4537-2
81040_1.book Page 20 Thursday, November 7, 2002 10:21 AM
 Loading...