Note: For further assistance, please
refertopage5forpartsbreakdown.
3
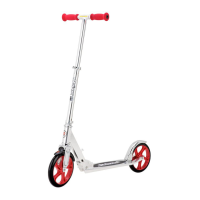
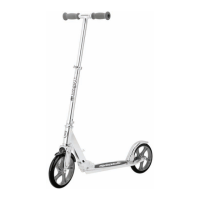
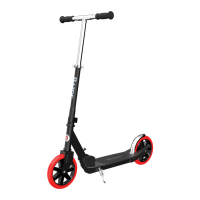
SET-UP AND USAGE
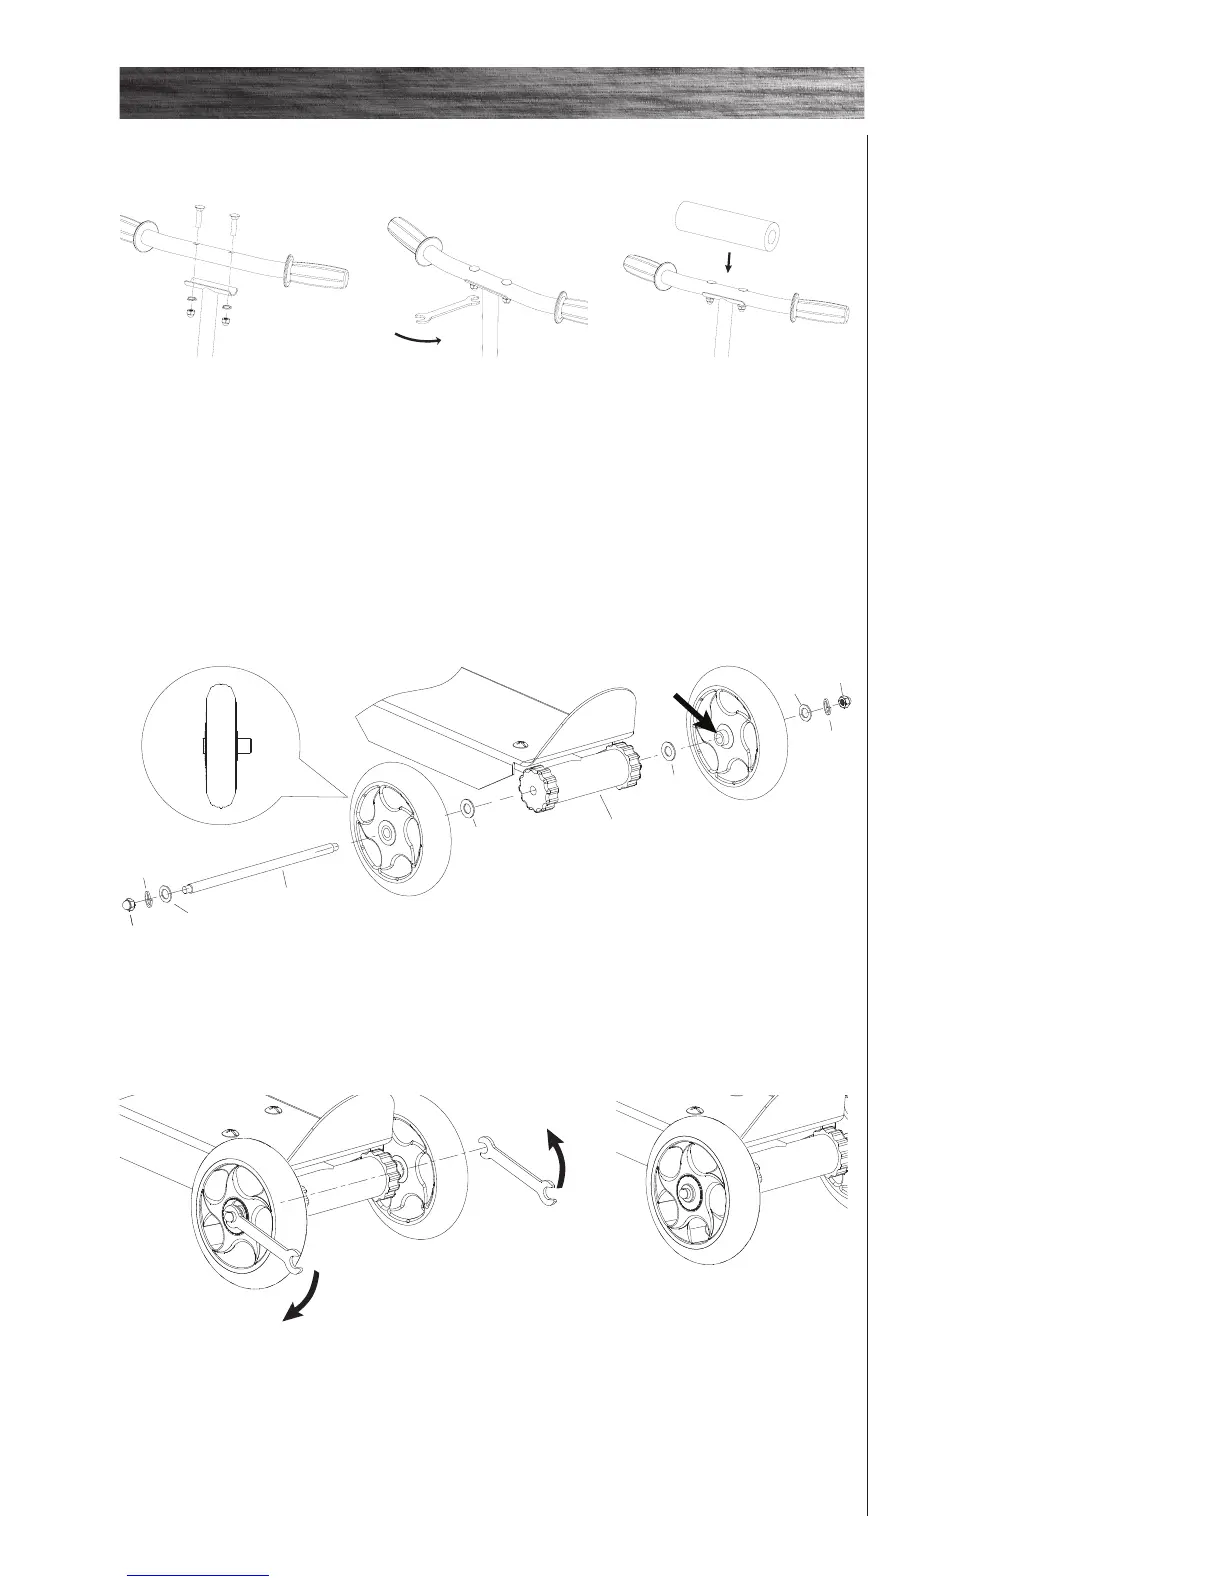
2 Place the handlebar pad over the
handlebars and secure tightly with
the velcro cover.
1 Align the holes on the handlebars and the T-tube. Insert handlebar bolts
into the top of the handlebar and through the T-tube. Install the washers
and nuts onto the bottom of the handlebar bolts. Tighten securely into place
usinga10mmwrench.
q Assembling the Handlebars
ToolsNeeded:10mmwrench
3-1
3-2
3-3
3-4
3-5
3-5
3-3
3-1
3-2
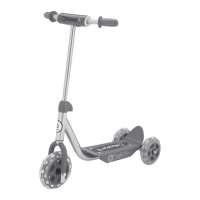
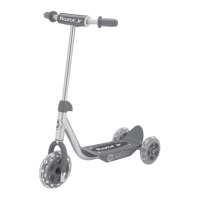
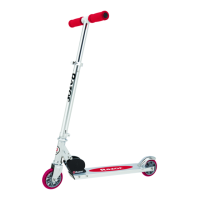
q Assembling the Rear Wheels
ToolsNeeded:(2)10mmwrenches
1 Removethelocknut,springwasherandwashers(x3)from one sideoftheaxlebolt.Inserttheaxleboltthrough
therearwheelmakingsurethelongspaceronthewheel(refertoarrowabove)isfacingtowardstheframe.Insert
thelargewasher(3-5)ontotheaxleboltbetweentheframeandrearwheelandslidetheaxleboltthroughtheframe.
Slidetheotherlargewasherandwheel(withthelongspacerfacinginwardstowardstheframe)ontotheaxlebolt.
2 Insertthesmallwasher(3-3),springwasher(3-2)andlocknut(3-1)onto
theaxleboltandtightensecurelyusing(2)10mmwrenches.
3 Make sure the locknut, spring
washer and small washer are securely
tightened against the wheel.
3-1-Locknut
3-2-Springwasher
3-3-Washer(small)
3-4-Axlebolt
Wheel
3-5-Washer(large)
Rear wheel hardware sequence
insideoutside
Frame