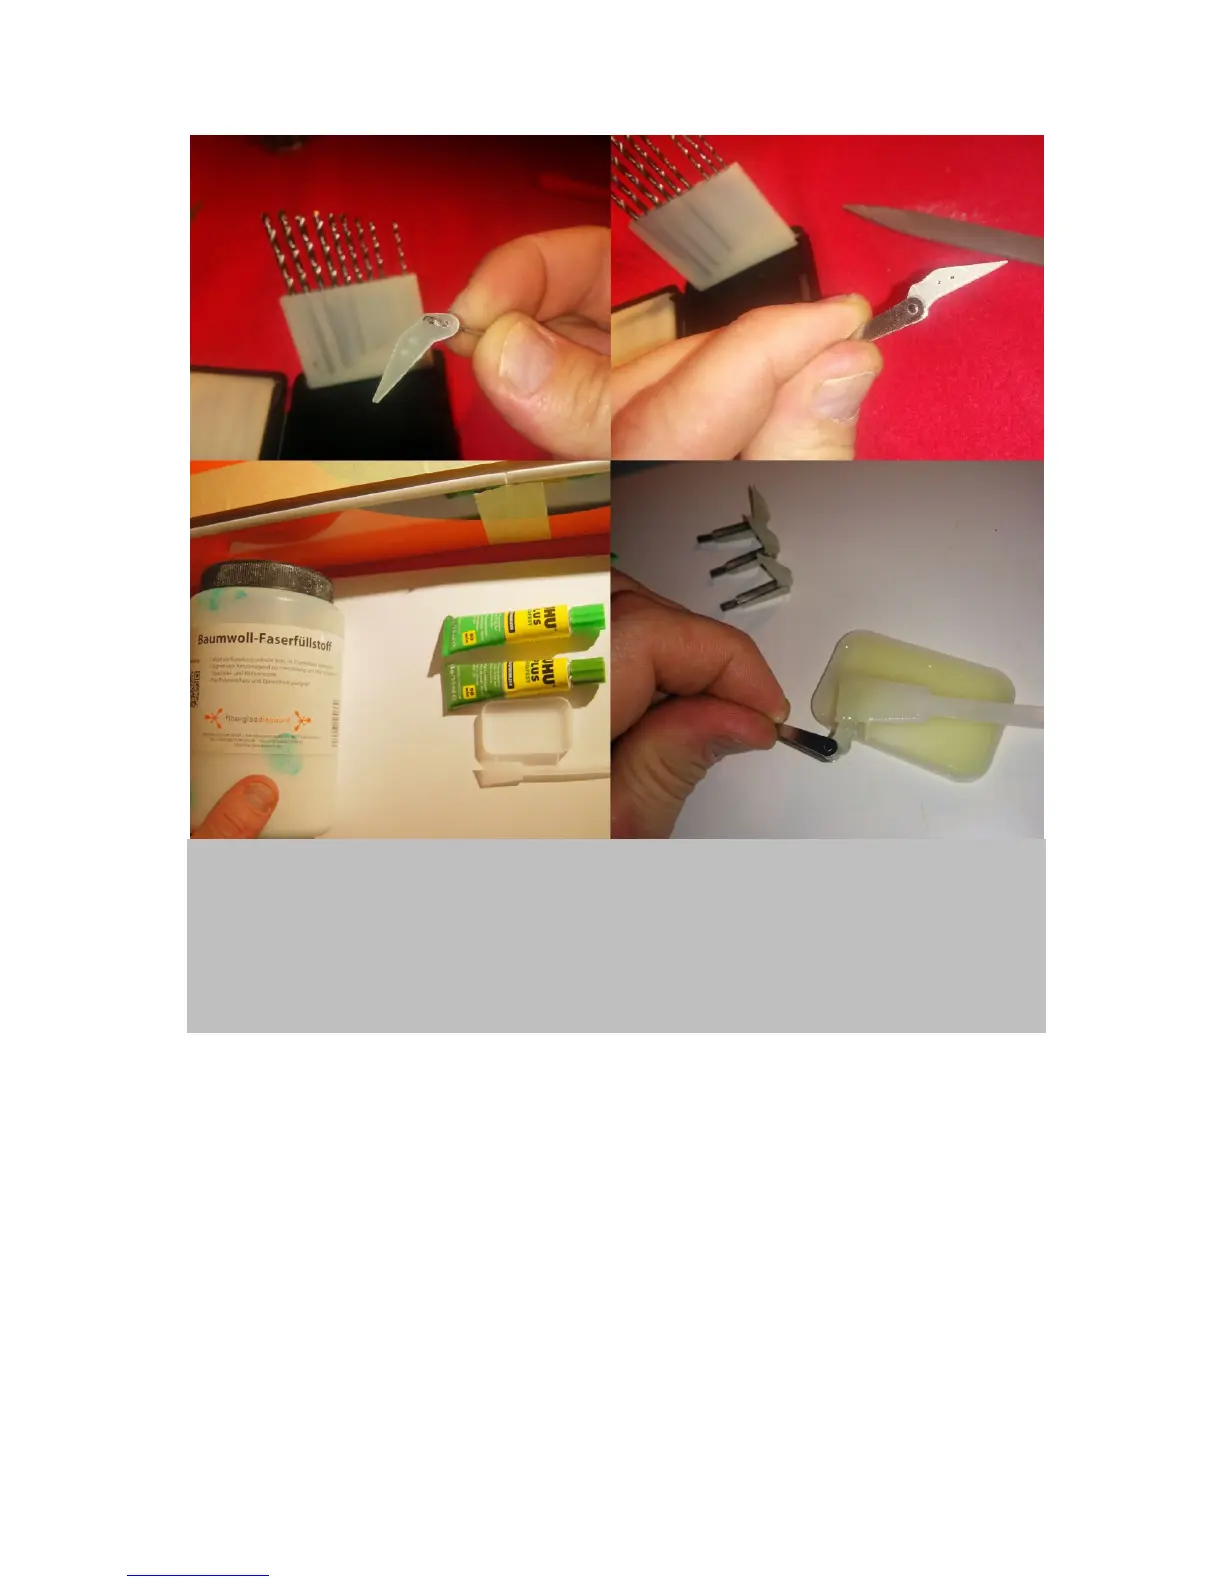
Figure 4. Prepare the control horns for flaps and ails. Measure the diameter of the little perpendicular rod
inside the clevises. Now choose a drill with a diameter slightly smaller than what you just measured and
carefully drill through the clevis-attachement hole of each control horn (upper left). Now the clevises can be
attached (upper right). Closing the clevises should not go easily, and once closed, it is totally fine if it is hard
to move each control horn within the respective clevis. This way tolerance will be at a minimum and the
movement capacity will be fine, eventually. Now you want to mix UHU endfest and distribute a medium
thick film of it on each of the control horns (lower panels). Be careful not to add resin onto the clevises.
However, if that happens you will still be able to break it later (before the resin is fully cured).
Subsequently glue the readily prepared control horns into the holes that were previously prepared
in the the flaps’ and the ails’ shear webs. The flaps will need 70-80˚ downward/and only a few mm
upward travel, whereas the ails will need over 10 mm upward and a little less than that downward
travel. Therefore, the positioning for flap and ail control horns is different. I have prepared a scheme
and one should exactly follow the scheme when fixing the horns with the slow curing extra strong
UHU endfest. See figure 5.