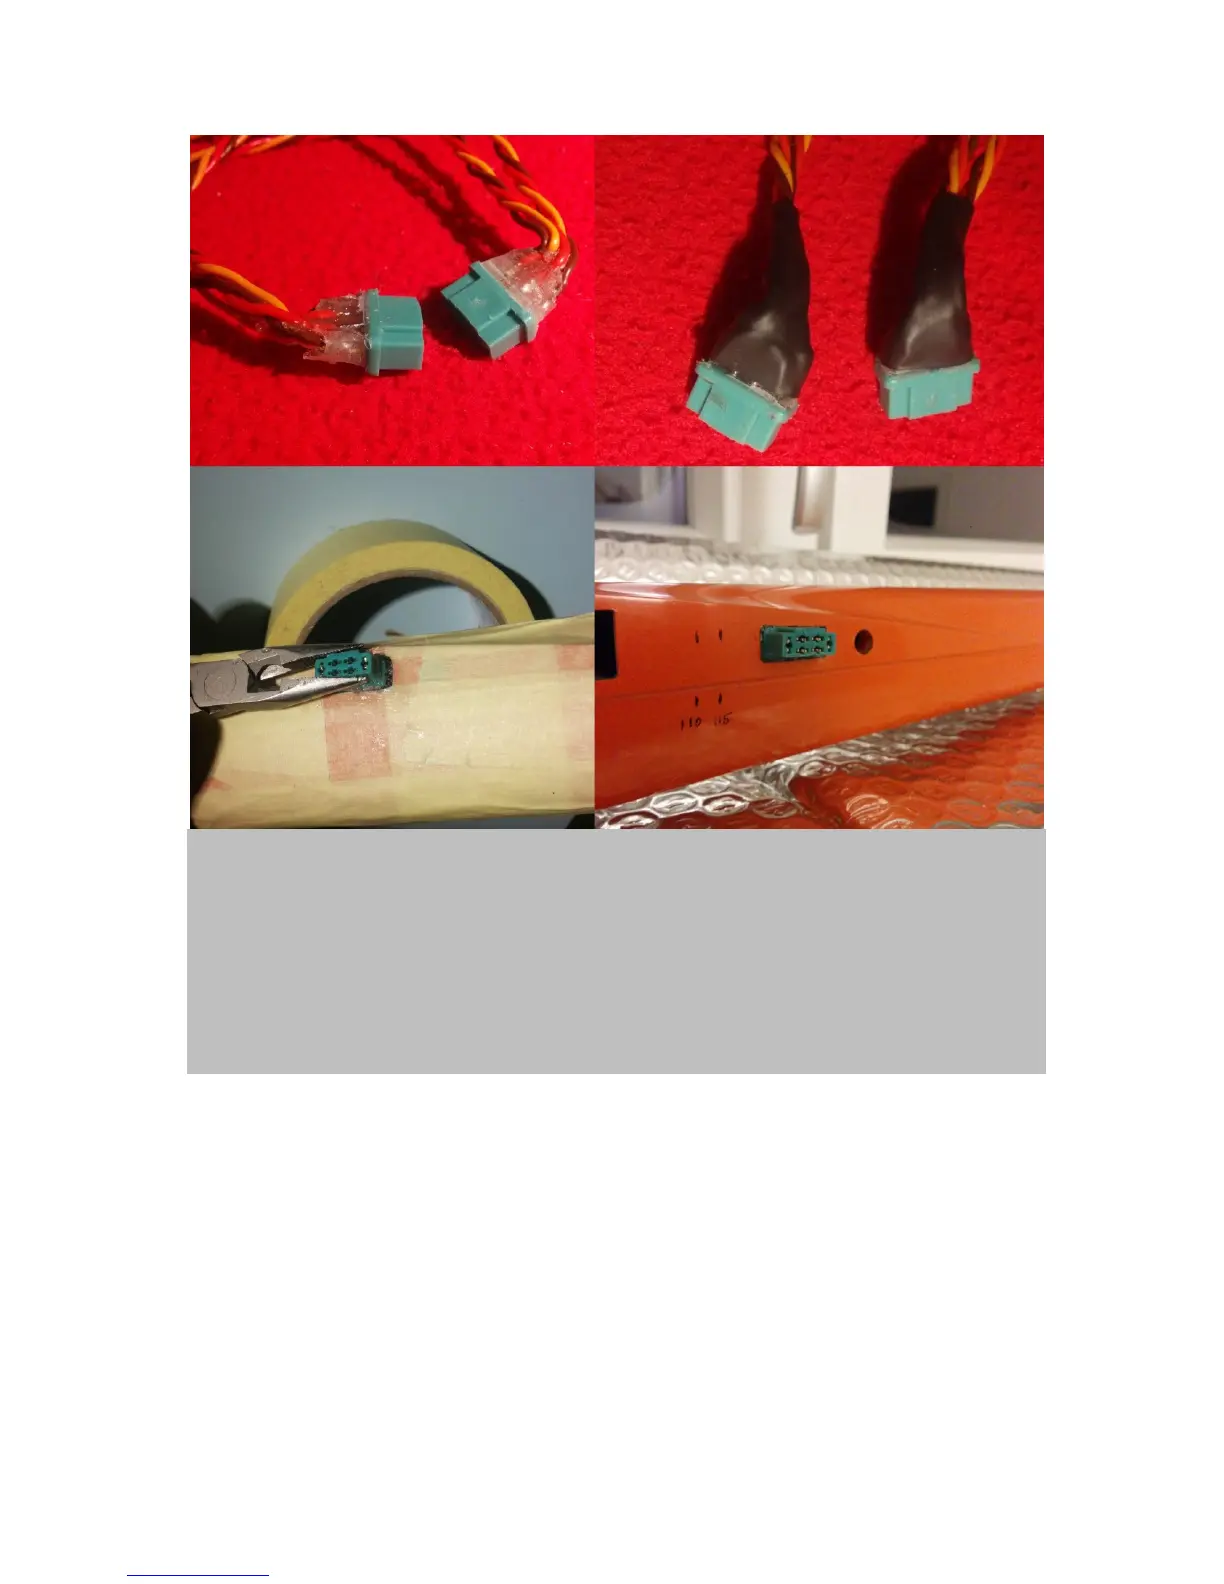
Figure 14.: Mount the fuselage sided multiplex plugs: Solder the receiver cables to the plugs as described
for the wing sided ones (figure 11). This time seal them with very little epoxy to achieve a short length
because there is little space in the fuselage (upper left). Additionally, cover in shrink tubeing for extra
protection (upper right). Before you start your work on the fuselage, completely protect it by masking tape.
Now adjust the fuselage sided plug opening with a file so that the plug shows a snug fit in there. Use 5 min
epoxy to fix the plugs in the fuselage. Smear a thick layer of the epoxy onto each plug and each opening.
Wait until the epoxy is semi cured, insert plugs into opening and hold with pliers until epoxy has cured
enough to release the plug (lower left). This will take a minute or so if you waited long enough before. Of
course you can also prepare a holder template and use this to fix the plug until epoxy is cured. End result
(lower right).
(Making and) mounting the servo board
The Strega fuselage is quite narrow, which helps to achieve excellent aerodynamics. So, before you
start with any RC equipment installation procedures you need to know the kind of battery, receiver,
servos and switch e.t.c., e.t.c. that you will want to use. Put it all into the fuselage and keep in mind
that there still needs to be space behind the servo board for ballast tube mounting and in front of all
RC gear for the nose ballast. In my case I used the following lineout, see figure 15.