26
11. Operation
Fig 11.21
Fig 11.22
Using Additional Support
When surfacing planing small workpieces, extra care must be taken to keep
the hands a safe distance from the cutter block. If a workpiece is too small
to be held with both hands, the supplied push block can be used to hold
the timber as shown in Fig. 11.21, providing the timber is large enough to
allow the push block to sit fully upon it.
10 mm
Fig 11.19
Fig 11.20
10 mm
10 mm
Fig 11.18
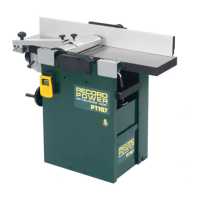
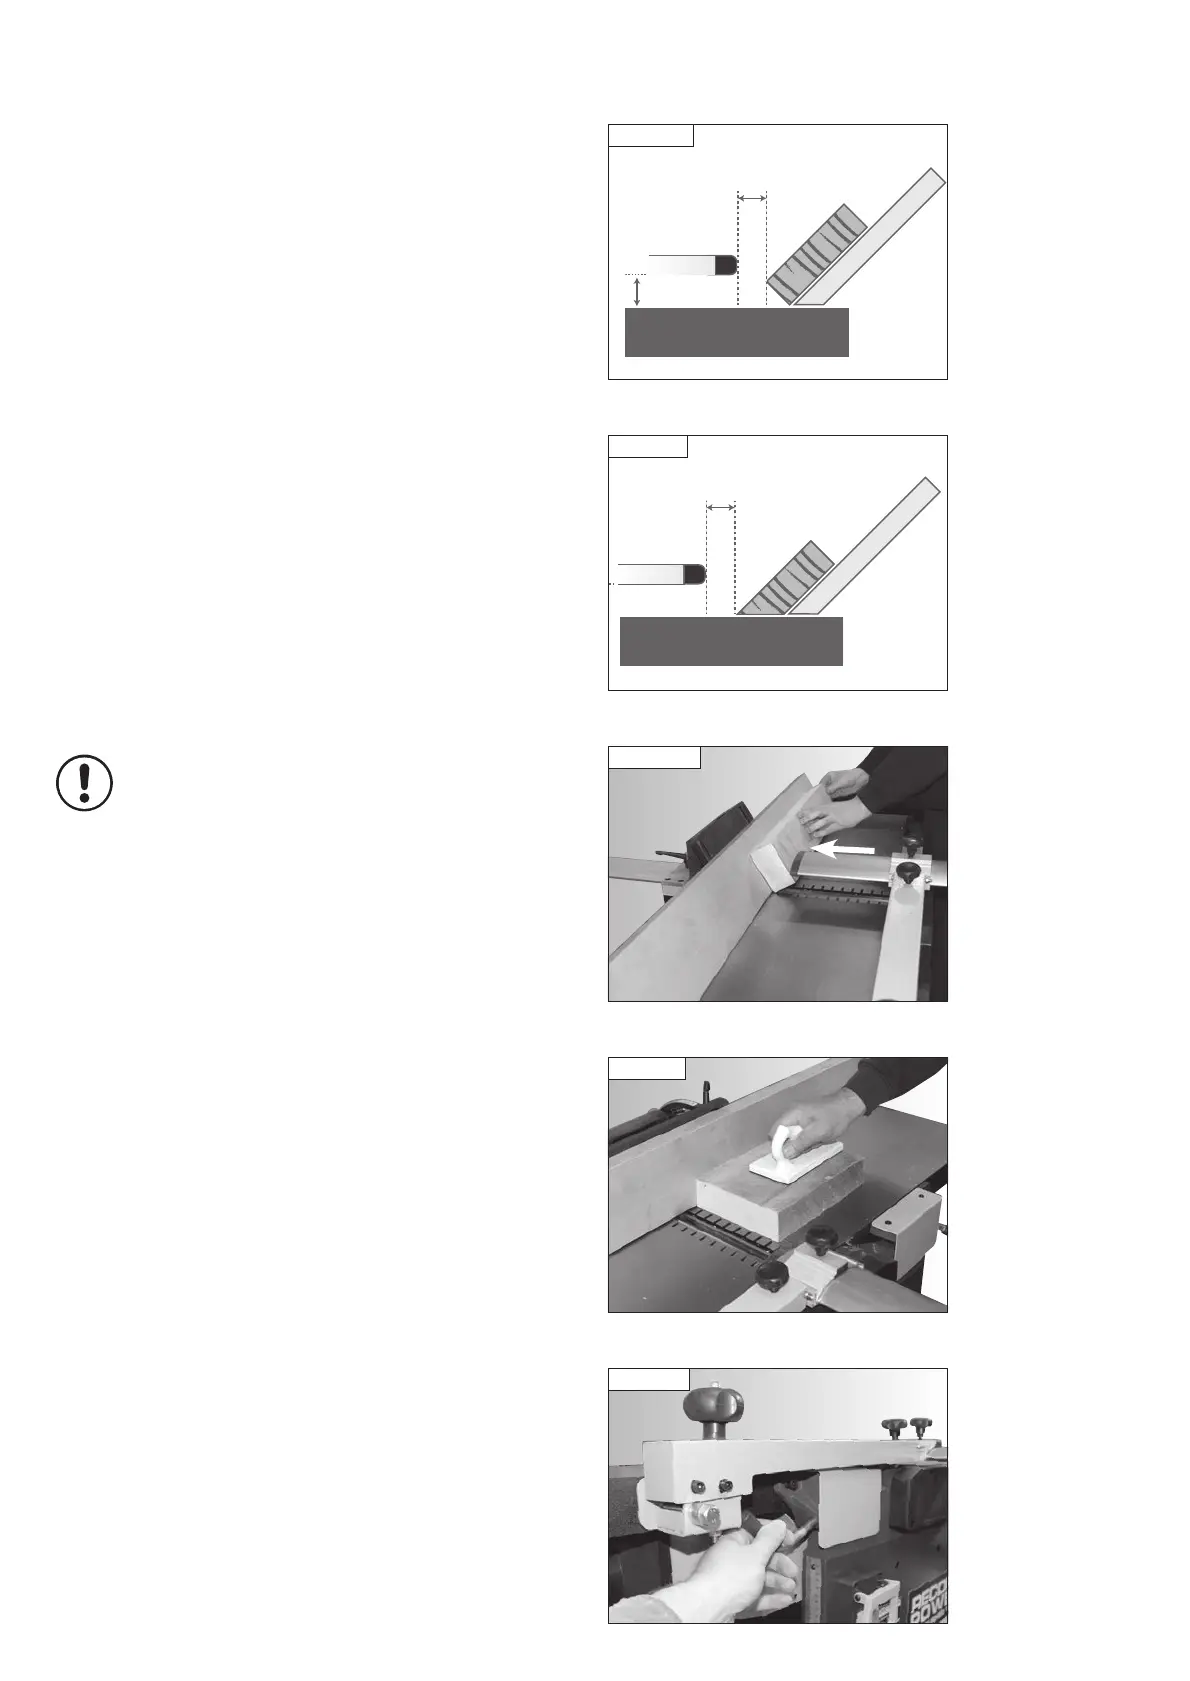
When bevelling, set the bridge guard as shown in Fig 11.18 and when
tapering as shown in Fig. 11.19. Due to the nature of the cuts to be made,
the guard cannot be placed as close to the timber and cutter block as when
surface planing. However, ensure that the guard is a maximum of 10 mm
from the timber and cutter block.
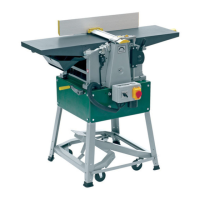
Adjust the fence to required angle and press the work piece against the
fence and guide evenly over the cutterblock, Fig. 11.20.
To ensure an accurate cut and help prevent the timber slipping, press the
workpiece mainly against the fence and only lightly against the
planing table.
Changeover from Planing to Thicknessing
Remove the planer fence before changeover. Ensure that the
thicknessing table is at least 160 mm below the cutterblock to
allow the extraction hood to move freely between the surface
planing and thicknessing positions.
Open the table lock, Fig. 11.22, of the outfeed table, pull out the
lever fully and lift up the outfeed table.
PT107 Manual 3.2.indd 26PT107 Manual 3.2.indd 26 25/04/2022 14:43:2025/04/2022 14:43:20