29
Outfeed Table Adjustment
Please note: The height of outfeed table is factory set. It
should only require adjustment in cases where other normal
adjustments to the planer knives have not rectified any
alignment issues.
Please note: Before carrying out any of the adjustments below,
ensure that the machine is switched off and that the power cord
is disconnected from the mains supply.
CAUTION! This procedure involves close contact with the planer
blades. Ensure that protective gloves are worn at all times to
prevent injury to hands.
Aligning the Outfeed Table
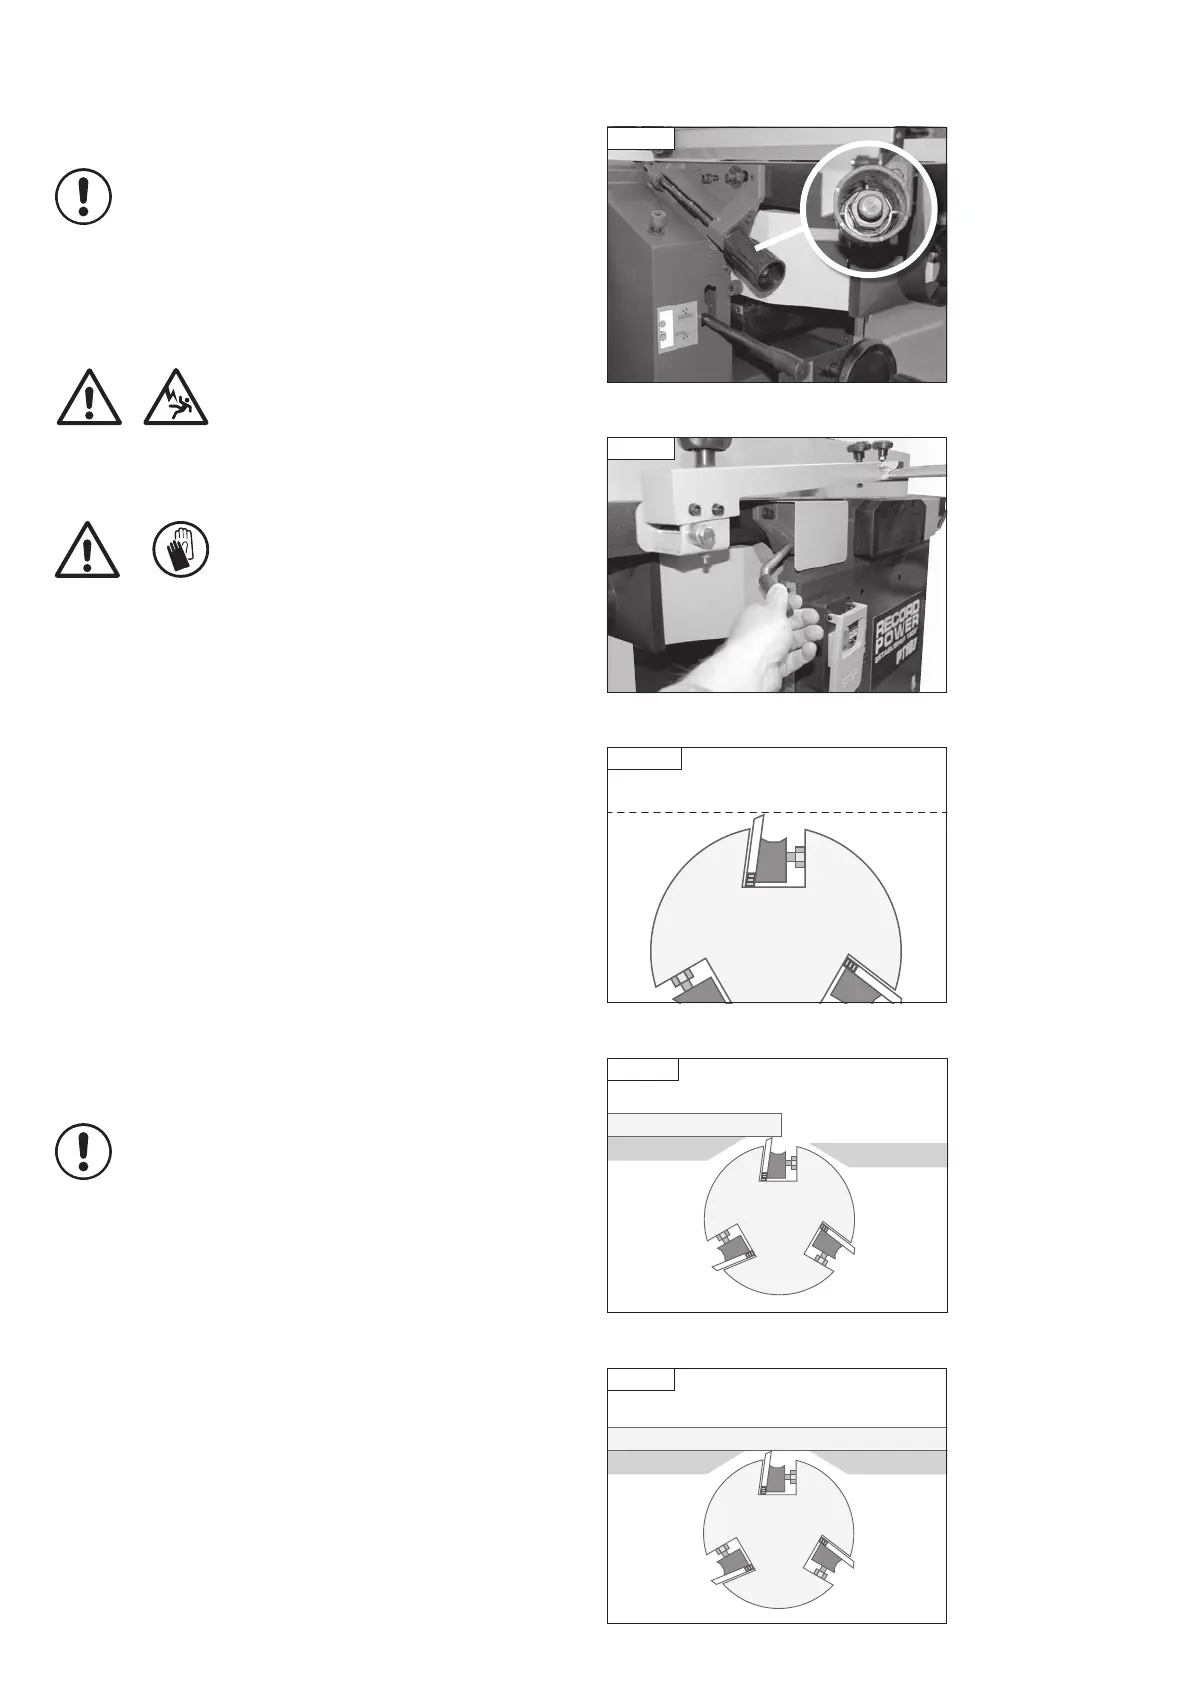
Loosen the two hex nuts inside the adjusting handle, Fig. 12.1.
Open the table lock, Fig. 12.2, and leave the table in the down position.
Remove the bridge guard to give access to the cutter block.
Rotate the cutter block so that one of the knives is at top dead centre.
A knife is at top dead centre when it is at its highest point during the
rotation as shown in Fig. 12.3.
Place a straight edge on the outfeed table, and using the adjusting handle,
position the table so that it is 0.1 mm (or as close as possible to 0.1 mm)
lower than the blade at its highest point, Fig. 12.4.
Re-tighten the table lock and 2 hex nuts in the adjusting handle.
Adjusting the Infeed Table
Before making any adjustments to the infeed table, ensure the outfeed table
is in the correct position as described above.
Place a straight edge across the outfeed table and the infeed
table, Fig. 12.5.
Note: The straight edge used must be long enough to span the
full length of both tables.
Fig. 12.3
Top Dead Centre
12. Adjustments & Maintenance
Fig 12.2
Fig 12.1
Fig. 12.4
Outfeed
table
Infeed
table
Straight edge
Fig 12.5
Outfeed
table
Infeed
table
Straight edge
PT107 Manual 3.2.indd 29PT107 Manual 3.2.indd 29 25/04/2022 14:43:4625/04/2022 14:43:46