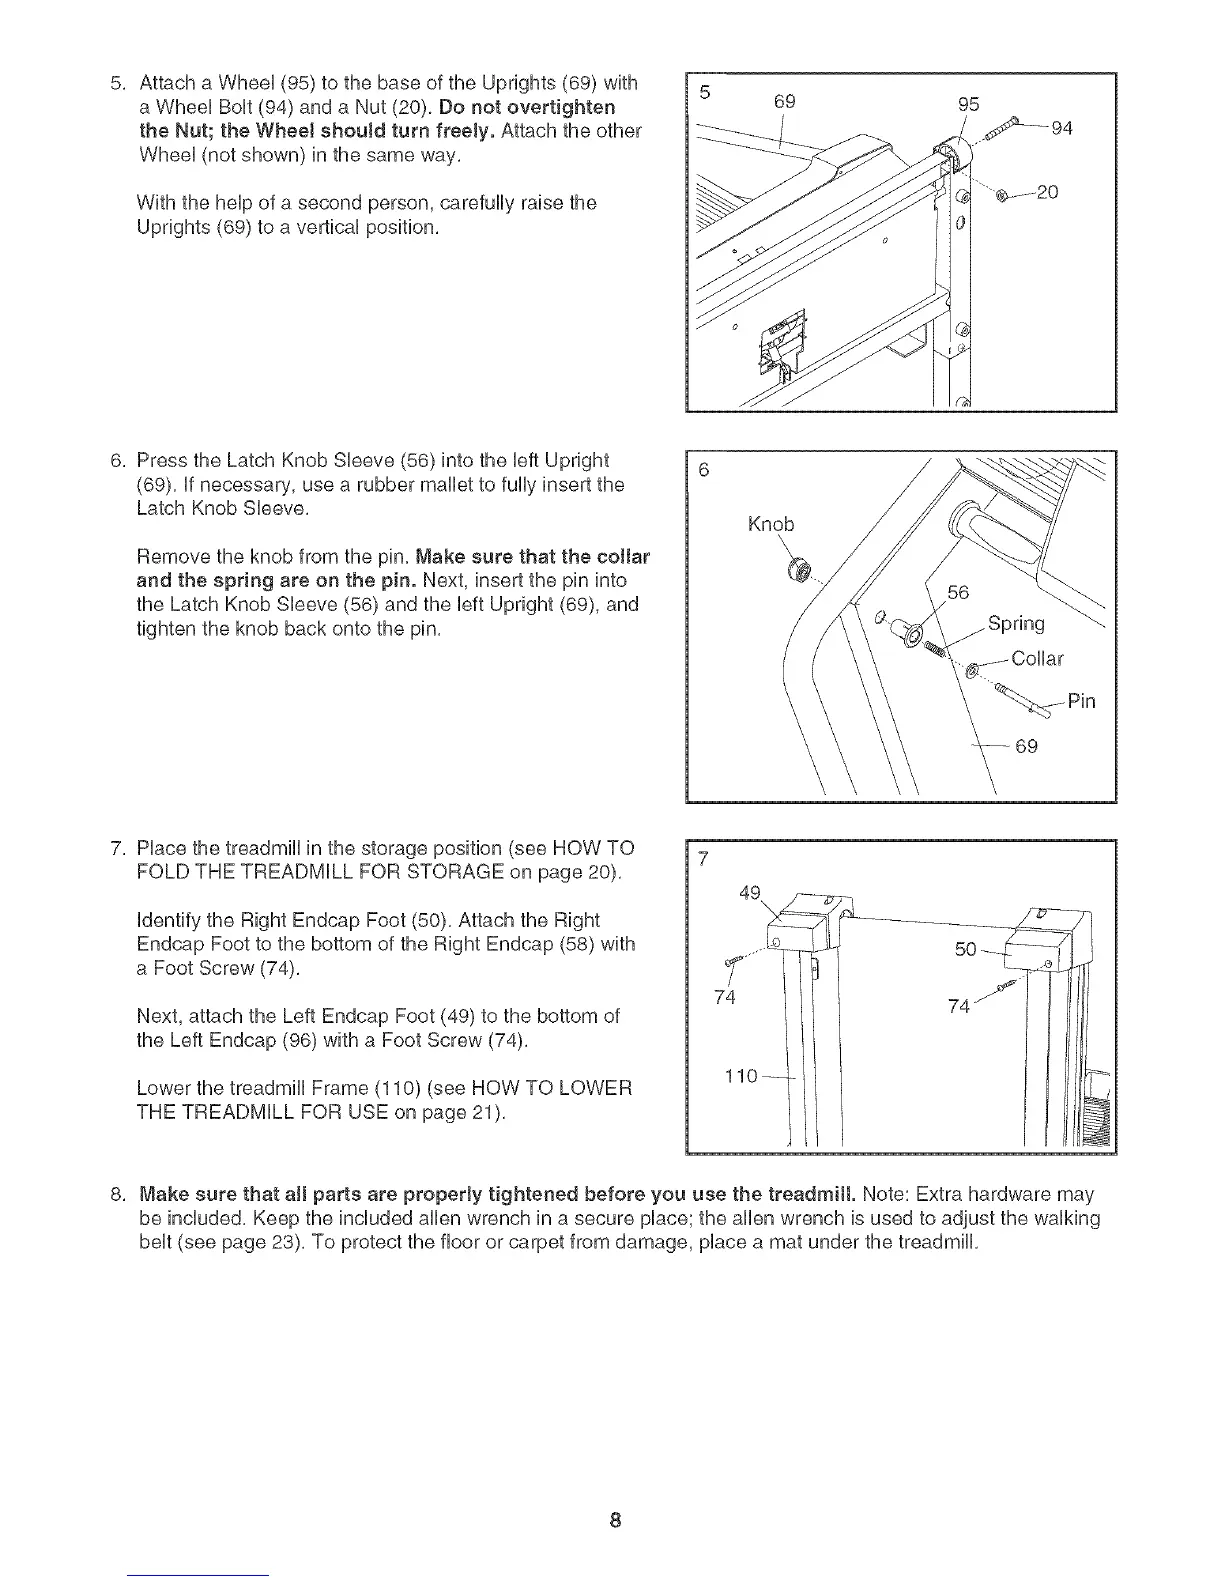
Attacha Wheel(95)tothebaseoftheUprights(69)with
a WheelBolt(94)andaNut(20).Donotovertighten
theNut;theWhee!shouldturn freely.Attachtheother
Wheel(notshown)inthesameway,
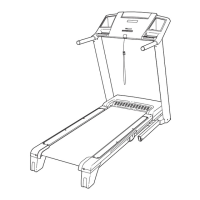
Withthehelpofasecondperson,carefullyraisethe
Uprights(69)toa verticalposition,
69
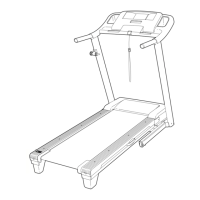
6, PresstheLatchKnobSleeve(56)intotheleftUpright
(69),ifnecessary,usea rubbermallettofullyinsertthe
LatchKnobSleeve,
Removetheknobfromthepin.Makesurethatthecollar
andthespringareonthepin.Next,insertthepininto
theLatchKnobSleeve(56)andtheleftUpright(69),and
tightentheknobbackontothepin,
Knob
69
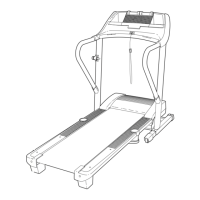
7, Hacethetreadmillinthestorageposition(seeHOWTO
FOLDTHETREADMILLFORSTORAGEonpage20),
identifytheRightEndcapFoot(50),AttachtheRight
EndcapFoottothebottomoftheRightEndcap(58)with
a FootScrew(74),
Next,attachtheLeftEndcapFoot(49)tothebottomof
theLeftEndcap(96)witha FootScrew(74),
LowerthetreadmillFrame(110)(seeHOWTOLOWER
THETREADMILLFORUSEonpage21),
7
49
\
74
11
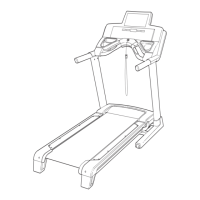
8, Makesurethatal partsareproperlytightenedbeforeyouusethetreadmil. Note:Extrahardwaremay
beincluded.Keeptheincludedallenwrenchina secureplace;theallenwrenchisusedtoadjustthewalking
belt(seepage23),Toprotectthefloororcarpetfromdamage,placeamatunderthetreadmill,