38
Transmitter
• Insert the 8 batteries/rechargeable batteries (type mignon/AA) into the battery compartment of the transmitter and observe the correct polarity!
Receiver
• To charge and install the receiver batteries as well as to commission
the electronics, the body must be removed.
• Loosen the body pins from the front and rear attachments.
• Now remove the body.
The battery gets hot during charging and should therefore
not be charged in the rechargeable battery box to ensure
sufficient heat deflection. Always charge the receiver battery
completely.
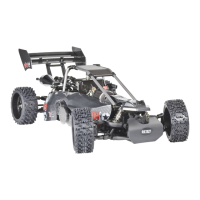
• Open the RC box on the chassis.
• Connect the receiver battery to the switch cable.
• Observe the correct polarity (red/+, black/-) and a tight fit of the
connector.
The receiver will be destroyed in case of wrong polarity.
Loss of warranty/guarantee!
• Reinsert the receiver battery pack with the cables and the plug into the
RC box without squeezing the cables.
• Carefully connect both plugs.
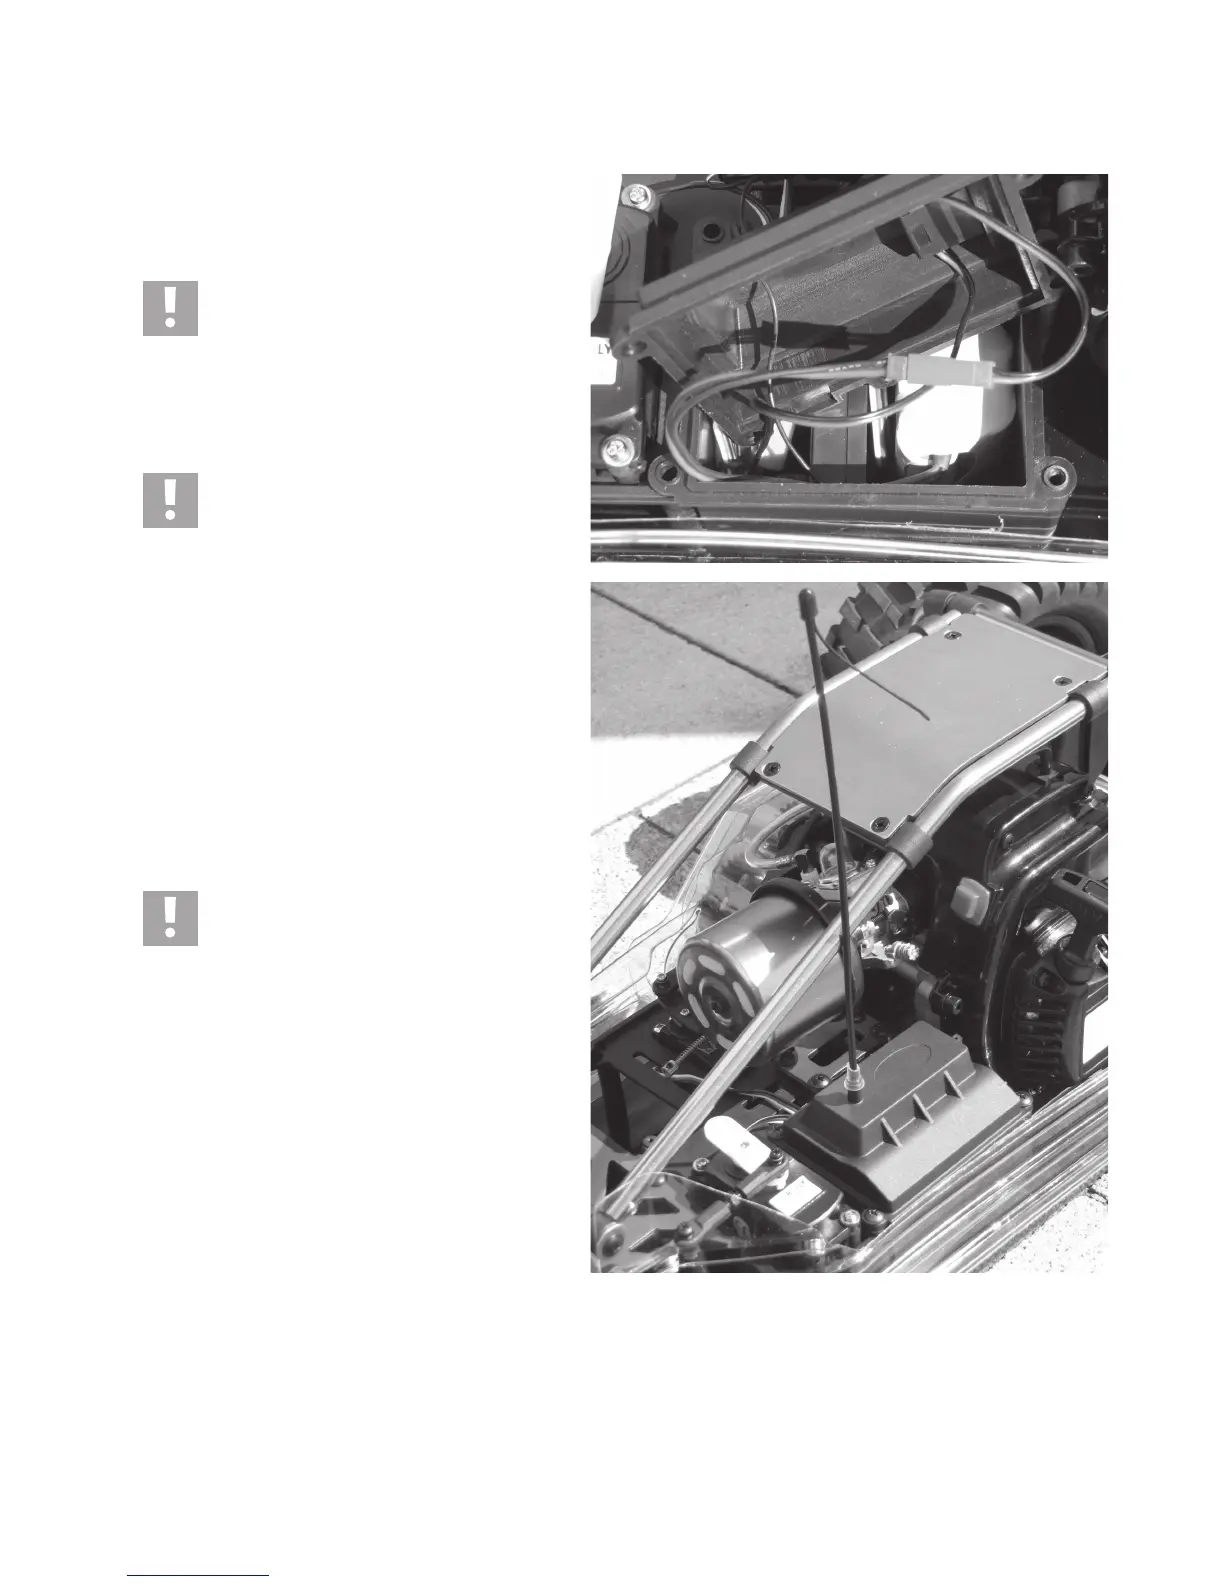
• Carefully remove the receiver from the RC box and uncoil the antenna
wire.
• Guide the antenna wire outwards through the opening in the cover of
the RC box.
• Thread the antenna of the receiver through the enclosed antenna guide
tube.
• Now plug the bottom end of the antenna guide tube into the recess on
the cover of the RC box.
• Secure the antenna tube in the antenna foot.
• Secure the antenna wire on the top of the guide tube with the rubber
cap.
Never shorten the antenna wire!
• Switch on the transmitter. The control LED of the transmitter should be
brightly lit. If it is not lit, check the batteries/rechargeable batteries and
replace them if necessary.
• Switch the receiver on with the switch on the cover of the RC box. Now
the servos should move to neutral position.
Always proceed in the correct sequence when turning the transmitter
and receiver on or off!
Switching on: Always switch on the transmitter first, then the receiver.
Switching off: Always switch off the receiver first, then the transmitter.
Now you can reattach the body to the chassis.
 Loading...