05
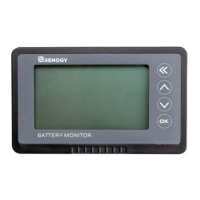
2. Capacity calibration: On first use, the percentage and capacity are not the actual value,
you need to calibrate the capacity to either 100% or 0%.
First set the usable AH capacity of the battery as the preset AH capacity.
For Lithium and Sealed Lead Acid batteries to calibrate to 100% charge the battery fully and
hold the "up" key for 3s to set the capacity to 100%
For Lithium batteries to calibrate to 0% discharge the battery completely and hold the
"down" button key for 3s to set the capacity to zero.
This will only have to be done on initial installation of the Renogy Battery Monitor or if the
Battery Bank is replaced.
For Lithium batteries discharge the battery to 0% and hold the "down" key for 3s to set the
capacity to 0, then set the preset capacity as large as possible.
Now charge the battery fully and the displayed AH capacity should be the actual usable
capacity. Then set the displayed AH capacity as the preset AH capacity.
For Sealed Lead Acid batteries it is recommended to set the AH lower than the usable rating
after conducting a capacity test or consulting the battery manufacturer.
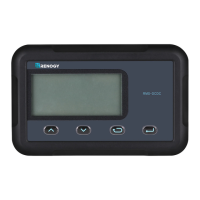
Operation
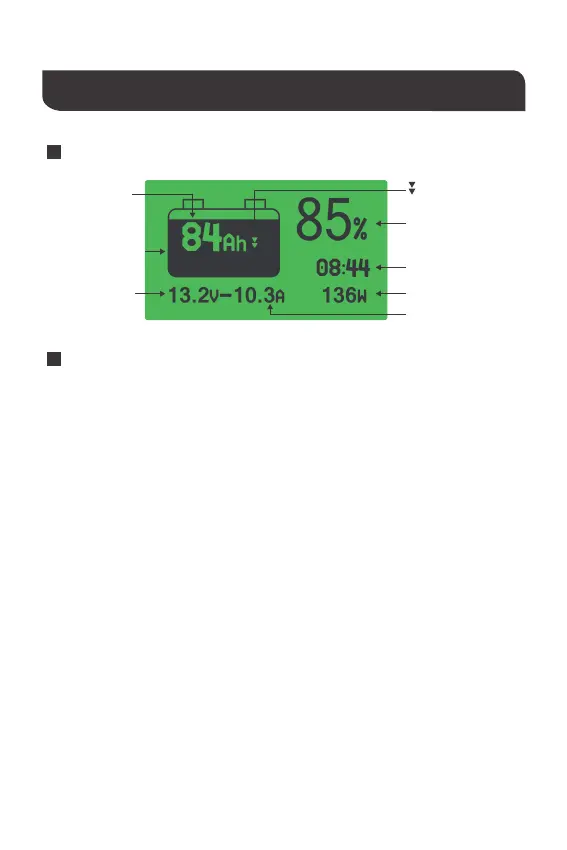
1. Connect and check the current: Power on after completing the connection as shown,
the screen should display capacity percentage. If the screen has no response, please check
the connection. Then charge or discharge the battery and check whether the display current
is equal to the actual current. If the deviation is large, please check the connection.
3. Check and reset the actual capacity: If you find the displayed capacity doesn't match
the actual capacity during use, please check and reset the actual capacity.
Interface description
Use steps
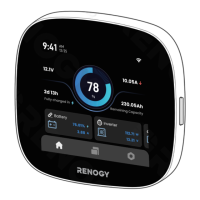
Present capatity
Charge-discharge
indicator
Capacity percentage
Remaining time
Dynamic indication
Present voltage
Present current
Present power
 Loading...