23
Preparation
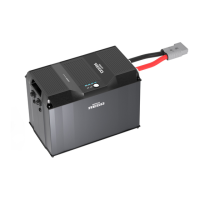
Mounting
Recommended Accessories
Self-tapping Screws (M8 or M6)
NOT
z
Choose proper self-tapping screws to adapt to the installation site.
z
0DNHVXUHWKHLQYHUWHUFKDUJHULV¿UPO\PRXQWHGRQWKHLQVWDOODWLRQVLWHWRSUHYHQWLWIURP
VOLGLQJRUIDOOLQJRႇ
AC / INV
CHC
FAULT
please read the instructions carefully
Before working on this product.
High voltage,in order to avoid risks,
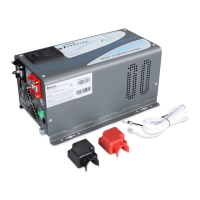
Pure Sine Wave Inverter Charger
M6
please read the instructions carefully
Before working on this product.
High voltage,in order to avoid risks,
AC / INV
CHC
FAULT
please read the instructions carefully
Before working on this product.
High voltage,in order to avoid risks,
Pure Sine Wave Inverter Charger
M8
please read the instructions carefully
Before working on this product.
High voltage,in order to avoid risks,
OFF
ON
OFF
ON
Align the inverter charger
with the mounting position to
¿[LWZLWKVHOIWDSSLQJVFUHZV
through the mounting holes.
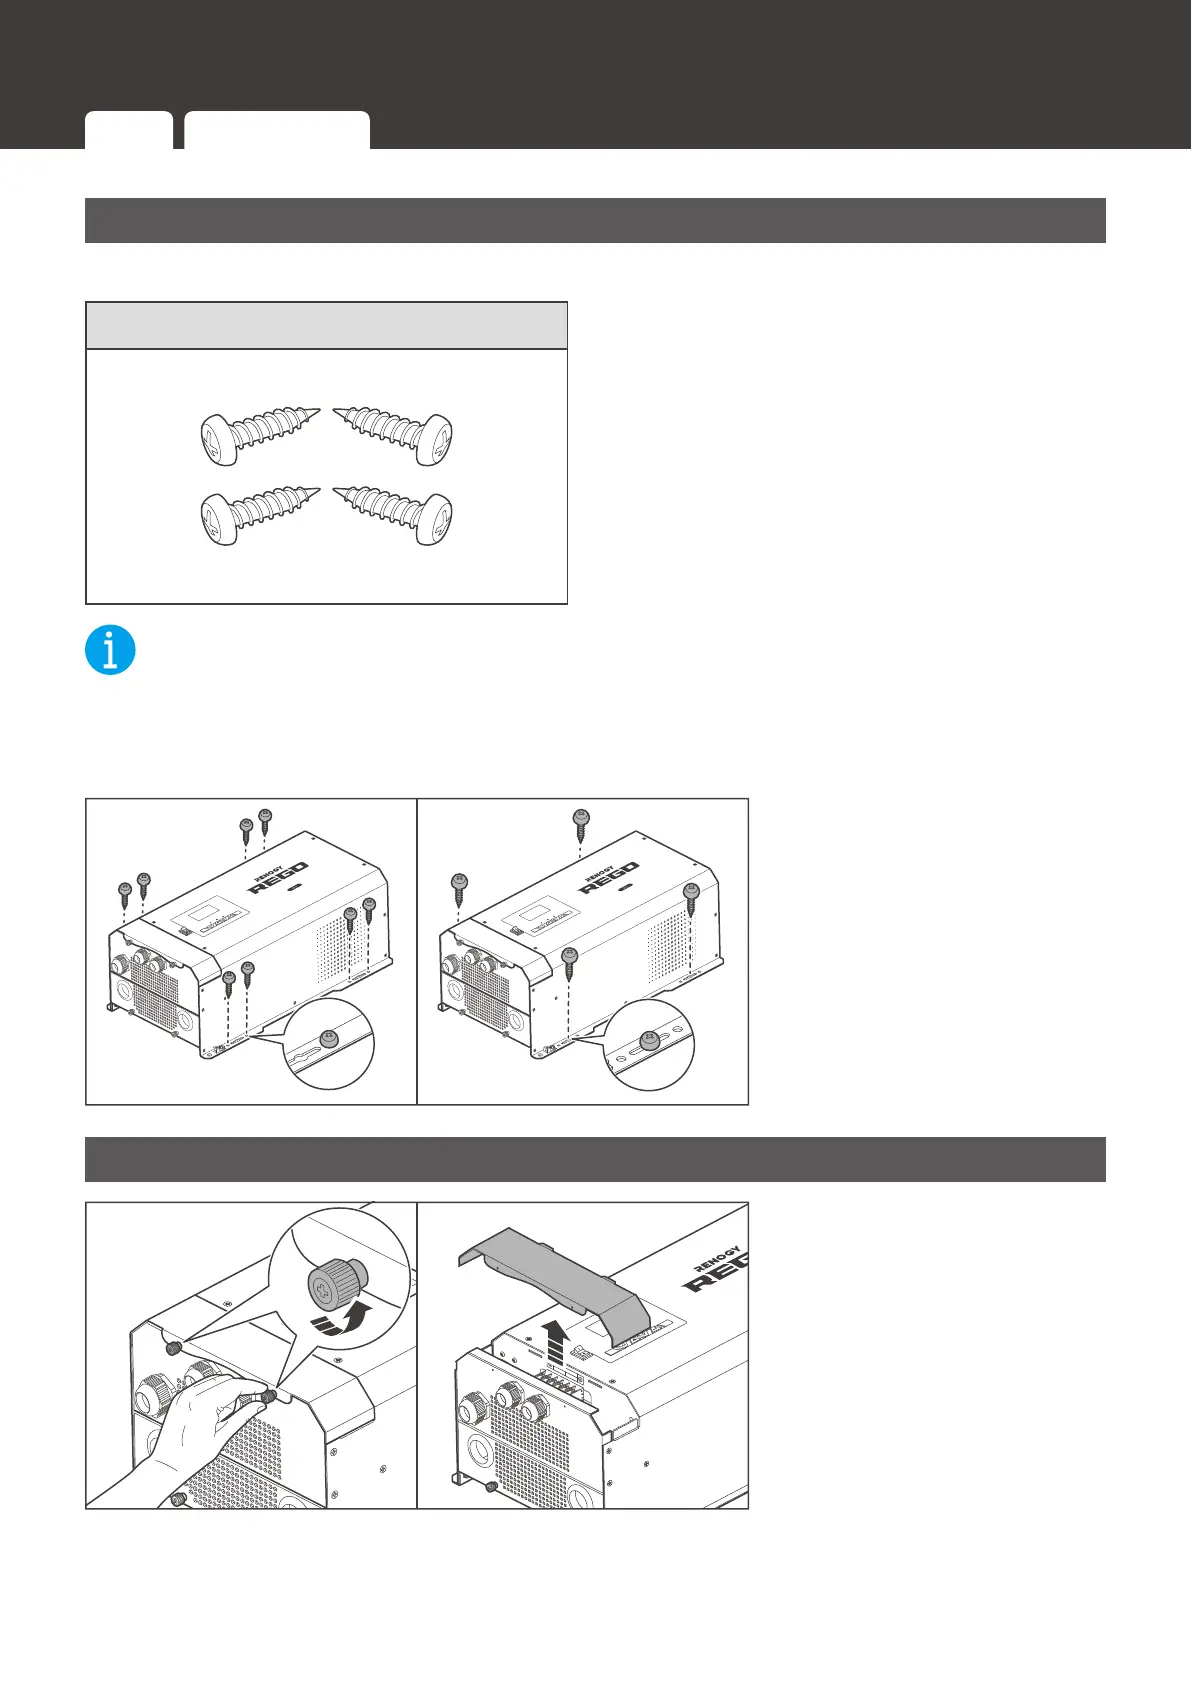
Removing the Plate
REMOTE
AC / INV
CHC
FAULT
WARNING
please read the instructions carefully
Before working on this product.
High voltage,in order to avoid risks,
WARNING
please read the instructions carefully
Before working on this product.
High voltage,in order to avoid risks,
Pure Sine Wave Inverter Charger
L
L
N
OUTPUT
INPUT
N
AC / INV
CHC
OFF
ON
FAULT
please read the instructions carefully
Before working on this product.
High voltage,in order to avoid risks,
Pure Sine Wave Inverter Charger
High voltage,in order to avoid risks,
OFF
ON
1. Turn the two upper panel
VFUHZVFRXQWHUFORFNZLVH
E\KDQGRUD3KLOOLSV
screwdriver, and remove
the Top Plate.
Preparation
Mounting Removing the Plate Cautions
 Loading...