EasyManuals Logo

Renogy WANDERER User Manual

Renogy WANDERER
28 pages
To Next Page IconTo Next Page
To Previous Page IconTo Previous Page
Page #9 background imageLoading...
Page #9 background image
08
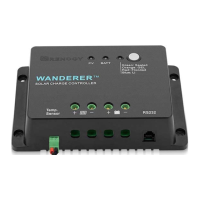
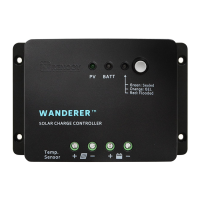
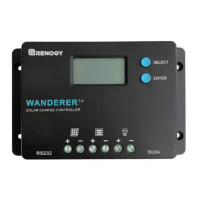
Use bare wiring when connecting to the Wanderer’s terminal
blocks. Due to default positioning, you must ensure that the
terminal hatch is completely open before the first-time use.
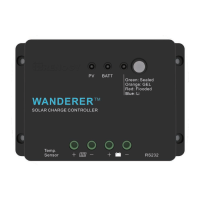
1.Make sure to rotate the hatch counterclockwise (CCW) into
the open position to expose the wire hatch
3.Rotate clockwise (CW) to until the hatch has closed and
clamped onto the wire
2.Insert bare wire into the terminal for the respective connection
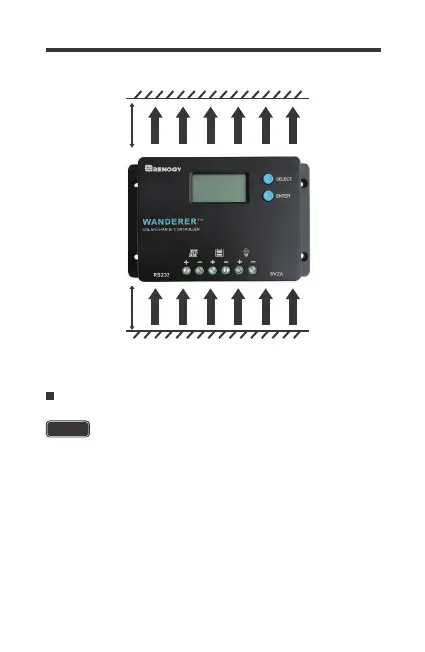
6 inches
warm air
(150mm)
cool air
6 inches
(150mm)
Wiring and Fusing
NOTE
The wire terminals are closed by default.

Other manuals for Renogy WANDERER

Questions and Answers:

Question and Answer IconNeed help?

Do you have a question about the Renogy WANDERER and is the answer not in the manual?

Renogy WANDERER Specifications

General IconGeneral
ModelWANDERER
Max Input Power130W (12V system, 10A) / 260W (12V system, 20A) / 390W (12V system, 30A)
Waterproof LevelIP32
TypePWM
Rated Charge Current10A / 20A / 30A
System Voltage12V
Max PV Input Voltage25V
Temperature Compensation-3mV/°C/2V (Default)
Operating Temperature-35°C to +55°C
Max Input Voltage25V
Max Solar Input Current10A / 20A / 30A
Max Load Current10A / 20A / 30A
ProtectionOvercharge Protection, Over-discharge Protection, Overload Protection, Short-circuit Protection, Reverse Polarity Protection

Related product manuals