EasyManuals Logo

Reolink Go PT Plus User Manual

Reolink Go PT Plus
16 pages
To Next Page IconTo Next Page
To Previous Page IconTo Previous Page
Page #12 background imageLoading...
Page #12 background image
Install the Camera with Loop Strap
You are allowed to strap the camera to a tree with both the security mount and
ceiling bracket. Thread the provided strap through the slots of the plate and fasten
it to a tree. Next, attach the camera to the plate as you have done in the previous
two methods.
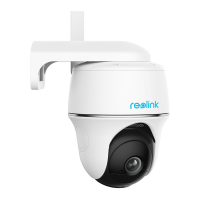
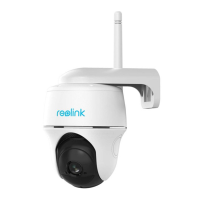
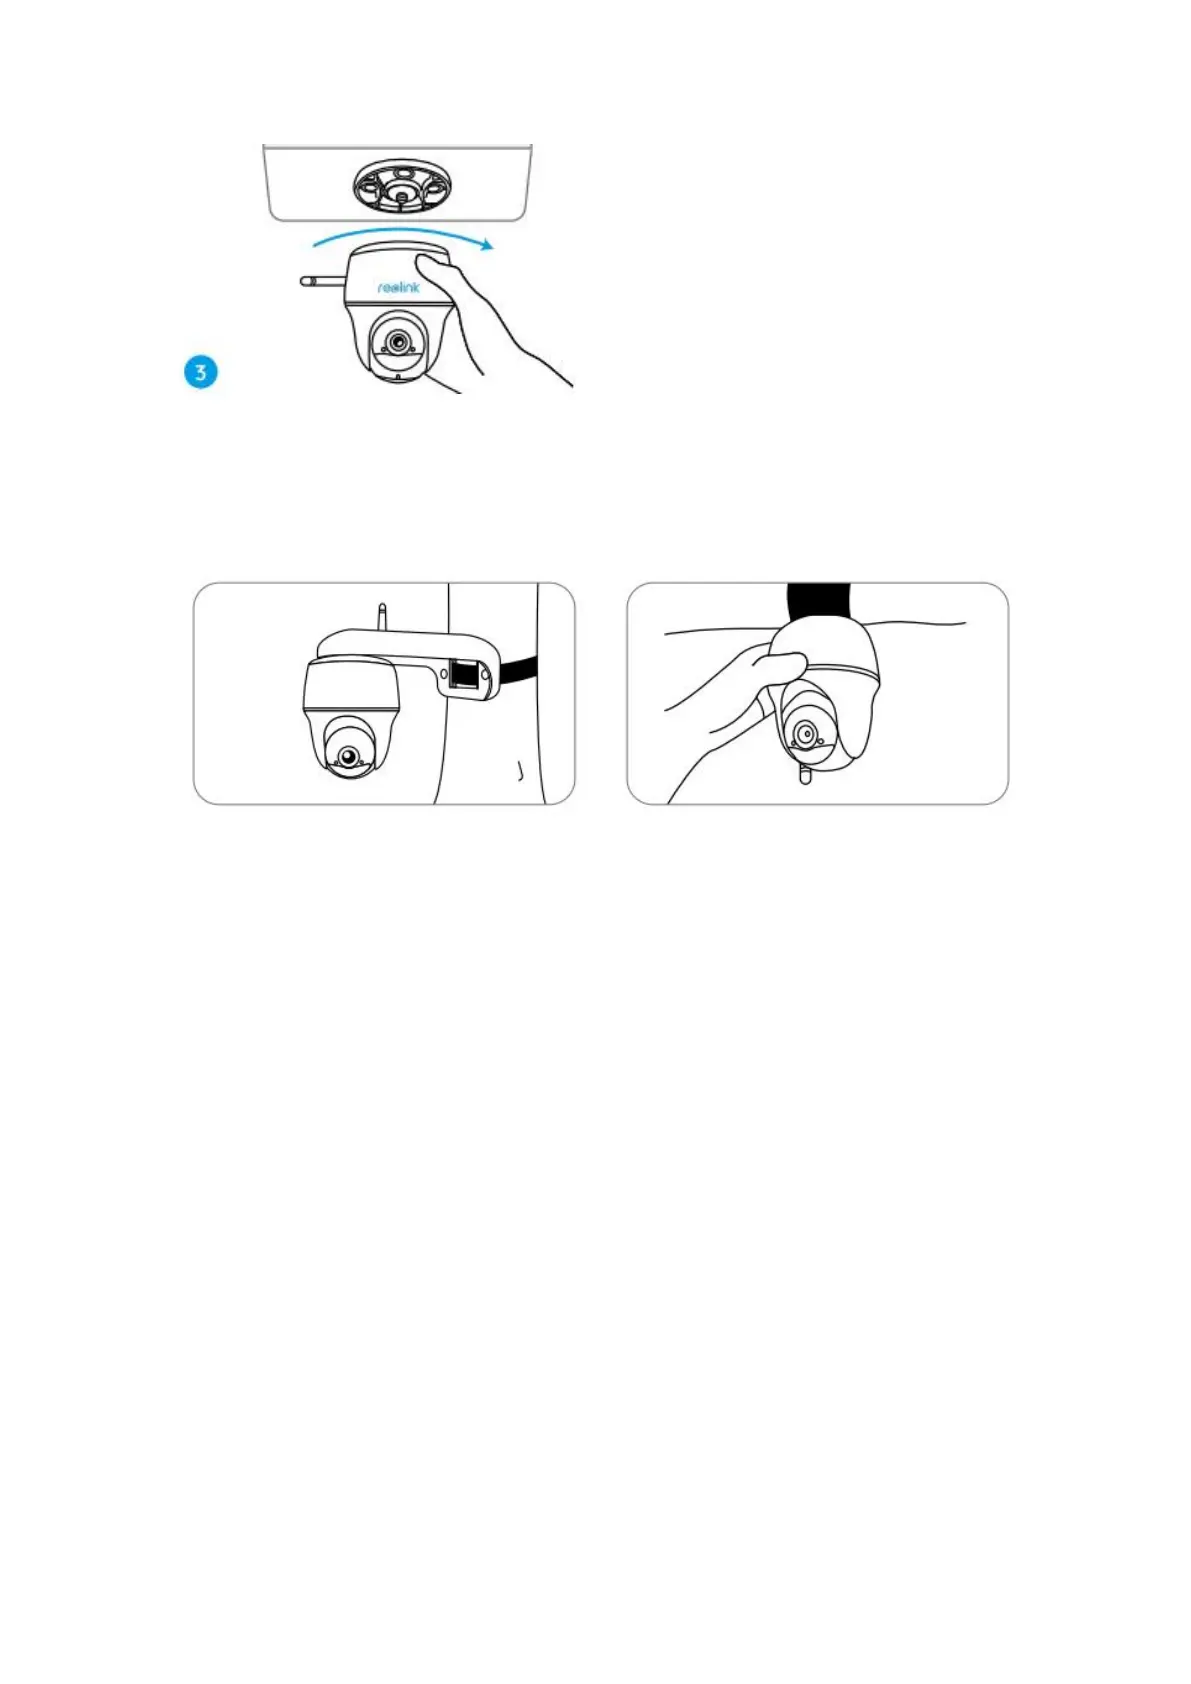
Done! You've installed the Go PT Plus successfully.
Note: The best way to install the camera is to install it upside down in order to
prevent water from flowing into the microphone hole.

Questions and Answers:

Question and Answer IconNeed help?

Do you have a question about the Reolink Go PT Plus and is the answer not in the manual?

Reolink Go PT Plus Specifications

General IconGeneral
TypeIP security camera
Remote viewingYes
Placement supportedIndoor & outdoor
Connectivity technologyWireless
Form factorSpherical
Mounting typeWall
Product colorWhite
Tilt angle range0 - 140 °
Angle of rotation355 °
Sensor type-
Number of lenses1
LED typeIR
Night vision distance10 m
Number of illumination LEDs6
Total megapixels4 MP
Maximum resolution2048 x 1080 pixels
Audio system2-way
4G standardLTE
SIM card typeNanoSIM
Mobile network generation4G
Power source typeBattery
Internal memory32000 MB
Compatible memory cardsMicroSD (TransFlash)
Maximum memory card size128 GB

Related product manuals