
M
Melvin ThompsonJul 29, 2025
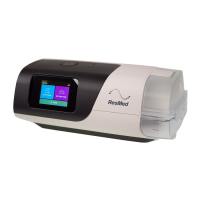
How to fix button test issues on ResMed Medical Equipment?
- IicarrilloJul 29, 2025
If you are experiencing issues with the button test on your ResMed Medical Equipment, replace the faulty part.
How to fix button test issues on ResMed Medical Equipment?
If you are experiencing issues with the button test on your ResMed Medical Equipment, replace the faulty part.
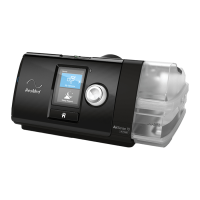
How to troubleshoot communication test failure in ResMed AirSense 11 Medical Equipment?
If the communication test fails on your ResMed Medical Equipment, determine if fault is with main PCB.
Overview of the Main PCB assembly and its functions.
Description of the LCD module and touch screen functionality.
Components of the pneumatic block including blower and flow plate.
Details on the humidifier sub-system for heated humidification.
Lists the device sensors and their locations and ranges.
Describes the power sources used by the AirSense 11 series.
Visual representation of the device service process.
Explanation of how to use the ResMed Service Connect software.
Lists the necessary software for servicing the device.
Details the specific hardware needed for testing procedures.
Instructions for cleaning the device and replacing the air filter.
Steps to download device logs using the data export tool.
Procedure to test the ambient light sensor functionality.
Steps to verify the proper function of the SD card reader.
Guide to performing diagnostic tests using ResMed Service Connect.
Instructions for installing the blower assembly.
Steps for assembling the chassis components.
Procedure for installing the Main Printed Circuit Board.
Instructions for installing the LCD module.
Steps for fitting and securing the top case.
Guide to installing the device fascia.
Procedure for installing the side panel.
Instructions for fitting the name plaque.
Steps for inserting the SD card or plug.
Guide to installing the air outlet component.
Instructions for refitting the filter and cover.
Steps for inserting the humidifier tub.
Lists and images of external replacement parts.
Lists and images of internal replacement components.
Details on replacement parts for the pneumatic system.
A consolidated list of part numbers and descriptions.
Common error messages and their corresponding solutions.
Detailed list of numbered error codes and fixes.
Instructions for installing the inlet adapter for leak testing.
Setup guide for the TSI equipment.
Diagram and notes for setting up inlet leak tests.
Diagram and notes for setting up outlet leak tests.
| Pressure Range | 4 to 20 cm H2O |
|---|---|
| Sound Level | 27 dBA |
| Therapy Modes | CPAP, AutoSet, AutoSet for Her |
| Water Tank Capacity | 380 mL |
| Operating Humidity | 10% to 95% non-condensing |
| Altitude Adjustment | Automatic |
| Mask Fit Check | Yes |
| Warranty | 2 years |
| Device Type | CPAP |
| Weight | 1.13 kg |
| Humidification | Integrated Humidifier |
| Connectivity | Bluetooth, Cellular |
| Power Supply | 100-240V, 50/60Hz |
| Ramp Time | AutoRamp feature |
| Operating Temperature | 5°C to 35°C |
| Display | Color touchscreen |
| Compliance Tracking | Yes |
| Data Storage | SD card |