Co.,Ltd. UV/IR Type Flame Detector RFD-2000X
Document No. Manual-2000X Rev.3
March 2013
- 29 -
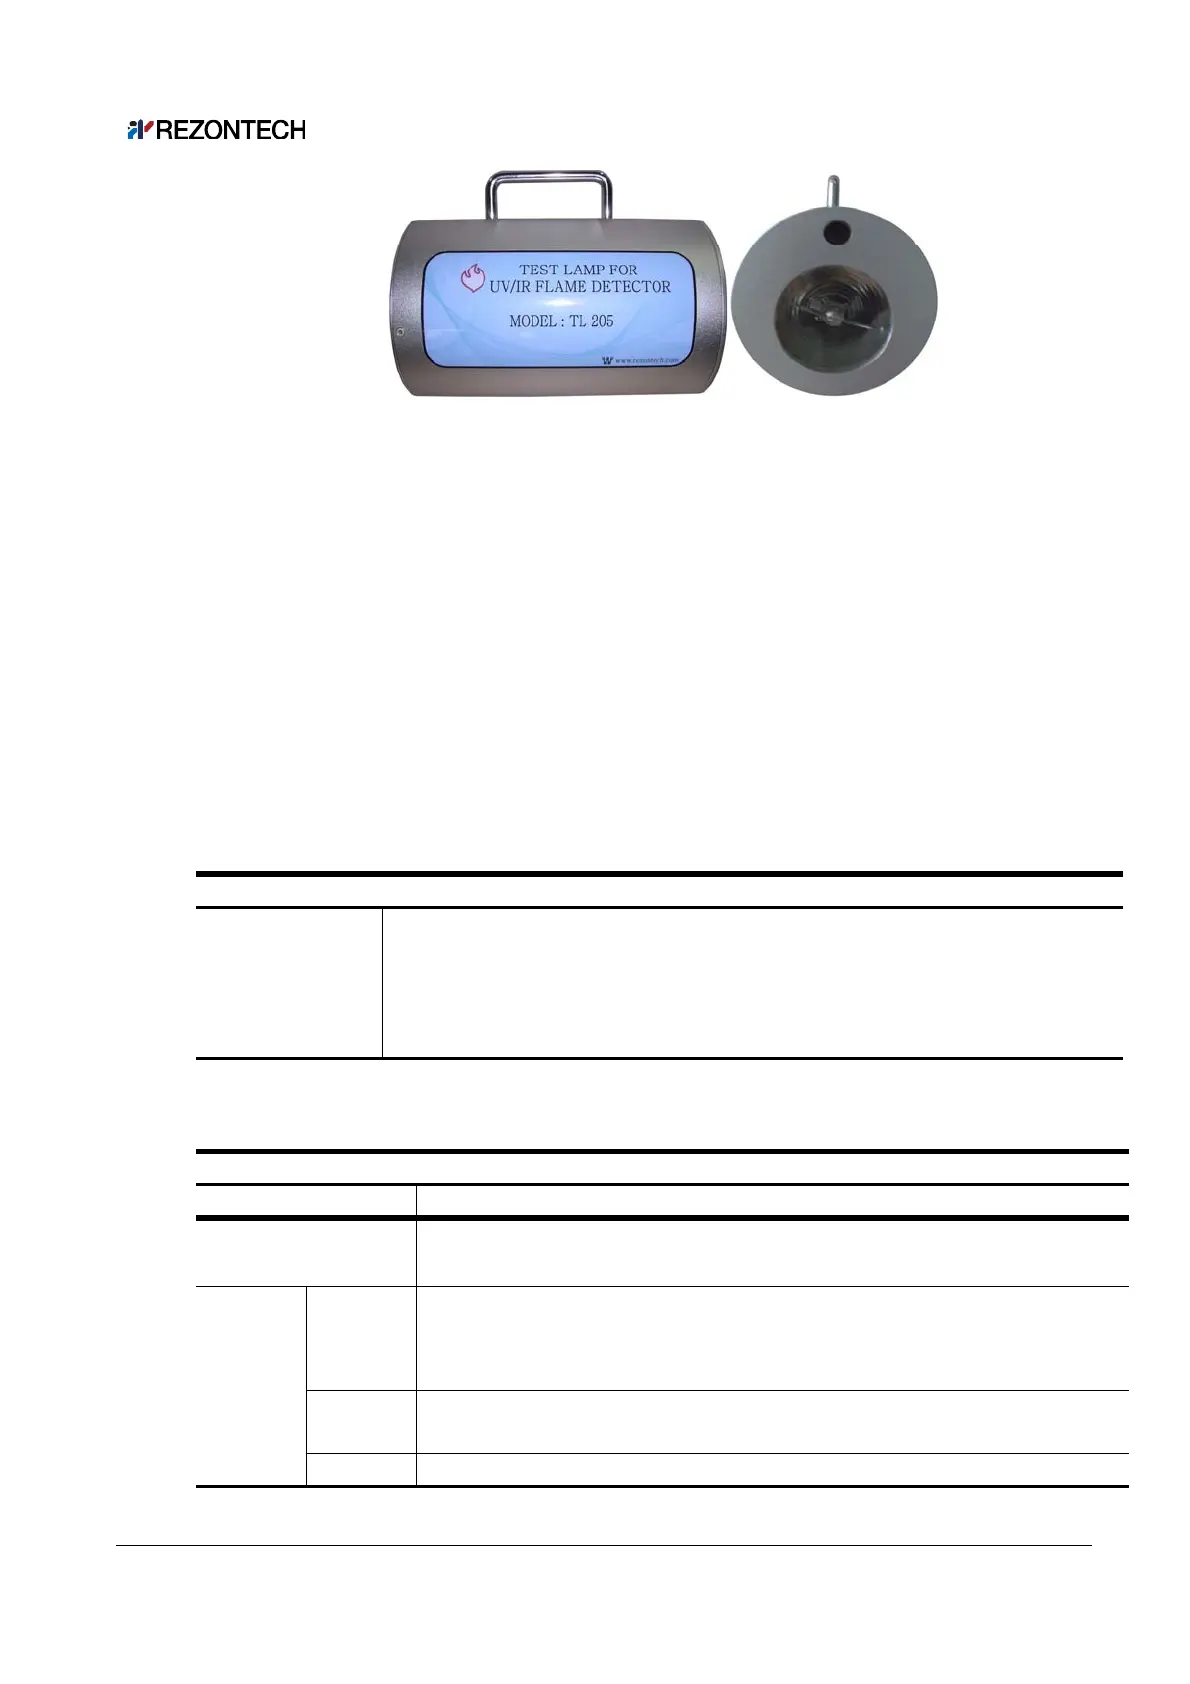
[Figure 20] TL205 TEST LAMP
ㆍ Testing Sequences with TL205
1. Please wait for 10seconds after the power is supplied. Check, Yellow LED blinking.
2. Face and 'Turn On' the TL 205 in front of the flame detector.
3. The recommended distance between test lamp and product shall be within 5M
when point no. 2 above is performed.
4. If "Red LED" is lighting on the flame detector, fire is detected generally.
5. If the product is set to be recovering manually, the recovery will be start by
turning OFF/ON of the power supply
6. If "Red LED" does not light on during the test stage 2,3, please adjust the distance
and re-test again. If the same problem persists and even after the TestLamp is in
good conditions after the inspection (as per below stated), please contact the
manufacturer or A/S center. The flame detector might have defects.
Scope of Inspection
Power supply
status checking
- TestLamp's No.1 or No.2 lamp is not functioning, it means the
TestLamp is defected.
- If TestLamp's lamp No.1 is blinking and the radiation intensity is
weak, or if it's No.2 lamp is not functioning, please re-charge the
TestLamp.
[Table 22] Lighting Status of Test lamp
Product Operation Status Vary According to Testing Conditions
Status Operate or Output Status
Before inserting
power supply
- Fault Relay signal Open (Normally Open : De-Energized)
- All LED OFF
After
inserting
power
supply
Inserting
power
supply
- Fault Relay signal Closed (Normally Closed : Energized)
- After 7 seconds of self-diagonosis test, LED intersect for
3seconds (Yellow → Red → Yellow......) blinking
Normal
-
ll output, "normal" signal output (Normally Closed : Energized)
- YELLOW LED blinking 0.5Hz
Fire - All output "Fire" signal
[Table 23] Product Operation Status Vary According to Testing Conditions