3.8.2 Gravel Hopper Attachment
1. Place the #16 braces in the inner holes of the #17 platform. These holes are shown in Figure 3-10.
2. The hinged brackets on the base of the hopper opposite the front legs are mounted to the platform using the loose
bolts provided. Before tightening these bolts, be sure that both front legs of the hopper are resting solidly on the
platform. If this is not done, excessive load will be placed on the #19 wheels, causing undue wear. The brackets are
slotted for this adjustment. When the hopper is properly placed, the discharge gate will be slightly open as shown in
Figure 3-6.
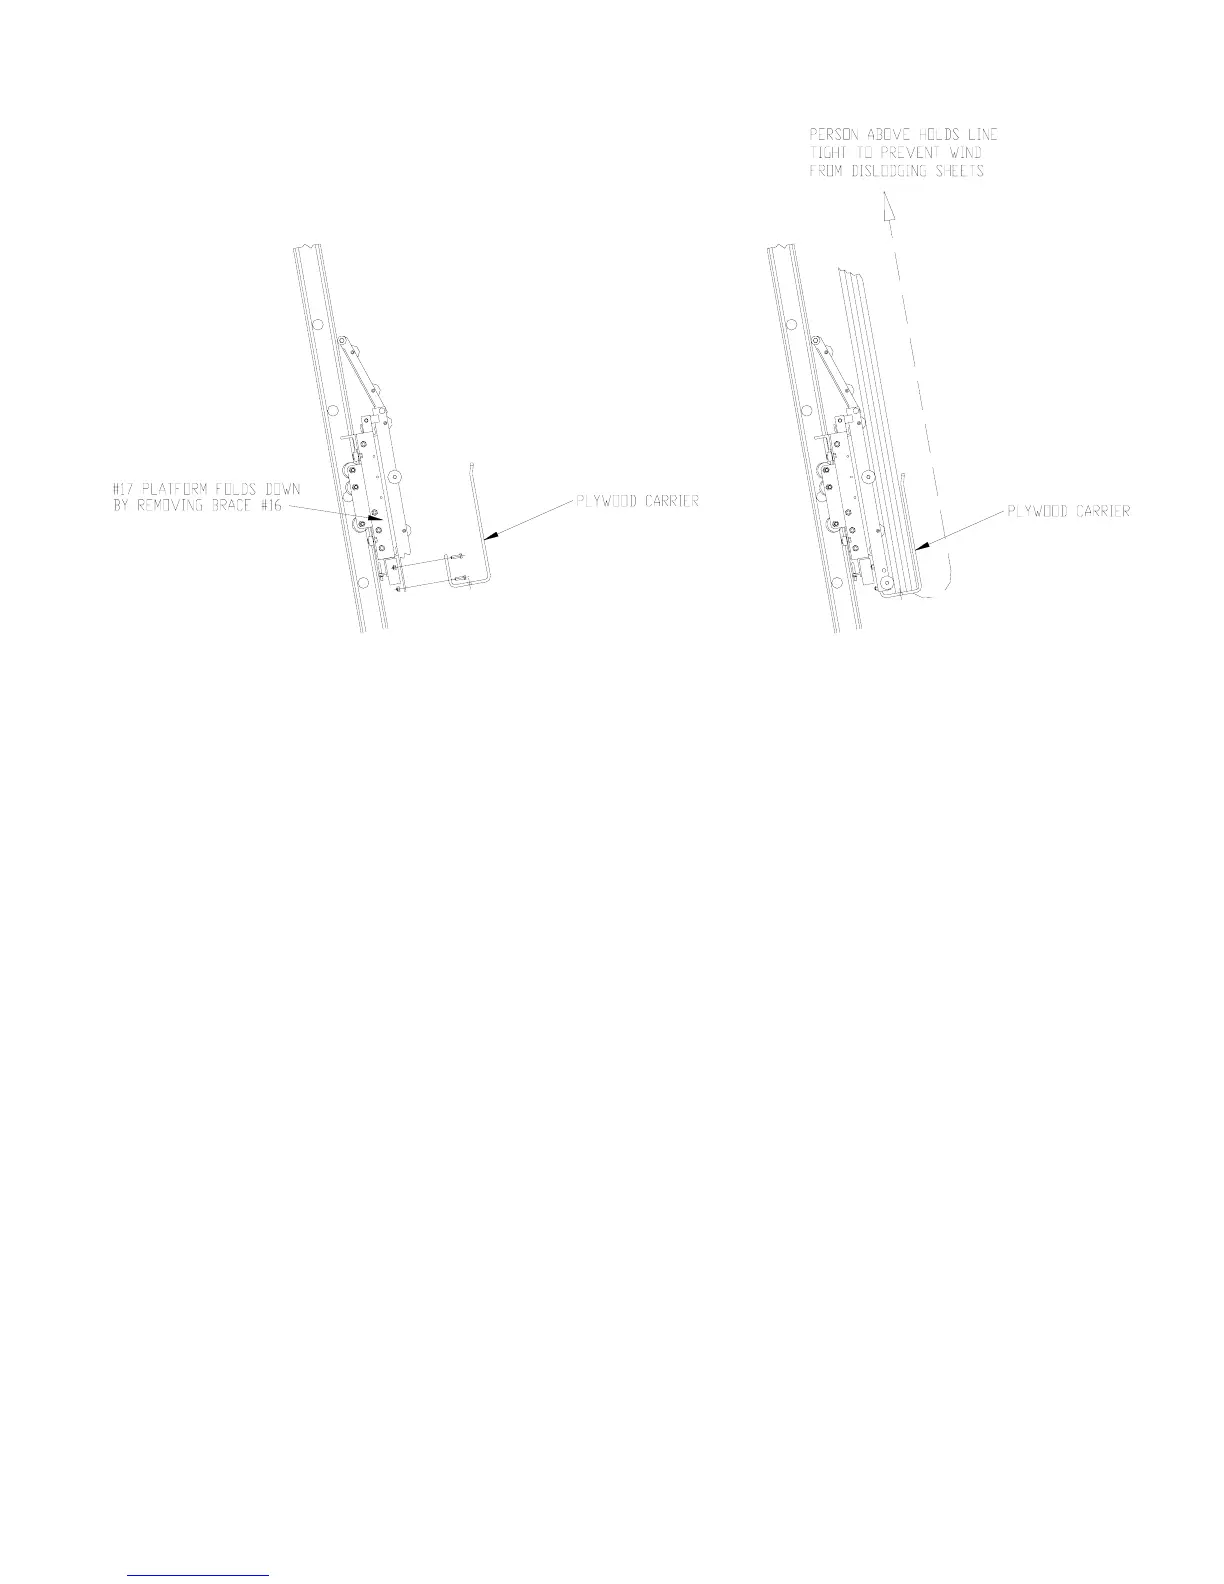
Figure 3-5.
Plywood Carrier Assembly
3. In operation, when the platform reaches the top, the #7 pivot bracket goes over the top of the rails. The discharge gate
on the hopper opens and dumps the load into the waiting wheelbarrow or spreader.
10


 To Next Page