2. OPTICS
2.1 EXPOSURE GLASS REMOVAL
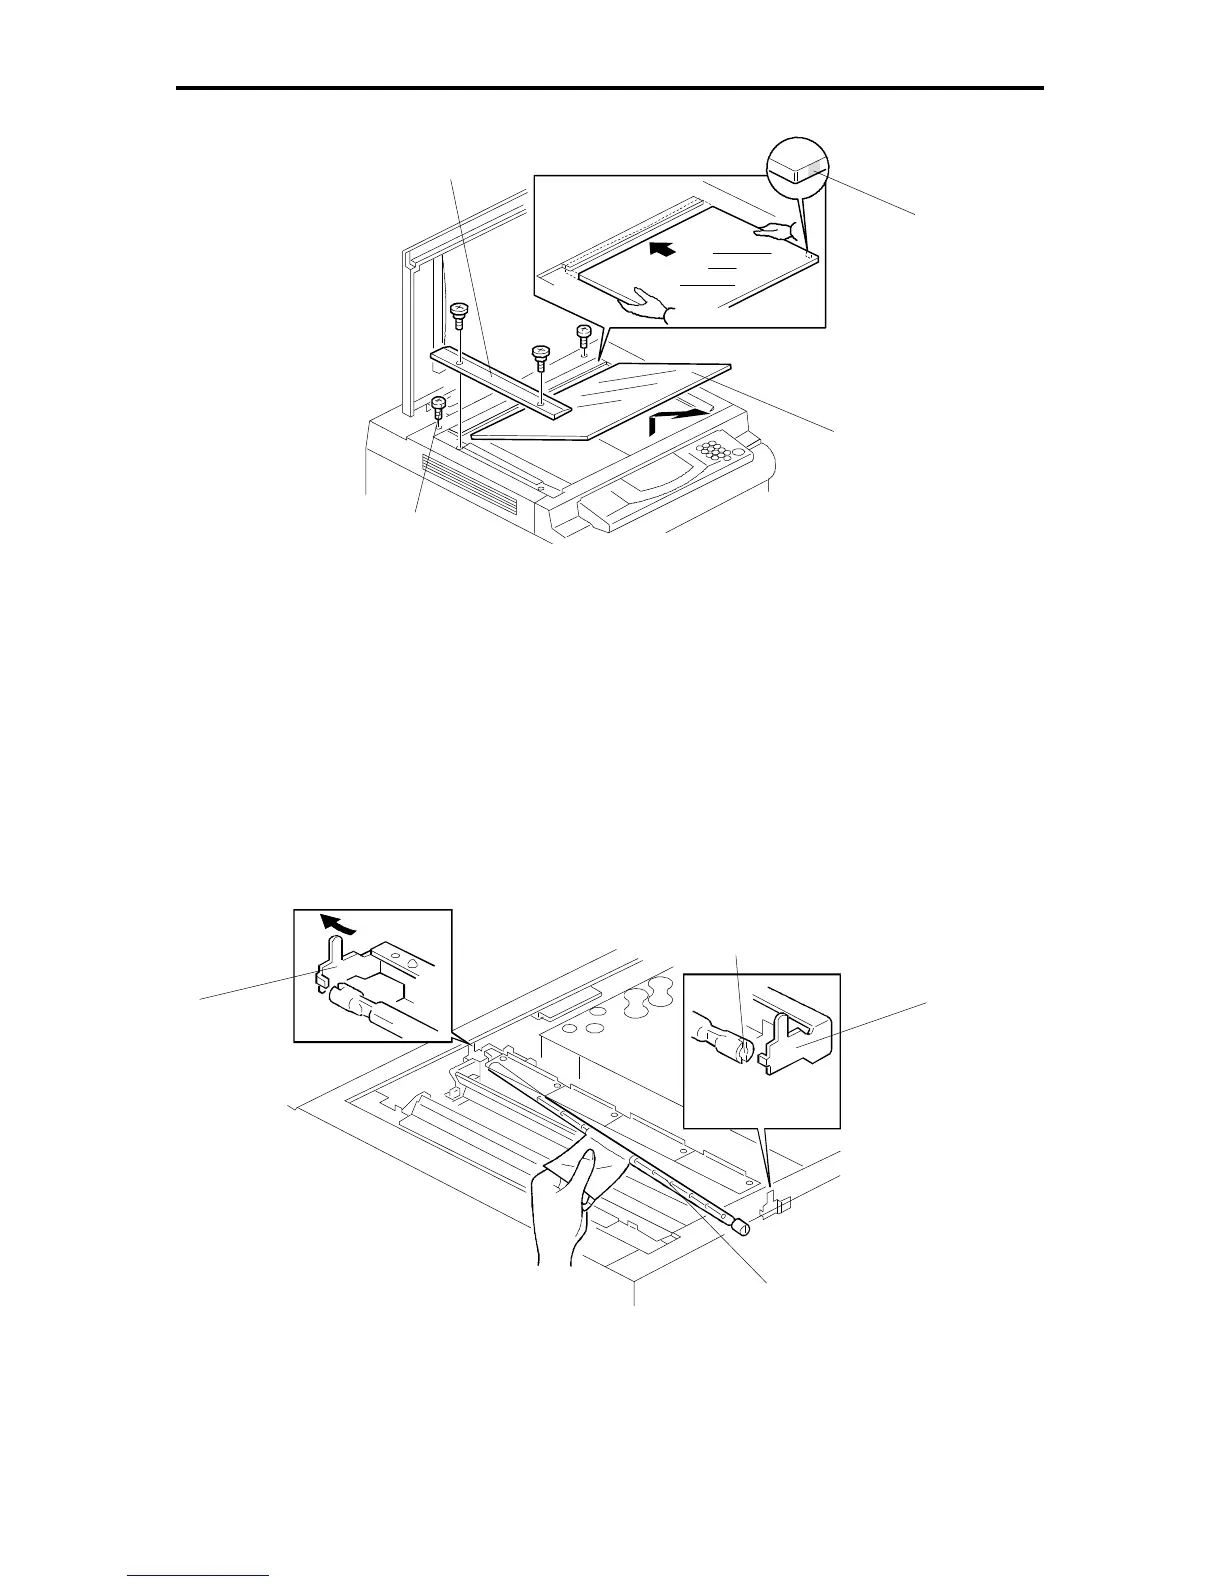
1. Remove the left scale [A] (2 shoulder screws).
2. Remove the 2 screws [B] securing the rear scale.
3. Grasp the front left corner of the exposure glass [C] and lift it up slightly. Then
slide the exposure glass out from the rear scale.
NOTE: When reinstalling the exposure glass, make sure that the paint mark [D]
is positioned at the front right corner as shown. This ensures that the
correct side of the glass is face-up; this side is smoother and it generates
less static electricity when the DF is used.
2.2 EXPOSURE LAMP REPLACEMENT
NOTE: Do not touch the reflector or the new exposure lamp with your bare
hands. Use a strip of paper as shown. (Oil marks from fingers on the
lamp or reflectors will be affected by heat from the lamp and will cause
discoloration.)
[D]
[A]
[C]
[B]
[B]
[C]
FT5535/4527/4522 5-4 FSM
 Loading...