No. Icon Description
9
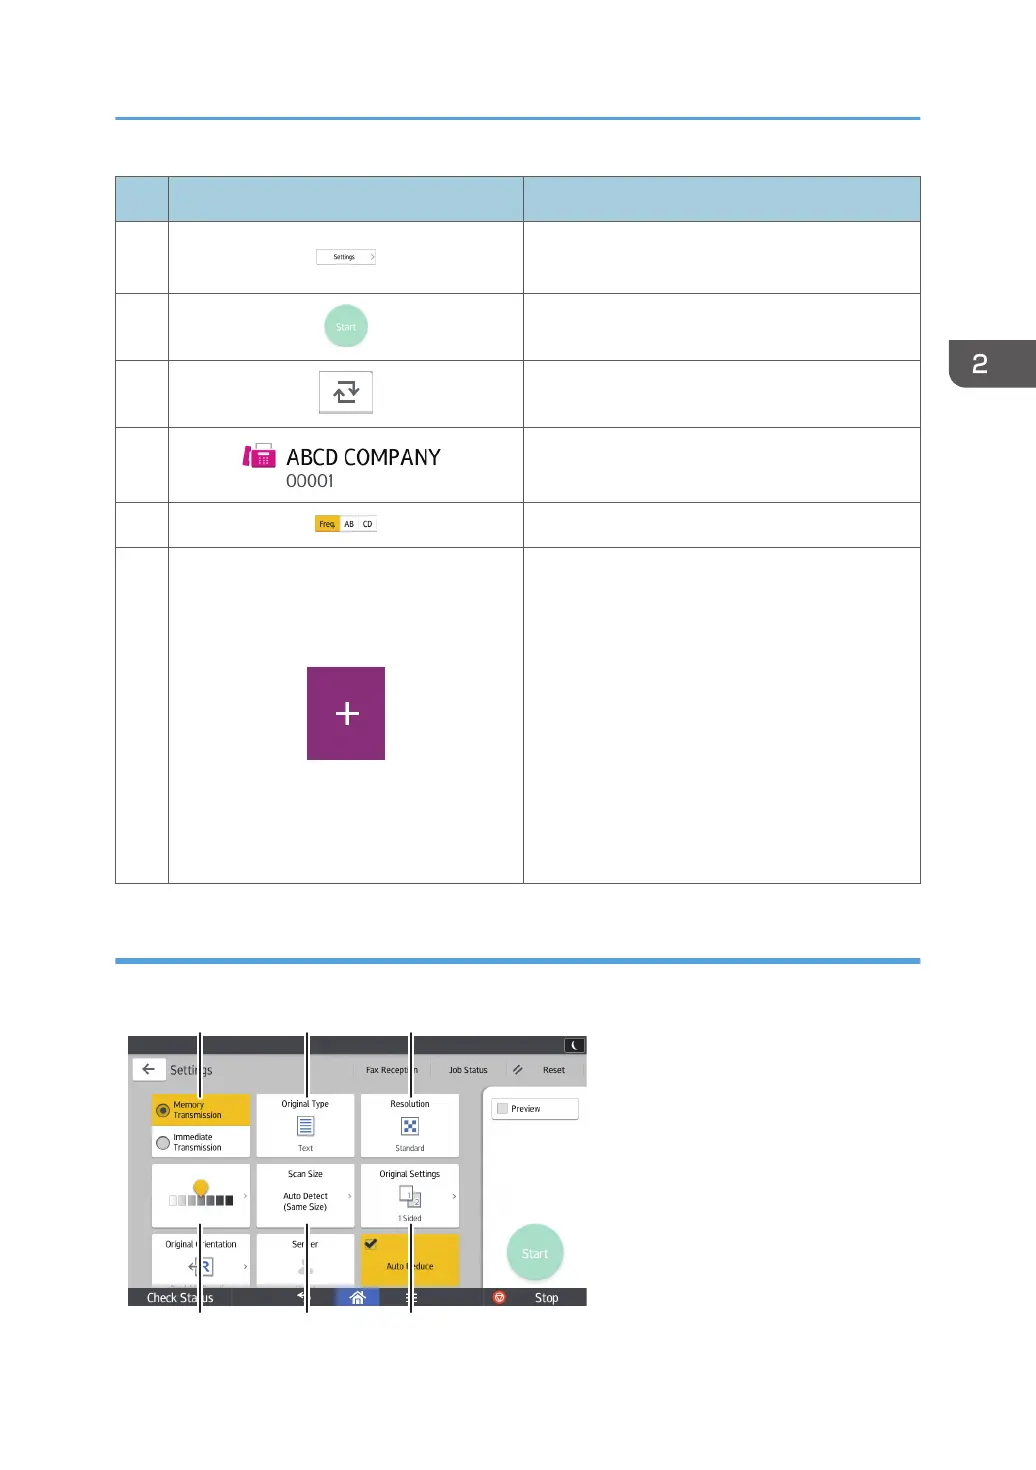
Press to open the settings screen. For details, see
page 45 "[Settings] screen".
10
Press to scan originals and start sending.
11
Press to switch the section of the Address Book.
12
Shows the destinations in the Address Book.
13 The sections of the Address Book.
14
Press to add a destination.
Destinations can be added as follows:
• Input destinations manually
• Select from the transmission history
• Specify a registration number from the
Address Book
• Search for a destination in the Address
Book or on the LDAP server
• Press to display the Remaining Memory
Information
[Settings] screen
You can switch the three screens described in this section by flicking the screen up or down.
How to Use Each Application
45



 To Next Page