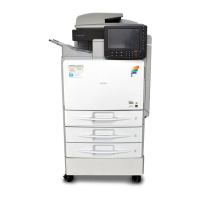
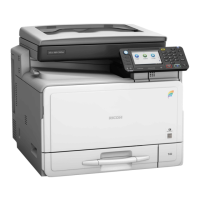
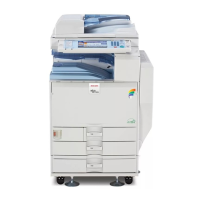
Do you have a question about the Ricoh mp c300 and is the answer not in the manual?
Describes primary function buttons for Fax, Document Server, Copier, Printer, Scanner, and Other Function.
Covers buttons for Reset, Stop, Start, and Sample Copy operations.
Details buttons for Simplified Display, Interrupt, Program, User Tools, Login/Logout, Panel Off, and Energy Saver.
Instructions for loading documents via the automatic document feeder and document glass.
Covers using number keys, powering on, starting, stopping, and resetting machine operations.
Make two-sided copies from one-sided originals by selecting the '1 to 2 sided' option.
Make two-sided copies from existing two-sided originals by selecting the '2 to 2 sided' option.
To collate documents into sets, select the 'Sort' function on the machine.
Choose from the available staple options to finish your documents as required.
Enlarge A4 documents to A3 size quickly using the 'A4>A3' shortcut.
Select the 'Reduce/Enlarge' tab for choosing custom document sizes.
Use the '-/+' adjuster to set a specific percentage for resizing.
Choose desired settings and select 'Store File' to save documents onto the MFD.
Select 'File Name' to enter a name for the document before storing.
Use the 'Delete All' option to remove all stored files from the MFD.
Select '[Document Server]' from the main menu to access stored files.
Select the desired file and press the 'Start' button to print it.
Use the number keys to change the quantity before initiating the print job.
Configure 'Locked Print' via PC, setting User ID and password.
Select '[Printer]' and 'Print Jobs' at the MFD to release documents.
Use the number keys to enter the password and confirm for print release.
Access print settings by selecting 'File', 'Print', and 'Printer Properties' on the PC.
Select settings, choose 'Register Current Settings', and name the new preset.
Use 'Manage Preset List' to reorder, import, or export custom presets.
Select '[Scanner]' and then choose the desired email destination from the list.
Press the 'Start' button to send the scanned document if no further settings are needed.
Select 'Manual Entry' to save an email address as a shortcut for quick access.
Type a descriptive name for the shortcut and select 'OK' to save it.
Saved destinations can be accessed via alphabet titles for convenience.
Select the 'Folder' tab and choose the required network or local folder.
Press the 'Start' button to send the scanned document to the selected folder.
Select 'Send File Type/Name' and then choose 'File Name' to rename.
Type the document name using the on-screen keypad and select 'OK'.
Select the '[Facsimile]' button on the control panel to start.
Use the number keys to type in the recipient's fax number.
Press the 'Start' button to send the document via fax.
Type the fax number and select 'Prog Dest' to save it as a shortcut.
Check the number, select 'OK', and choose an alphabet title for the shortcut.
| Print Technology | Laser |
|---|---|
| Fax Speed | 33.6 Kbps |
| Duplex Printing | Yes |
| Functions | Print, Copy, Scan, Fax |
| Print Speed | 30 ppm (A4) |
| Print Resolution | 1200 x 1200 dpi |
| Copy Speed | 30 cpm (A4) |
| Copy Resolution | 600 x 600 dpi |
| Scan Resolution | 600 x 600 dpi |
| Connectivity | Ethernet, USB |
| Operating Systems Supported | Windows, Mac |
