7. Length between each corner and the top of its adjoining arrow
8. Length between the top of each arrow
3. Write the measured value within the framework of the format.
In total (including both sides of the sheet), measure the position of 16 parts.
• Depending on the paper size, when you print continuously, the feeding interval differs for each
sheet of the first and last 3 to 4 sheets and the sheets in the middle (in the case of printing 10
sheets, the 5th and 6th sheets). Therefore, it is recommended to use the 6th sheet for measurement.
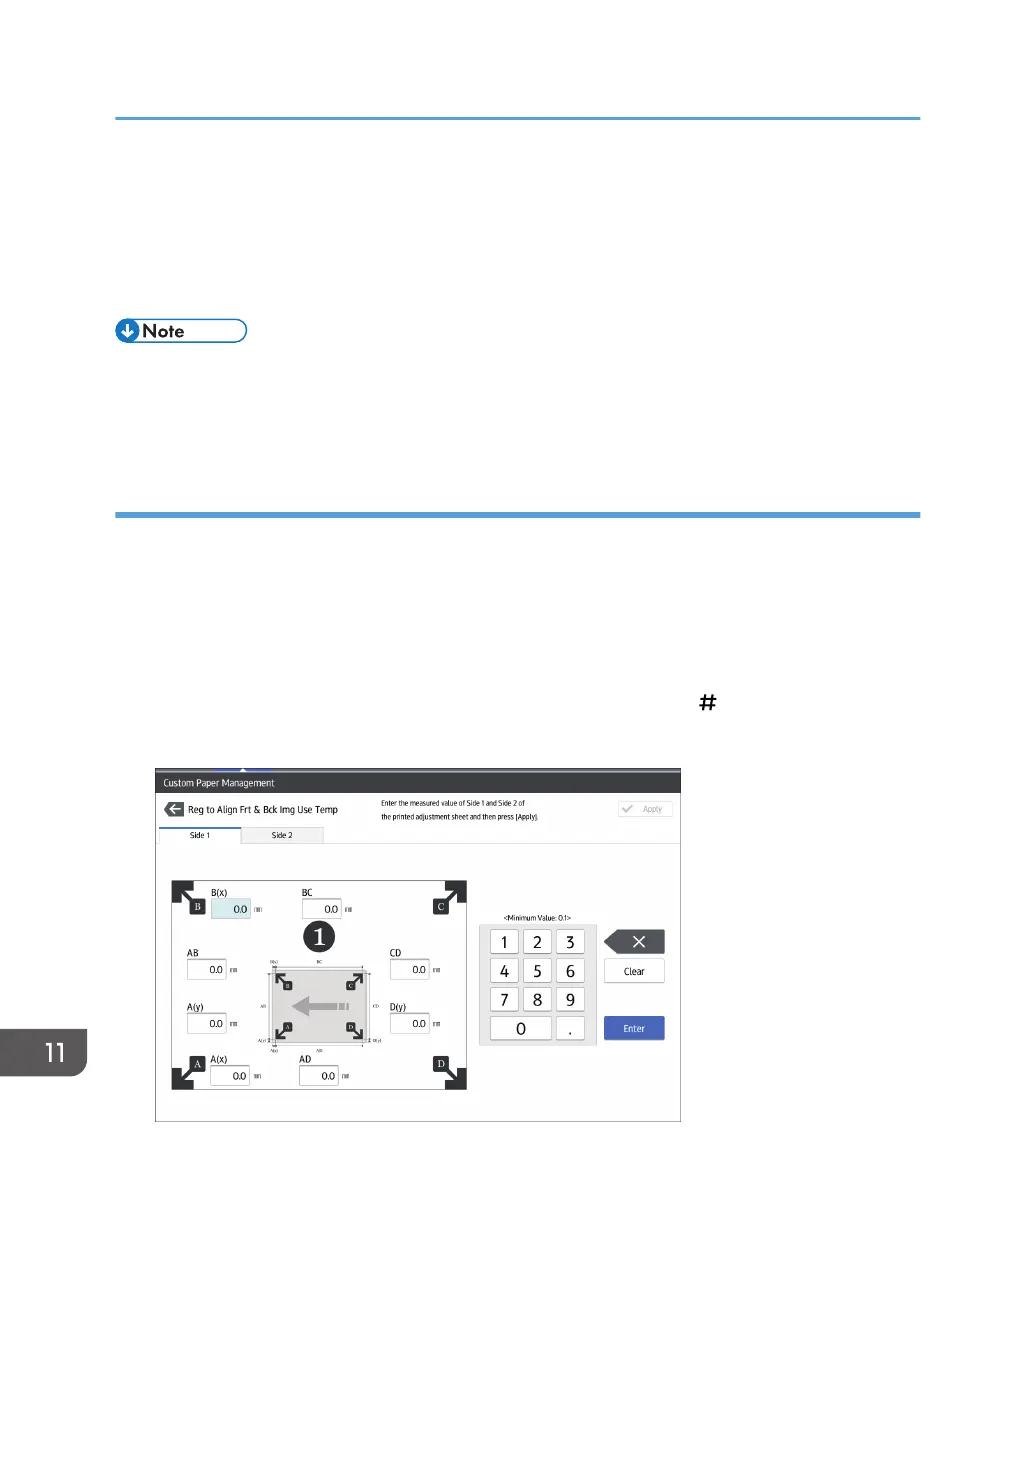
Entering the Value
When you specify the lengths of the template after measuring them, the values to adjust the image
position are automatically calculated and applied.
1. In [Advanced Settings] for the custom paper you are using, select [Registration to Align
Front and Back Images Using Template].
2. Enter the value you wrote on the printed template.
Select the item, enter the value using the number keys, and then press [ ].
You can enter values from 0.1 to 999.9 mm in 0.1 mm increments.
3. Press [OK].
4. Press [Exit].
5. Press [OK].
6. Press [Overwrite].
7. Press [Yes].
8. Press [Exit].
11. Advanced Instructions
334

 Loading...


