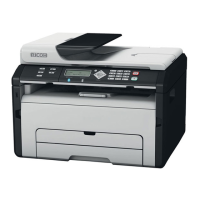
Configuring Network Settings
This section explains how to configure network settings.
• You can configure the IP address easily by installing the driver using Quick Install for networks in
the CD-ROM menu. For details about installing the driver, see the Software Installation Guide.
Configuring the IP Address Settings Using the Web Image Monitor
Setting the machine to receive an IPv6 address automatically
• A DHCP server is required on the network for the machine to receive an IPv6 address
automatically.
Check that [IPv6] and [DHCPv6] are set to [Enable] in [IPv6] in Web Image Monitor. If [DHCPv6] is set
to [Enable], the machine can automatically obtain the IP address.
Assigning the machine's IPv6 address manually
• The IPv6 address assigned to the machine must not be used by any other device on the same
network.
1. Launch the Web browser.
2. In the address bar, enter "http://(machine's IP address)/".
3. Click [Log in].
4. Enter the administrator password, and then click [Log in].
If you are logging in for the first time, enter "admin133" as the password.
5. Click [IPv6].
6. Set [IPv6] to [Enable].
7. Set [DHCPv6] to [Disable].
8. Specify the IP address in [Manual Configuration Address].
9. Specify other settings if necessary.
10. Click [OK].
1. Guide to the Machine
16
 Loading...