Firey
TM
User Manual
www.riomobility.com12
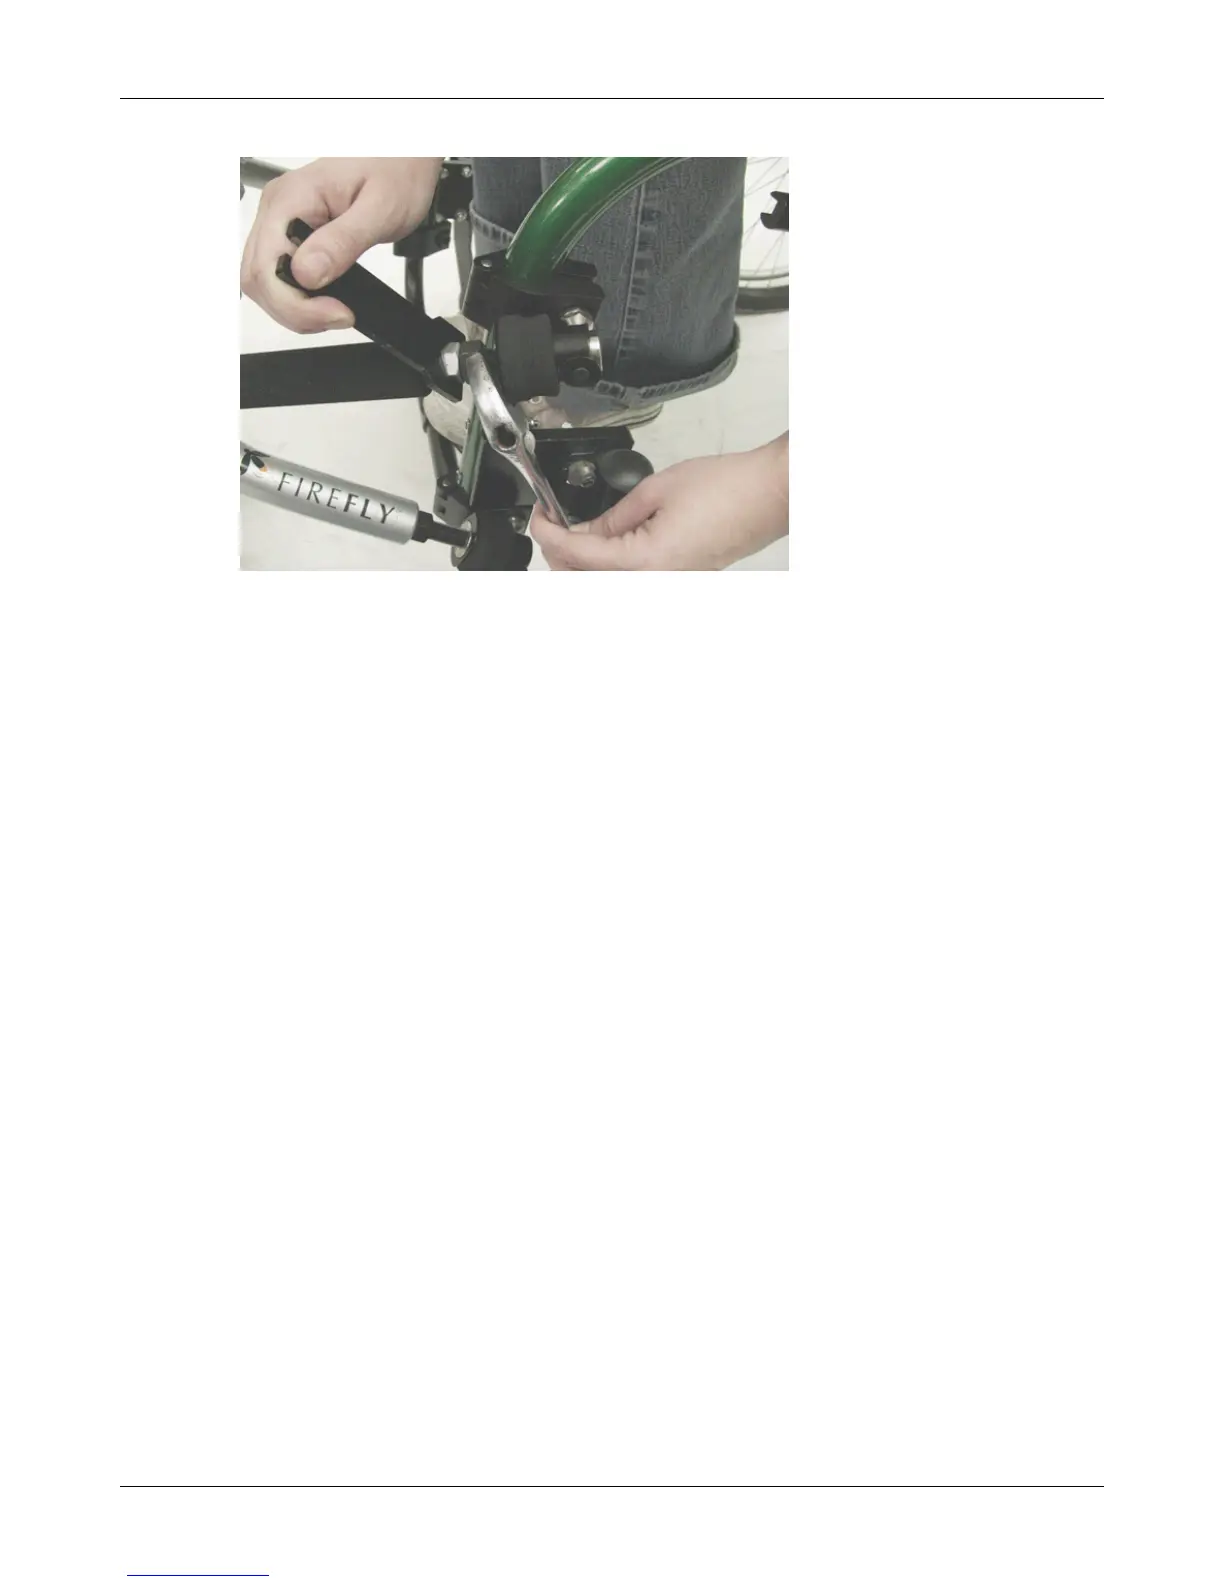
Installing Your Firey
Tighten the Jam Nut on each of the four Arms to a torque of 10ft-lbs. (13.5Nm)
using the included wrenches, as shown below.
MAKE SURE THAT ALL NUTS HAVE BEEN TIGHTENED, including the Wings’ Nuts
and Screws, Upper and Lower Arm Jam Nuts, and all Clamp Screws. Remove the
Blocks from under the front casters. Your handcycle is now installed, and the front
casters should be approximately 2” (50mm) above the ground.
If the Wheel pulls to the left or right, loosen the screws in the Spring Collar.
Center the Wheel, let the Spring Collar rotate into its neutral position, then re-
tighten the screws.
Install the Battery
Once the Battery is fully charged, slide it down the rail until the electrical plugs are
engaged. If desired, you may lock the battery in place with the included keys to
prevent removal.
Turn on both Power switches.
You may wish to further adjust the Firey
TM
after you’ve become accustomed to it, but be sure to
check that all hardware have been tightened after any adjustment, and take your handcycle for a
short test ride after each change.
Your Firey
TM
is ready to drive!
3.
4.
5.
1.
2.