14
Installation Instructions for Use
Using the robot
7. Start cleaning.
When the battery is fully charged, the power indicator
will remain lit. Press the
button or use the app to start a
cleanup.
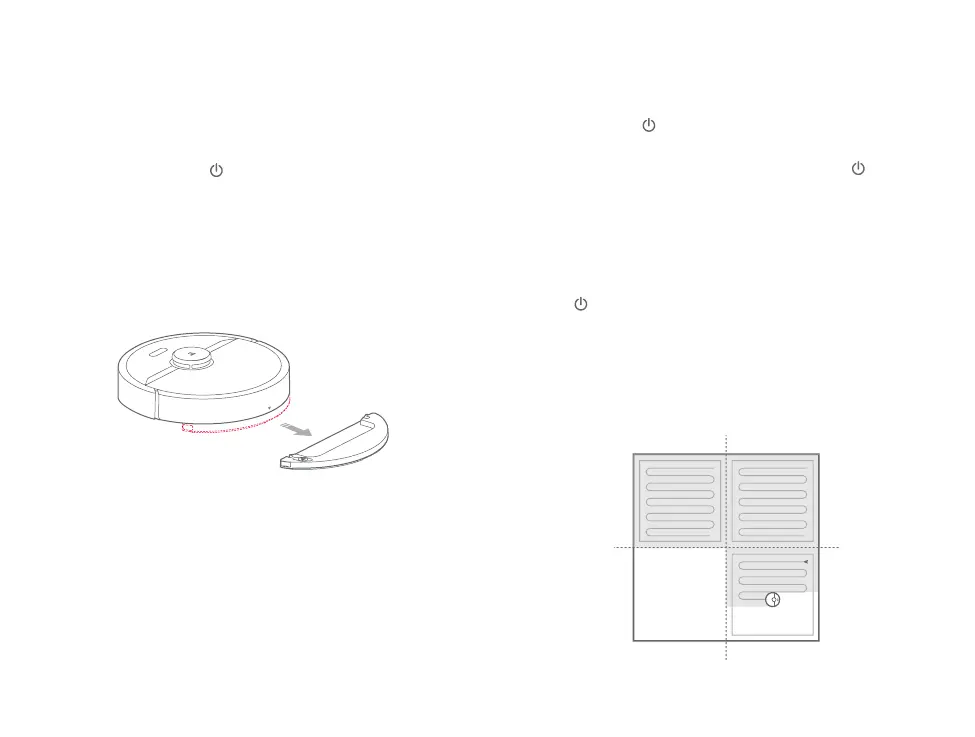
8. Remove the mopping module.
Aer the machine completes cleaning and returns to the
charging dock, press the two side latches inwards and pull
to remove the mop module.
On/o
Press and hold the button to turn on the robot. The power
indicator will turn on and the robot will enter Standby mode.
If the robot is in Sleep mode, press and hold the button to
turn it o and end the current cleanup.
Note:
The robot cannot be turned o when it is charging.
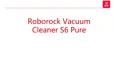
Start cleanup
Press the button to start cleaning. Once started, the robot
will plan its cleaning route based on its scan of the area. It
cleans along the edges of a zone first and then moves in a
Z-shaped cleaning route to cover the internal area eiciently
and thoroughly.
Note:
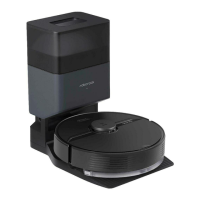
• When the charging dock is placed on a wooden floor, always use it with the
moisture-proof mat to prevent moisture damage.
• Remove the mopping module aer mopping, empty residual water and clean the
mop cloth to prevent mildew or unpleasant odors.
• Remove the mopping module if not mopping.
Zone 1 has been cleaned.
Zone 4 is pending.
Zone 2 has been cleaned.
Zone 3 is being cleaned.