EasyManuals Logo

Rockwell Automation Allen-Bradley 1756-EN2T Installation Instructions

Rockwell Automation Allen-Bradley 1756-EN2T
76 pages
To Next Page IconTo Next Page
To Previous Page IconTo Previous Page
Page #28 background imageLoading...
Page #28 background image
28 Rockwell Automation Publication ENET-IN002H-EN-P - August 2017
Chapter 2 Install a 1768 EtherNet/IP Communication Module
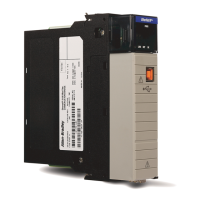
2. Open the DIN rail latches on the module.
3. Align and press the module onto the DIN rail to the left of the controller.
4. Slide the module snugly against the controller.
5. Mount the 1768 power supply and additional 1768 modules to the left of
the controller.
6. Close the DIN rail latches.
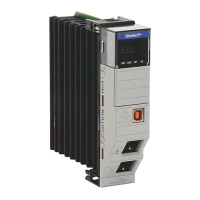
In this example, the 1768 EtherNet/IP communication module is installed in
slot 1 and the 1768 CompactLogix controller is installed in slot 0.
31597-M
31599-M

Table of Contents

Other manuals for Rockwell Automation Allen-Bradley 1756-EN2T

Questions and Answers:

Question and Answer IconNeed help?

Do you have a question about the Rockwell Automation Allen-Bradley 1756-EN2T and is the answer not in the manual?

Rockwell Automation Allen-Bradley 1756-EN2T Specifications

General IconGeneral
BrandRockwell Automation
ModelAllen-Bradley 1756-EN2T
CategoryNetwork Hardware
LanguageEnglish

Related product manuals