6
• Take the K2 Cable
(supplied) and connect the
male 7pin plug to the 7pin
input socket on the back
panel of the power supply.
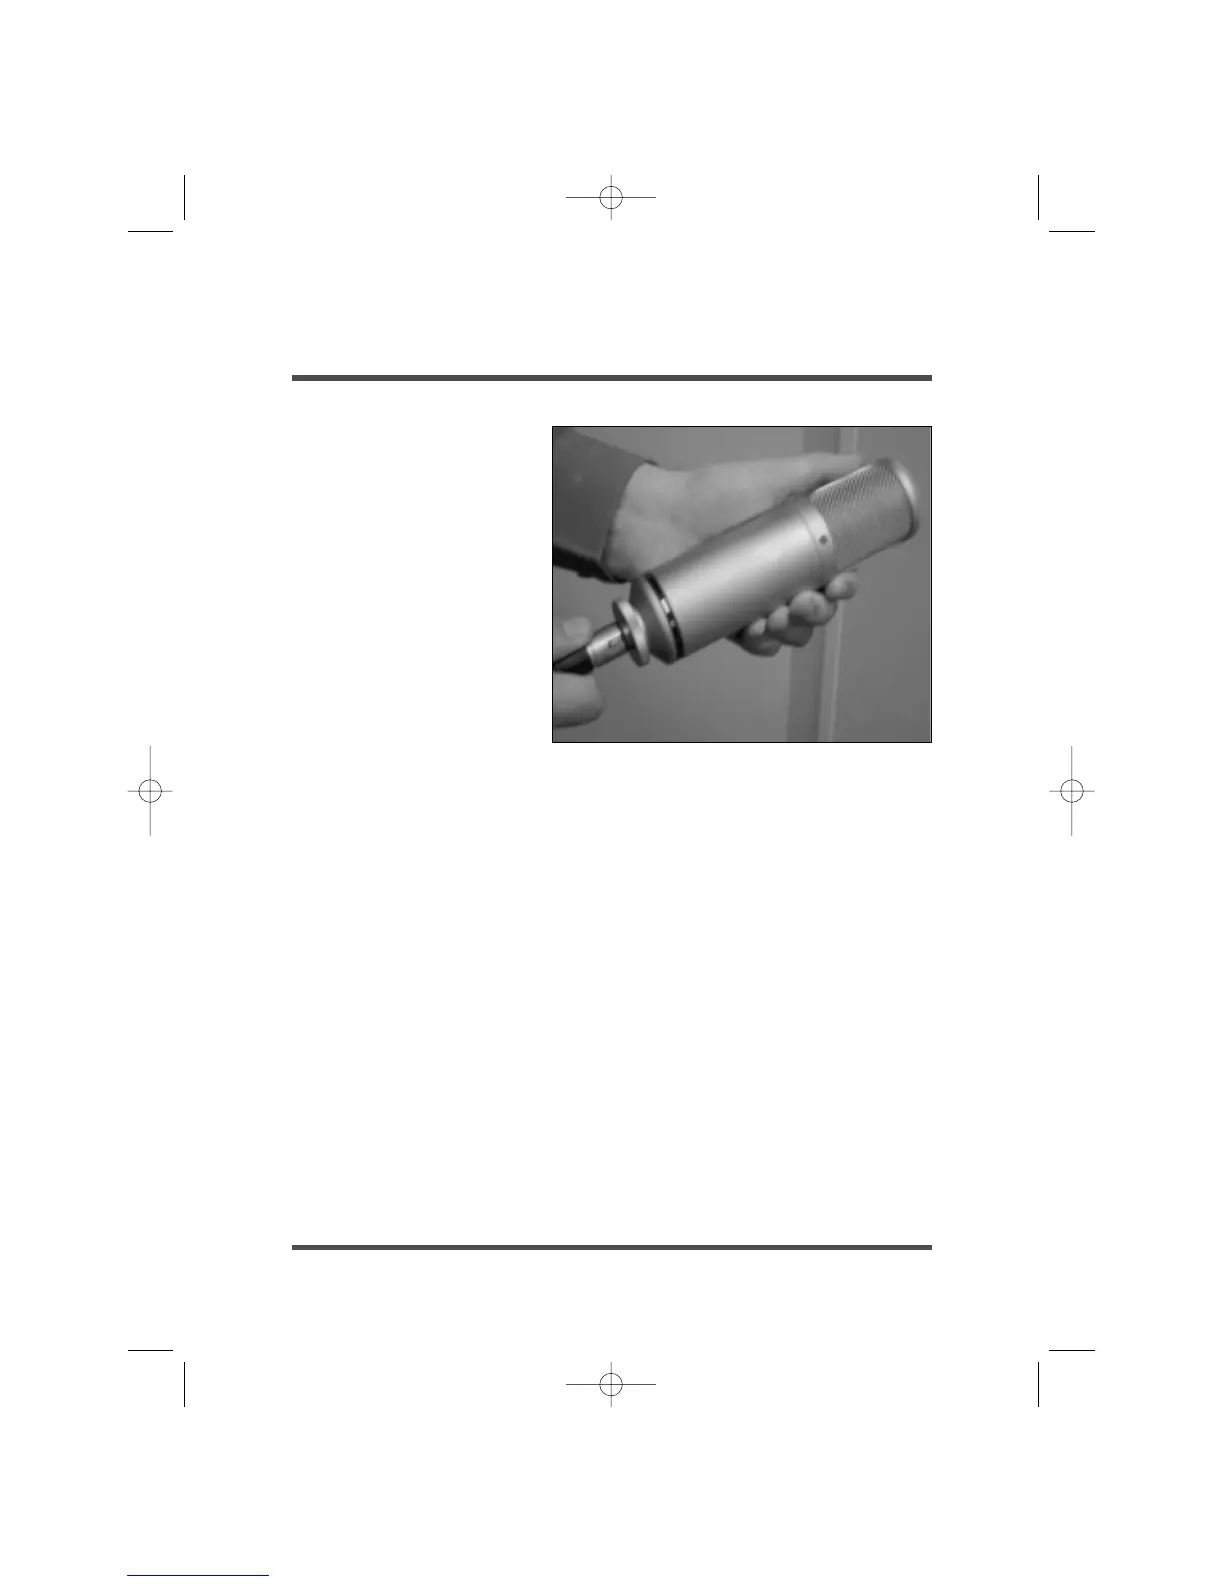
• Connect the other end of
the cable (female 7pin plug)
to the microphone. (See
Picture). Ensure that both
these plugs are correctly
aligned and pushed firmly
into their respective sockets.
• Now connect a microphone
cable to the output socket
of the power supply taking that output into your mixer/pre-amplifier. We suggest
you use a high quality microphone cable preferably with gold-plated contacts. Use
as short a cable as is reasonable, as long cables can adversely affect sound quality.
• Ensure that the K2 is fixed securely (using the SM2 shock mount) to a stable
microphone stand. The K2 condenser microphone is a precision instrument, and
should not be dropped, banged or knocked. Take care.
• Connect the power supply to the mains supply, and you are ready to switch on
and begin using the K2.
• When you switch on the unit, the blue LED on the power supply will glow. It is
wise to allow a minute or two to ensure that the K2 is stabilised and ready for use.
• For vocal use, we recommend the use of a ‘Pop-Stopper’ wind screen, which
will help to reduce high-level plosives which are evident when ‘B’ and ‘P’
sounds are emitted within close proximity to the microphone.
• If an Earth Loop is present, (a mains frequency hum), there is a Ground Lift
switch on the back panel of the power supply which should be raised to the ‘lift’
position. This earth loop can appear when two devices which are both earthed
are connected together.