3
Instructions
1. Turning on the Wireless Go
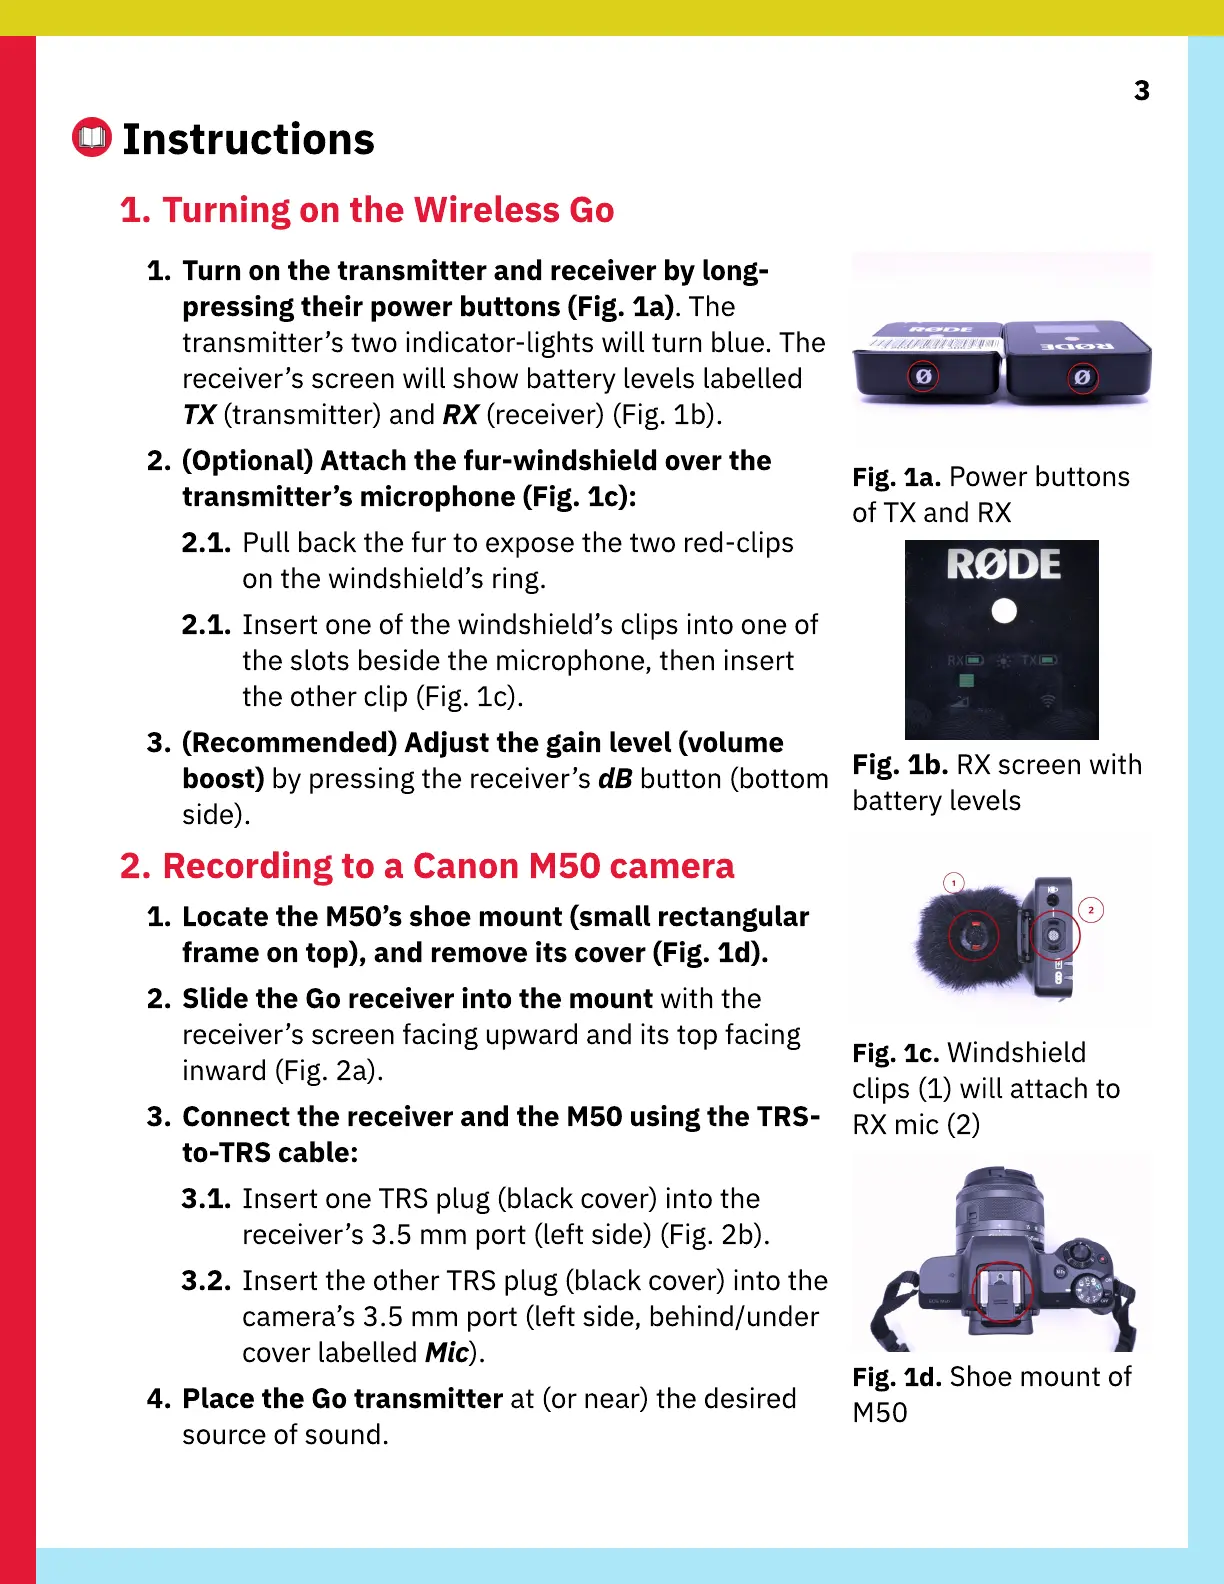
1. Turn on the transmitter and receiver by long-
pressing their power buttons (Fig. 1a). The
transmitter’s two indicator-lights will turn blue. The
receiver’s screen will show battery levels labelled
TX (transmitter) and RX (receiver) (Fig. 1b).
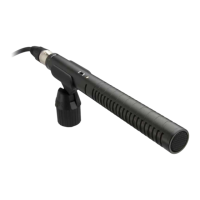
2. (Optional) Attach the fur-windshield over the
transmitter’s microphone (Fig. 1c):
2.1. Pull back the fur to expose the two red-clips
on the windshield’s ring.
2.1. Insert one of the windshield’s clips into one of
the slots beside the microphone, then insert
the other clip (Fig. 1c).
3. (Recommended) Adjust the gain level (volume
boost) by pressing the receiver’s dB button (bottom
side).
2. Recording to a Canon M50 camera
1.
L
ocate the M50’s shoe mount (small rectangular
frame on top)
,
and remove its cover (Fig. 1d).
2.
S
lide the Go receiver into the mount with the
receiver’s screen facing upward and its top facing
inward (Fig.
2
a).
3. Connect the receiver and the M50 using the TR
S
-
to-TR
S
cable:
3.1. Insert one T
RS
plug (black cover) into the
receiver’s
3
.
5
mm port (left side) (Fig.
2
b).
3.2. Insert the other T
RS
plug (black cover) into the
camera’s
3
.
5
mm port (left side, behind
/
under
cover labelled
Mic
).
4
.
P
lace the Go transmitter at (or near) the desired
source of sound.
Fig. 1a. Power buttons
of T
X
and
RX
Fig. 1b.
RX
screen with
battery levels
Fig. 1c.
W
indshield
clips (1) will attach to
RX
mic (
2
)
Fig. 1d.
S
hoe mount of
M
5
0