3.
Control
Assign
The
JX-10 allows
you to control some of the
per-
formance
control functions with the
Control
Assign Knobs on the
control
panel
and
the
Pedal
Switch
{DP-6 or DP-2). This is exeilent in
live per-
formance. However, the functions which
can
be
controlled are only
two of
the
four with the two
Control Assign Konbs and one of the four by the
pedal switch at a time. (See the table shown on
the next
page!. The following explaines
how to
assign the
functions to the i<nobs and the pedal
switch. The
function assigned to each knob is con-
trolled by moving
the
slider, and
the function
assigned
to the pedal switch is controlled with the
pedal
operation. We call these eight functions
Control Assign
functions.
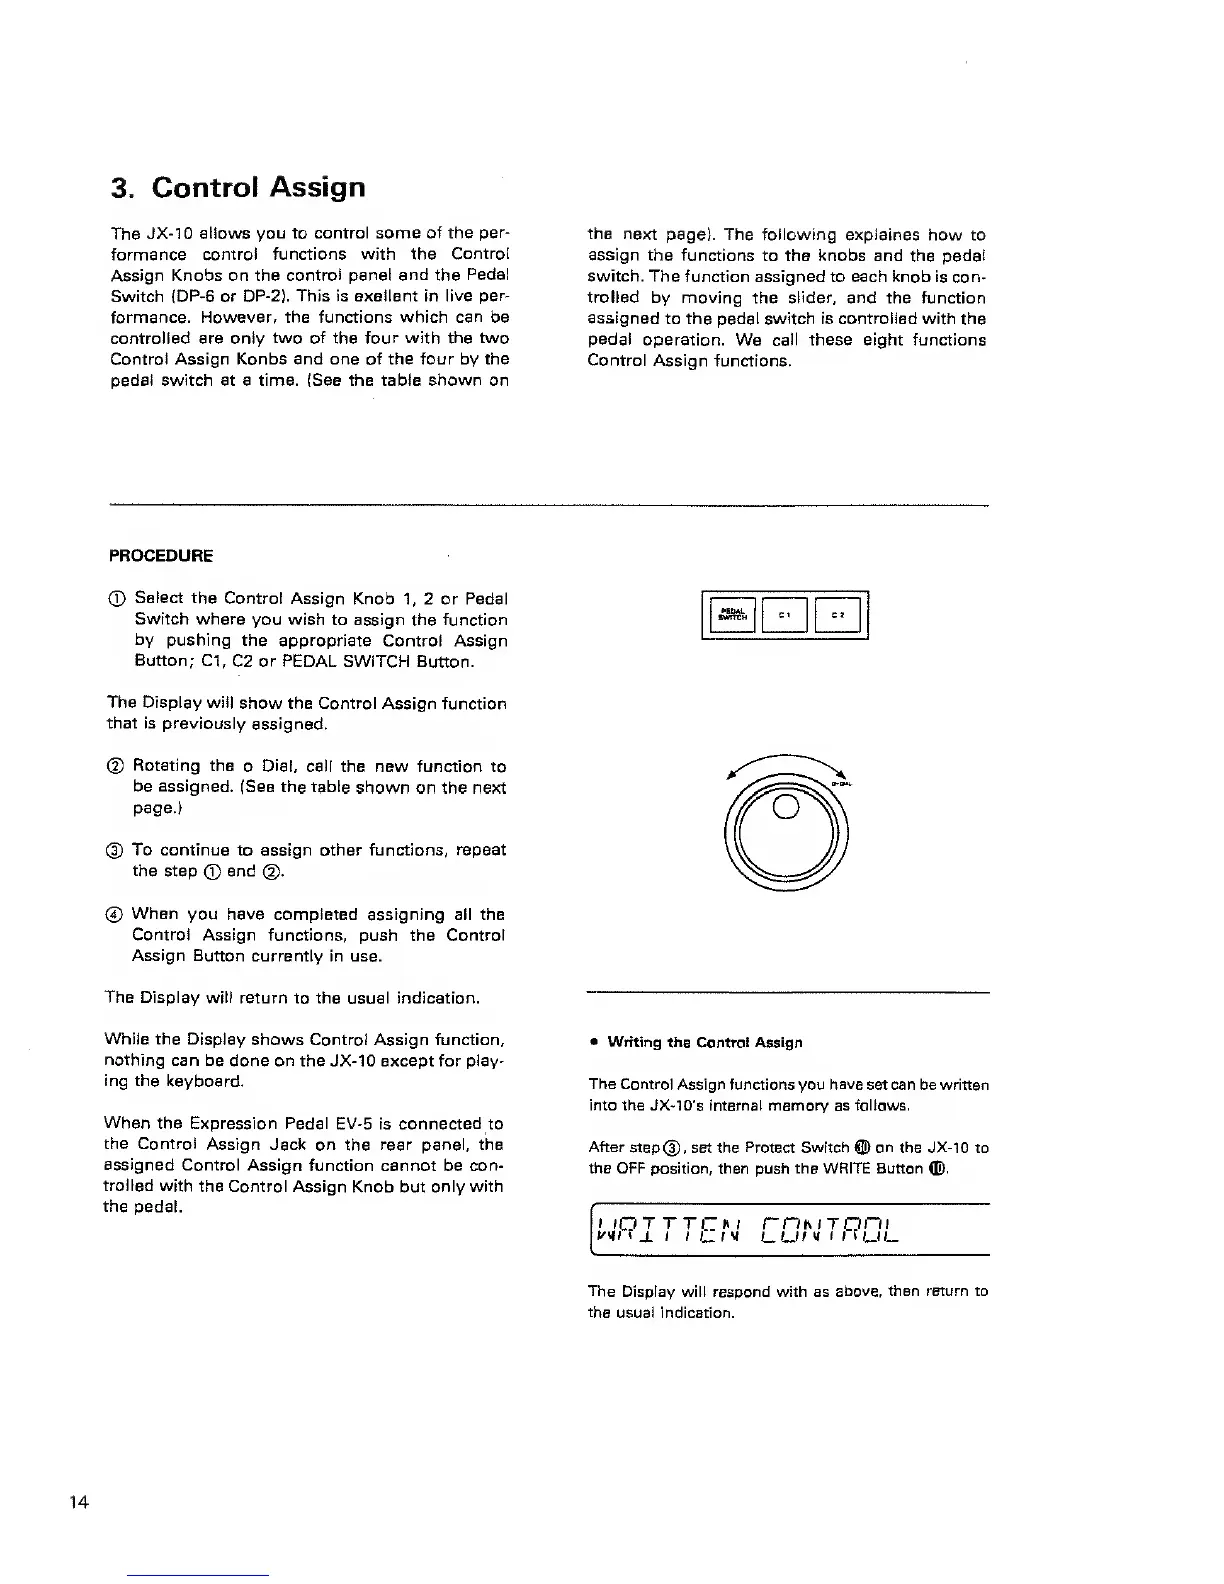
PROCEDURE
CD
Select the
Control Assign
Knob
1,
2 or Pedal
Switch where
you wish to assign the function
by
pushing the appropriate
Control Assign
Button; CI,
C2 or PEDAL SWITCH Button.
ED ED
The Display will
show the Control
Assign
function
that is previously
assigned.
©
Rotating the
a
Dial,
call the new function to
be assigned.
(See the table
shown on the next
page.}
@
To continue to assign other functions, repeat
the
step
®
and
@.
®
When
you have completed assigning all the
Control Assign functions,
push the
Control
Assign Button
currently in use.
The Display will
return to the usual indication.
While the Display
shows Control Assign function,
nothing
can be
done on the JX-10 except for play-
ing the
keyboard.
When
the Expression Pedal EV-5
is
connected
to
the Control
Assign Jack on
the
rear panel, the
assigned
Control Assign
function cannot be con-
trolled with
the Control Assign
Knob but
only with
the
pedal.
•
Writing the
Contro!
Assign
The Control
Assign functions you
have
set can be written
into the JX-TO's internal memory as follows.
After
stepCs), set the
Protect
Switch
®
on
the JX-10 to
the OFF position, then
push
the WRITE Button
®.
I
(OTTT)~ft( rntKiTnni
The
Display will respond with as
above, then return to
the
usual indication.
14
 Loading...