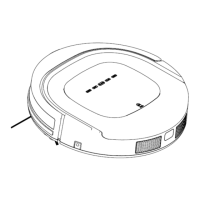
Product Operation
Scheduling
You can schedule the robot and set it to start cleaning automatically at a certain time every day.
How to schedule the robot
Note: The robot can only be set when it’s in standby mode or charging mode. If the robot is in sleep
mode, press on main body or ON/OFF on remote control to wake it up. If the robot is in
cleaning mode, stop it before scheduling.
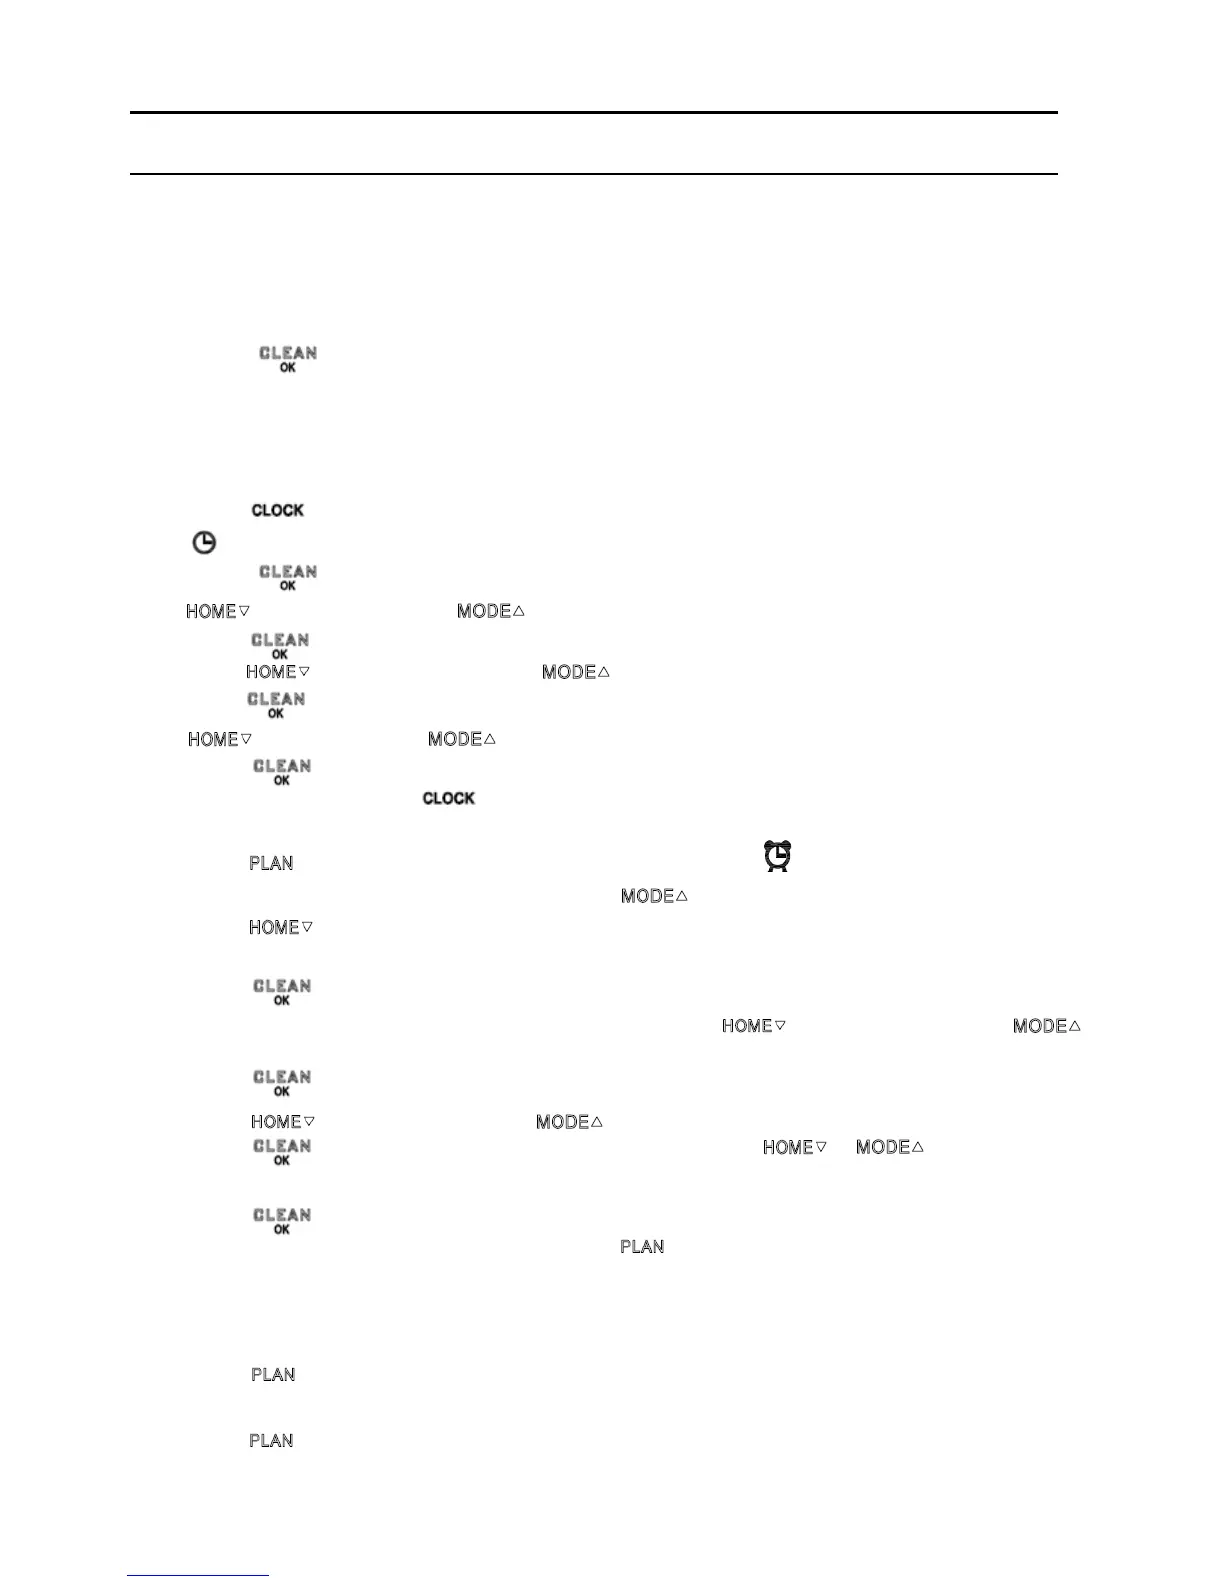
1. Scheduling by the LED panel on robot
A. Setting robot clock (keep the robot in standby mode or power switched on)
Press to enter time checking mode, the LED panel will show the current system time,
will light on.
Press to enter the hour-setting mode, the left two numbers on LED panel will flash,
press to decrease hour or to increase it.
Press to enter the minute-setting mode, the right two numbers on LED panel will flash,
press to decrease minute or to increase it.
Press to enter the weekly-setting mode, weekly scheduling indicator will flash, press
to decrease it or to increase it.
Press to confirm the setting and revert to time checking mode, (during setting, the
current setting won’t be saved if was pressed to quit).
B. Check scheduling setting
Press to enter scheduling checking in standby mode, will light on, the LED panel will
show the scheduling time of Sunday, press to show the scheduling time of next day,
press to show the scheduling time of previous day.
C. Setting scheduling time (keep the robot in standby mode or power switched on)
Press to modify scheduling mode and enter the hour-setting in scheduling checking
mode, the left two numbers on LED panel will flash, press to decrease hour or to
increase it.
Press to enter the minute-setting mode, the right two numbers on LED panel will flash,
Press to decrease minute or to increase it.
Press , weekly scheduling indicator will flash, press or to select separate
day, Monday to Friday and daily scheduling.
Press to confirm the setting and revert to scheduling checking mode, (during setting, the
current scheduling setting won’t be saved if was pressed to quit).
D. Cancel scheduling
Set the scheduling time to 00:00 in scheduling mode.
E. One key to set the scheduling or cancel it
Press and hold it for more than 2 seconds to set the current time of robot to daily
scheduling time in standby mode.
Press and hold it for more than 2 seconds to quit all scheduling time in scheduling checking
mode.