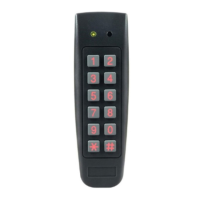
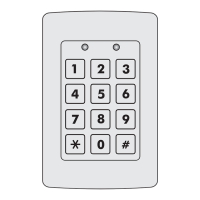
Installation
AC-Q4x Series Installation and Programming Manual 15
The central hole, marked “C” is for routing the wiring to the
controller.
5. Drill an additional 10-mm (
7
/
16
”) hole for the cable. When
installing the reader on a metallic surface, cover the inside of the
hole with a grommet or electrical tape.
6. Insert the unit’s cable wire into the cable hole and wire the unit
as described in Section 3.2.
7. Screw the back plate into the surface. Ensure the screws are the
size specified on the installation template.
The unit can also be mounted using strong epoxy glue. After
application, firmly hold the unit in place until the glue dries.
8. Carefully re-attach the front cover of the unit.
9. Secure the front cover by using the supplied security Torx screw.
A Torx security screw tool is provided to tighten the security Torx
screw.
3.2 Wiring
The controllers are provided either with a pre-wired cable or with a
screw-type terminal block:
Pre-wired Cabling Models Terminal Block Models
AC-Q41SB AC-Q41HB/HP
AC-Q42SB AC-Q42HB
AC-Q44
 Loading...