030 GB/US
Installation
1
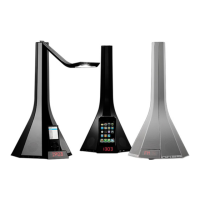
Carefully unpack your system. Save all packing
materials, as these provide the safest way to transport
your Diva. If any of the product appears damaged do
not use it. Notify the retailer immediately. Check that
your Diva contains the parts identified in Fig. 1 below.
2
Remove the transparent labels from the batteries
of both the Remote Control and the Diva base Fig. 2
3
Select the correct FM pin position. For more infor-
mation about your part of the world see Fig. 2 and the
Radio section of this manual.
4
Attaching the transformer plug adapter. Choose
the correct plug adapter for your region, then pull
the OPEN switch towards the cable to attach it to the
transformer base. Insert the end furthest from the mains
cable first to fix it securely.
5
Connecting the power. Insert the mains cable into
the back of the Diva, then plug the complete transfor-
mer into the mains socket. The LED display will show
00.00 and the system is in standby mode. Fig. 3
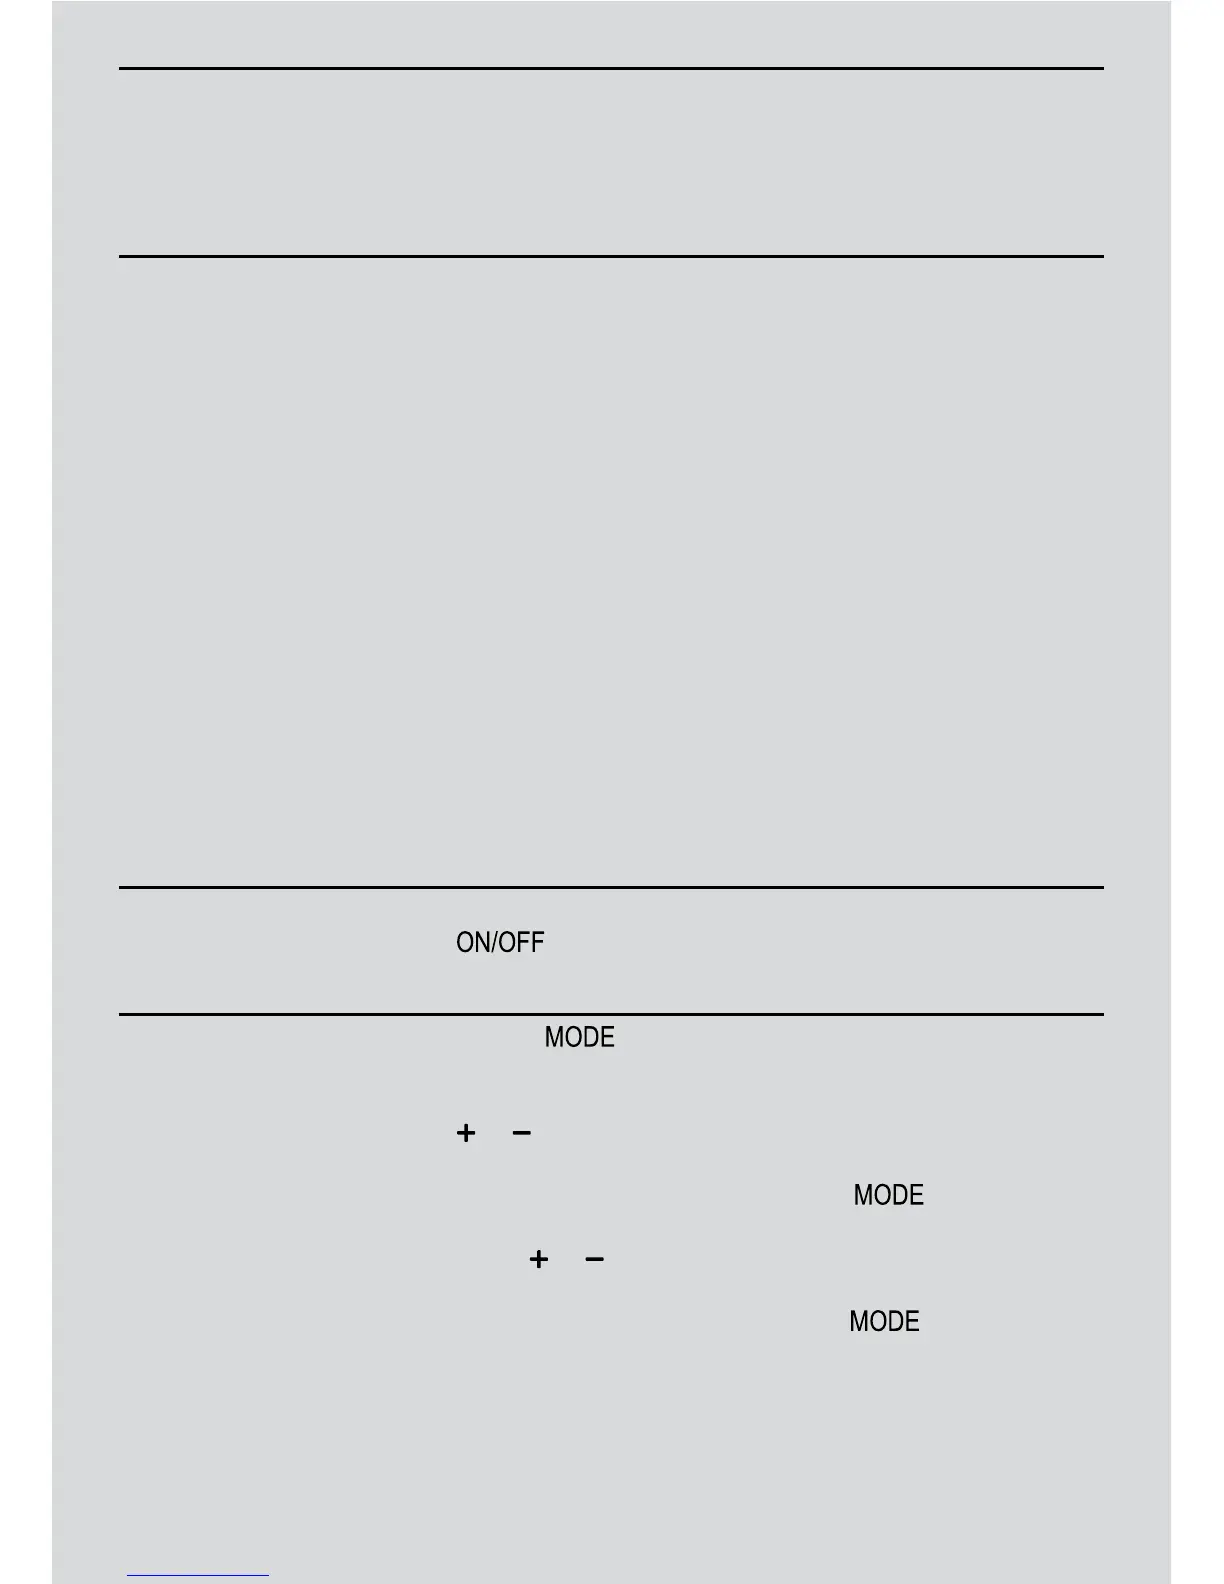
Turning on the system
1
From the Remote Control or Control Panel - press
to turn on the system.
2
The LED display will show 00.00.
Setting The Clock
1
Press and hold for 2 seconds to set or adjust
the time.
2
Setting the hour: when the first 2 digits flash press
or on the Control Panel to increase or reduce the
hour. This changes slowly at first, then faster. Once
you reach the correct hour, press to confirm.
3
Setting the minutes: when the last 2 digits flash,
press or to increase or reduce the minutes.
These change slowly at first, then faster. Once you
reach the desired minutes, press to confirm.
4
Unplugging the power: the system has sufficient
power to enable the clock to keep the correct time.
Installation and Operation