8
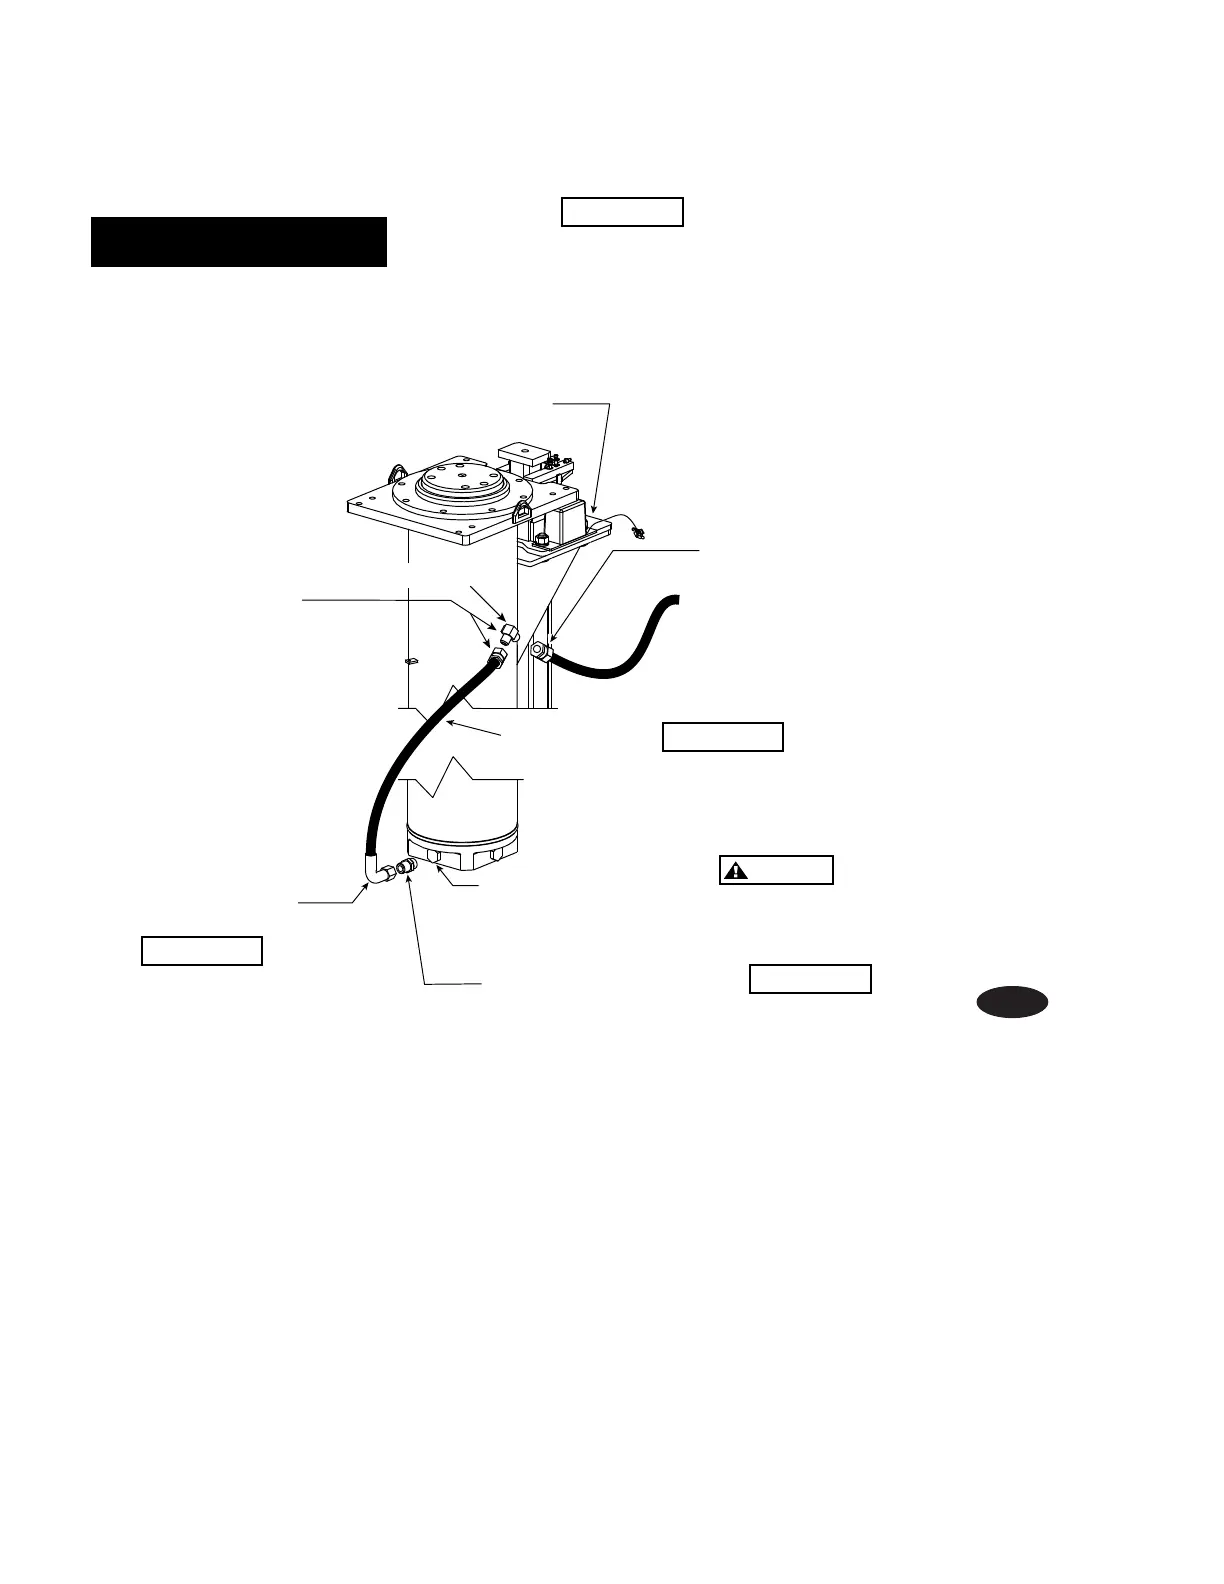
Fig.7b
(A.) Remove Plug From
Post (The Plug
Opposite Locking Latch
Plate)
(B.) Insert #12 Male Adapter
(O-Ring Into Post FA2421)
(C.) Install Post
Hose (90 Elbow)
Into Male Adapter
(FD919)
Different Hose
From Moveable Post
42" Hose
(D.) Attach Other End Of
Post Hose Onto Elbow
Located Midway Up Post
(Port Oriented Away From
Locking Latch Plate)
O
Locking Latch Plate
Stationary Post
All Hydraulic Hoses Should Be
Attached To Posts Before
Lowering Them Into Housings
Hydraulic Hoses Should Be Installed
With Posts Laying down. Laying Posts Down Prevents
The Piston In The Post From Pushing Out Too Much
Hydraulic Fluid While Installing The Male Adapter And
Hydraulic Hose. This Is Important To The Bleeding
Procedure Done Later In The Installation.
Some Hydraulic Fluid
May Spray Out While Removing The Plug
From The Post
IMPORTANT
IMPORTANT
Different Hose
From Moveable Post
IMPORTANT
IMPORTANT
CAUTION
JIC Flare Fitting
(E.) Attach 60" Hydraulic Hose Onto
Elbow Port Oriented Toward
The Locking Latch Plate

 Loading...