www.rotexautomation.com
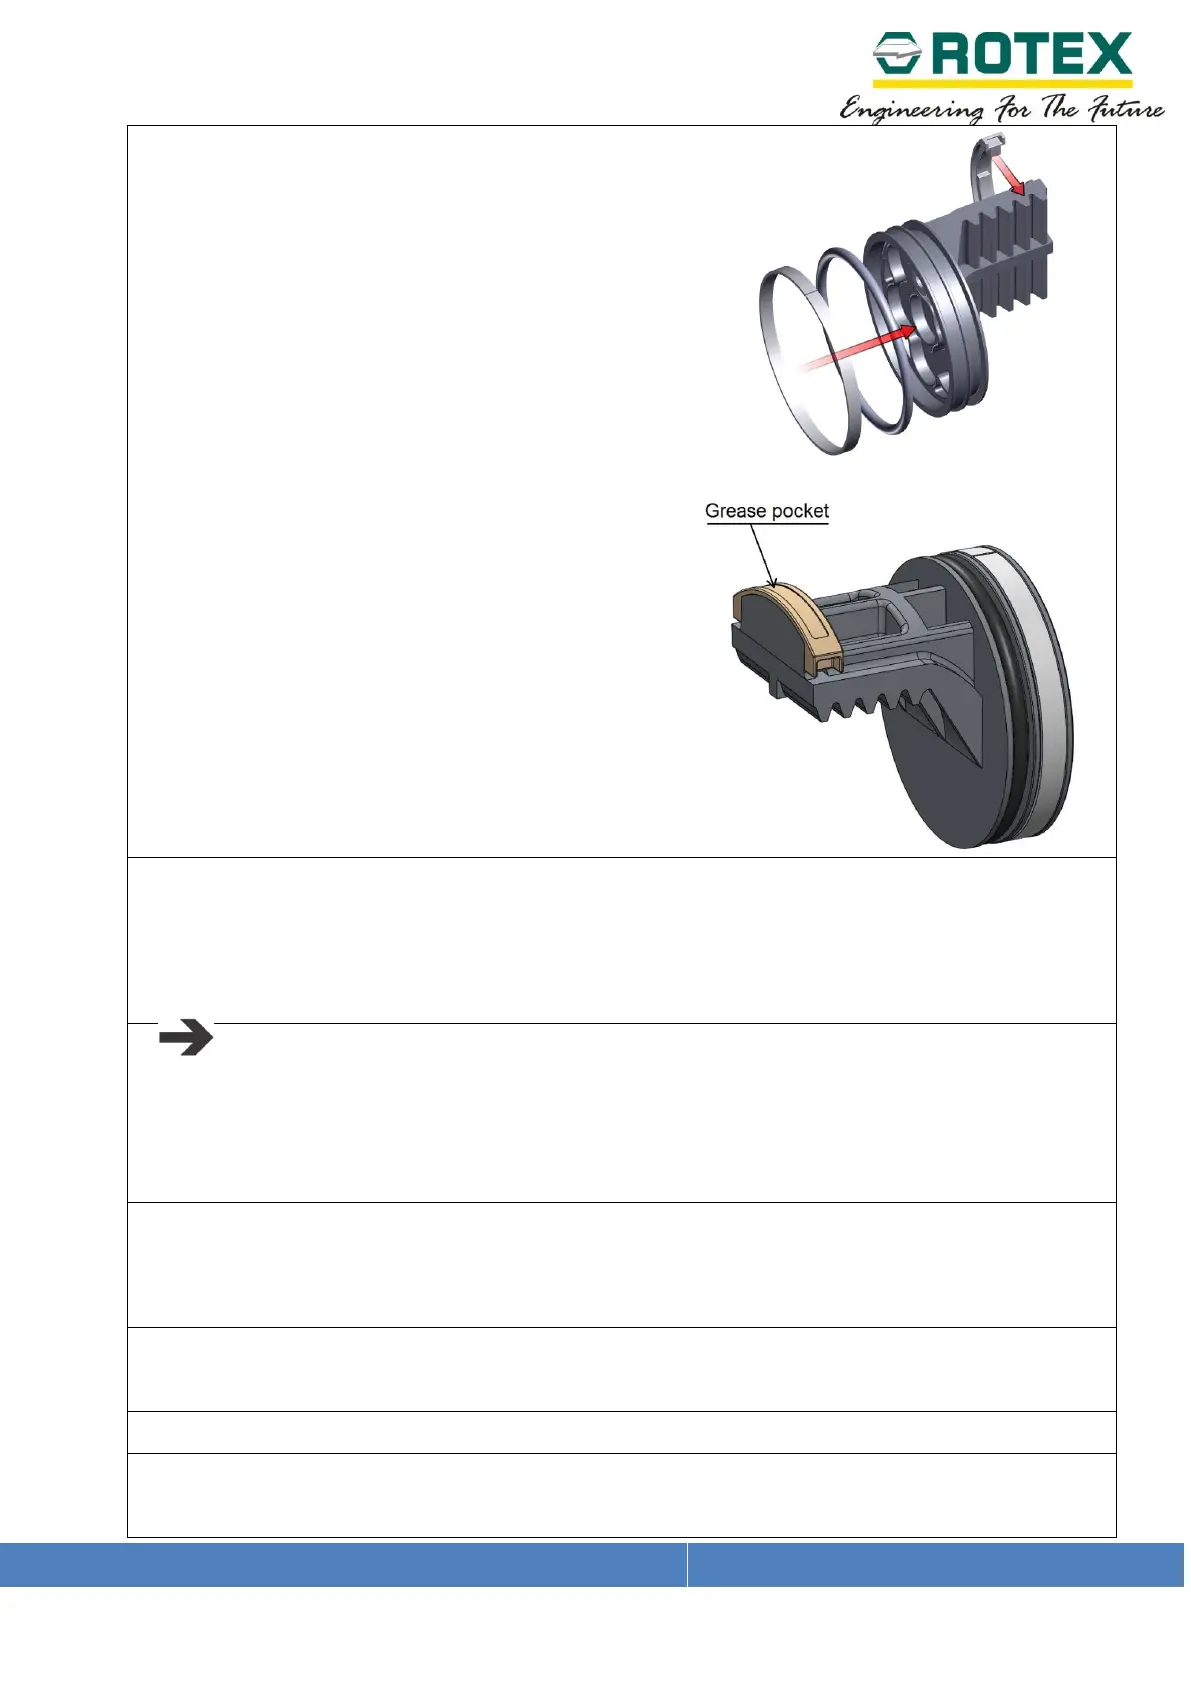
h. Fit rack bearing in piston with rack.
i. Apply grease on outer surface of rack
bearing and put some grease in pocket
j. Ensure both the pistons are engaged in the same position.
Same amount of gap between the face of each piston and the end of the body will
confirm this.
k. For spring return actuators, insert the springs.
NOTE:
While assembling springs and end caps on spring return actuators, it is necessary to
have the actuator body in the vertical position. This is required to ensure that springs
remain properly aligned and centered during assembly.
q. Fix the seals #16 on the left and right end caps and install on to body.
Ensure the air ports on the end caps are aligned properly.
Ensure uniform tightening sequence of the bolts 1 – 3 – 2 – 4.
r. Install stroke adjustment screws #5A and 5B with o-rings #23, washers #24, and
lock nuts #13.
s. Apply air to Port A to move pistons to the extended 90 degree position.
t. Adjust stroke adjustment screw #5A for the 90 degree position, turning clockwise
until the screw is barely touching the piston. Tighten the lock nut.