17
It’s Under Control
®
CHAPTER 3 | INSTALLATION AND OPERATION
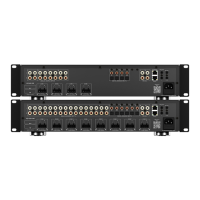
CONNECTING THE 115VAC POWER CORD
The included AC power cord must be inserted into the AC input receptacle
on the AD-4. When the AC power cord is connected to a power source,
press the Power button to turn the AD-4 on and off.
CONNECTING LOCAL AUDIO SOURCES
The AD-4 has four sets of RCA audio inputs for connecting up to four
external source components. These four audio sources can be selected to
play in up to four zones. A user in one zone can listen to one audio source
while another user in a different zone listens to a different audio source.
Also, if users in more than one zone choose the same audio source, control
of that source is shared between the zones.
ZONE1 ZONE 2
ZONE 3
ZONE 4
POWER
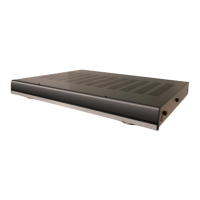
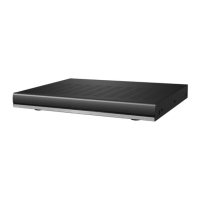
Model AD-4
Audio Distribution System
FREE STANDING
The AD-4 ships with four removable feet that allow the AD-4 to be placed
on a at surface. To maintain proper ventilation and cooling, do not install
the AD-4 on a at surface without the feet.
RACK MOUNT
The AD-4 can be mounted in a component rack as part of a comprehensive
audio/video electronics system using the included rack mounting ears.
Align the rack mounting ears with the screw holes located on the sides
of the AD-4 near the front. Fasten the rack ears to the AD-4 using three
screws (supplied). Remove feet before mounting in a rack.
NOTE: To maintain proper ventilation, it is recommended that you leave a
rack space above and beneath the AD-4 if possible.
Foot
Rack Mounting Ears
AD-4 Local Inputs Audio Source (ex. Receiver)