13
GETTING STARTEDGETTING STARTED
43
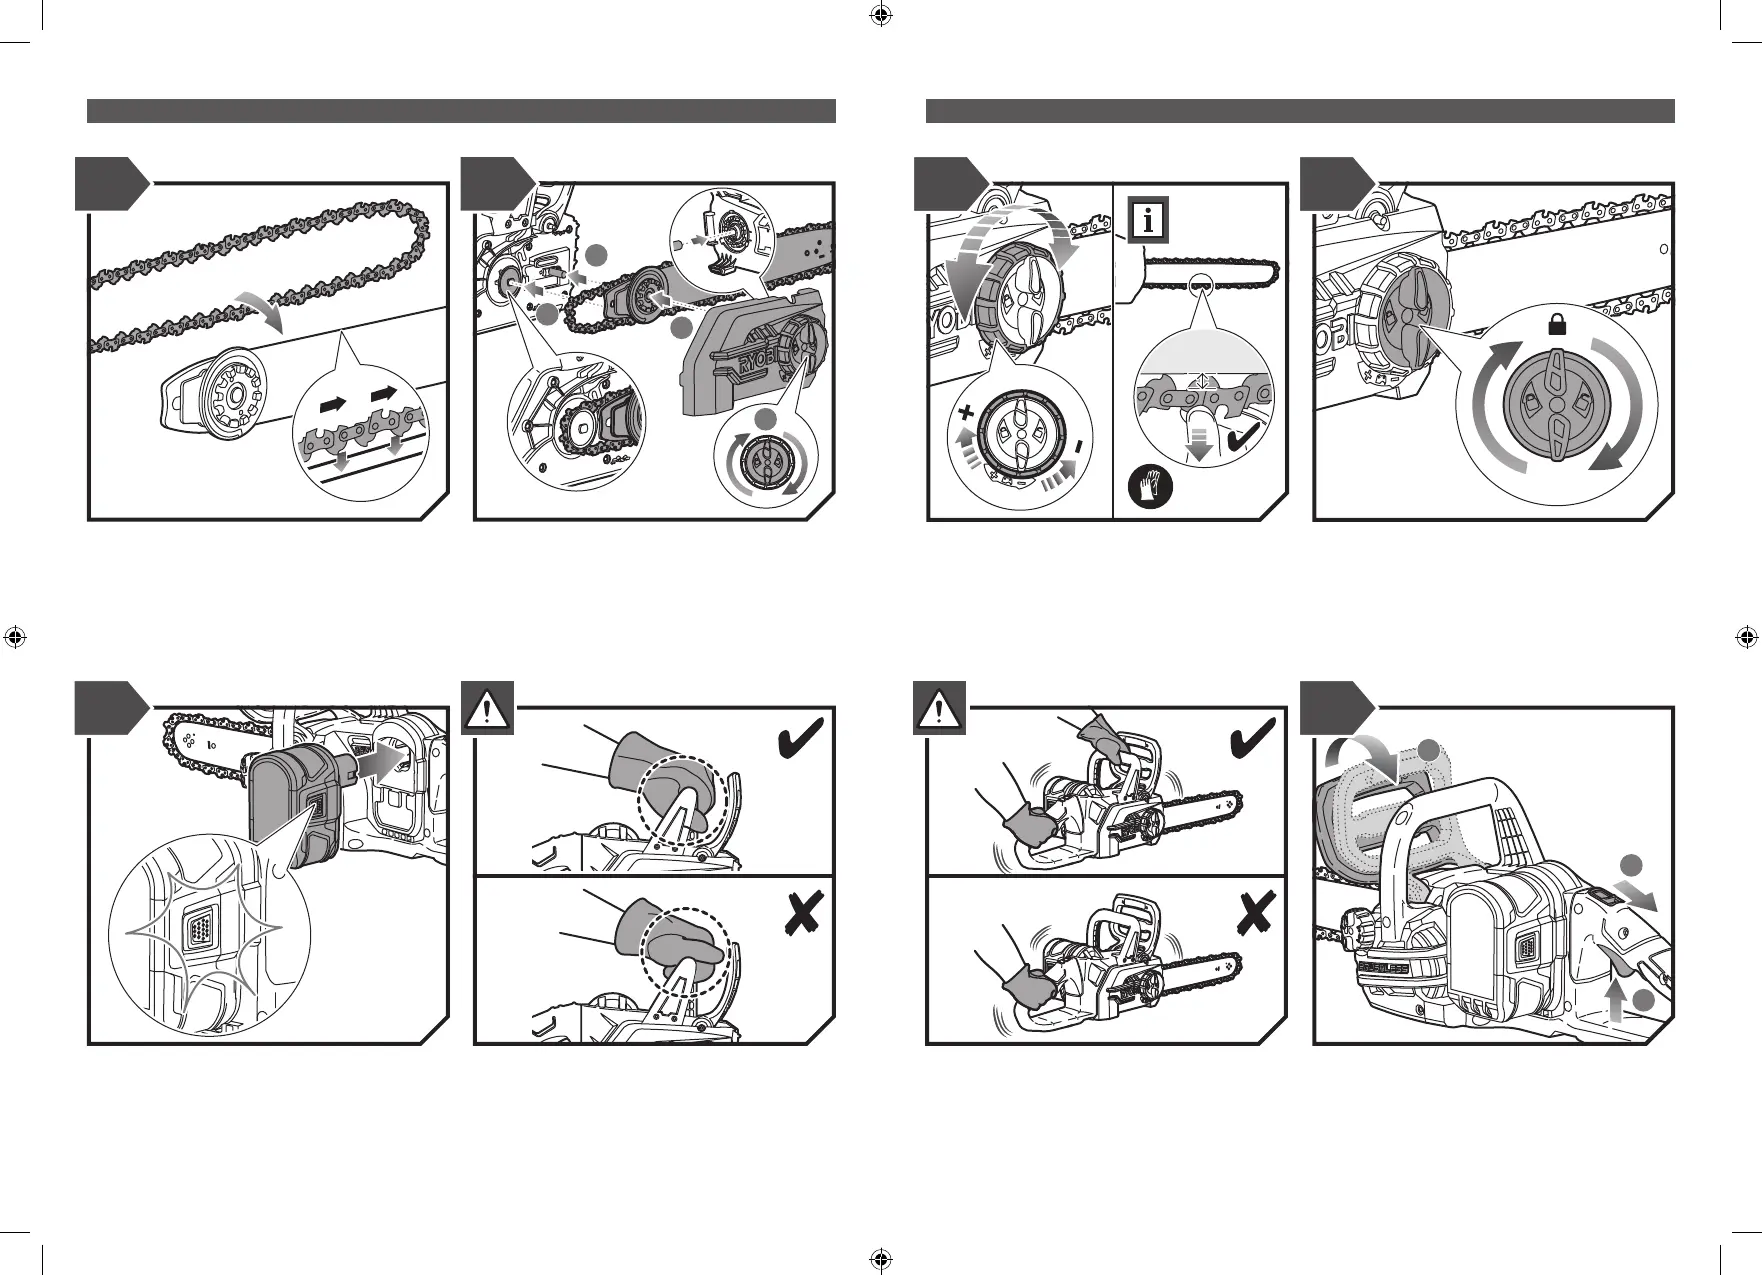
Install the chain on the bar. Ensure that the chain is
placed in the correct direction and the drive links are
aligned in the bar groove.
Slide the end of the chain over the drive sprocket at a
slight angle, and t the bar to the chainsaw in position.
Reinstall the sprocket cover.
NOTE: Turn the inner chain tensioner counterclockwise as
far as it goes to easily t the chain.
8
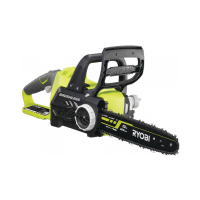
Insert the battery pack until the latches snap in place.
WARNING: Hold the front handle with your left hand so
that the thumb is underneath the handle.
6
5
Adjust the chain tension until the gap between the drive
teeth and the bar is between 4–5.5 mm.Turn the chain
tensioner adjustment ring clockwise to increase the
tension. Turn the adjusment ring counterclockwise to
reduce the tension.
NOTE: Frequently check the chain tension while turning
the adjustment ring. Always wear protective gloves when
handling the chain.
Turn the chain tensioner knob clockwise to lock the chain
tensioner adjustment ring.
9
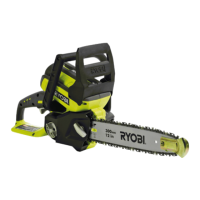
WARNING: Always hold the chainsaw with your right
hand at the rear handle and with your left hand at the front
handle. Grip both handles with the thumbs and ngers
encircling the handles.
Pull the chain brake towards the front handle. Pull the
trigger release, and squeeze the switch trigger to start the
product.
NOTE: Point the tip of the chain to a light-coloured surface,
run the product, and check for a line of oil splatter on the
surface to make sure that the chainsaw lubricates the chain
and bar during use.