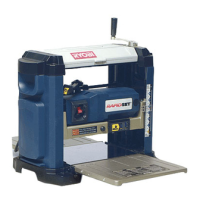
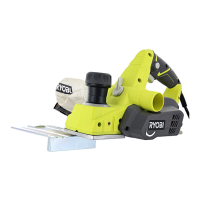
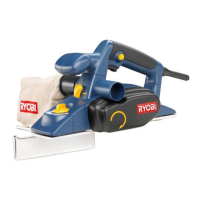
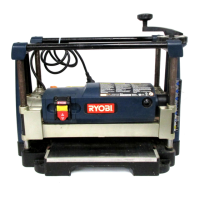
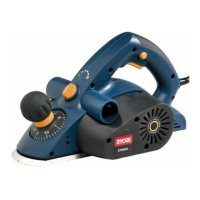
AP1300 Reversible 13 in.
High-Speed Steel
Planer Blade Set
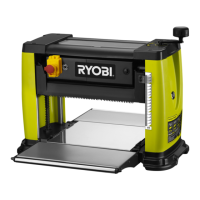
Designed and balanced specifically for use with the Ryobi AP1300 13 in. PRECISION
SURFACE PLANER. Blades are also reversible to extend service life.
®
RYOBI BLADE CHANGE SYSTEM
WARNINGS AND INSTRUCTIONS LOCATED INSIDE PACKAGE
LES AVERTISSEMENTS ET INSTRUCTIONS SE TROUVENT DANS L’EMBALLAGE
LAS ADVERTENCIAS E INSTRUCCIONES SE ENCUENTRAN DENTRO DEL PAQUETE
WARNING:
To reduce the risk of injury, user must read and understand the following instructions
before changing the blades. Other important instructions and warnings are contained in
AP1300 Operator’s Manual.
BLADE CHANGING INSTRUCTIONS
1. Unplug your planer.
2. Lower the cutter head assembly.
3. From the back of the planer, remove the two socket head screws holding the dust chute in
place.
4. Remove the dust chute then lift off the safety cover.
5. If necessary, rotate the cutter block until it locks in place (every 180° turn the cutter block will
lock).
Note: Rotating the cutter block is accomplished from beneath the cutter head assembly. Using
the planer table as a mirror, touch the threaded spindle where it attaches to the planer table.
Carefully move your fingers up until you touch the drive belt. Turn the drive belt with your fingers
until the cutter head locks in place.
WARNING:
To avoid injury, never rotate the cutter block by hand.
6. Carefully remove the socket head bolts.
7. Place your thumb and index finger on the finger tabs and carefully lift the blade binder and cutter
blade off the cutter block.
8. Lightly oil new cutter blade. Align the cutter blade on the underside of the blade binder placing
the cutter blade (sloped edge against the blade binder) in the small oval tabs.
9. Place blade binder with cutter blades on the cutter block in the large oval tabs and aligning with
the six socket head bolt holes.
10. Securely retighten the hex head bolts.
11. Depress the cutter block lock button and rotate the cutter block 180°.
12. Repeat steps 6-10 for the second blade.
13. Place the safety cover on the cutter head assembly leaving the socket head screws loose.
14. Reinstall the dust chute by slipping it under the socket head screws and lock washers.
15. Tighten socket head screws securely.
Note: Cutter blades require only slight adjustments to offset planing imperfections.