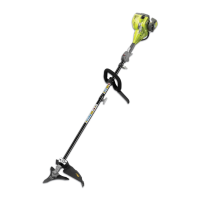
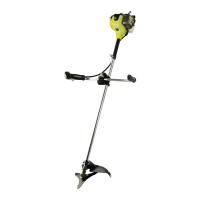
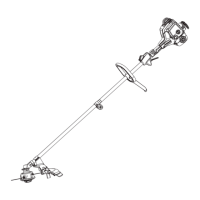
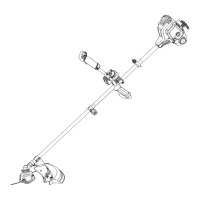
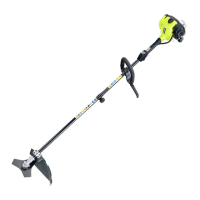
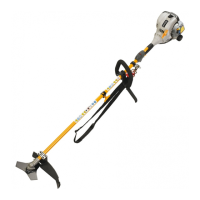
assembling parts.
WARNING
Never attach or adjust any attachment while the
power head is running. Failure to stop the engine
may cause serious personal injury.
WARNING
To avoid serious injury, ensure that all guards
and covers are correctly fitted and all fixings and
fasteners are tight before use. Re-check tightness
after a period of use.
ATTACHING FRONT HANDLE (Fig. 2a)
n Remove bracket from the front handle.
n Align the hook into upper shaft slot.
n Install the front handle onto the upper shaft.
NOTE: The front handle should tilt slightly towards
the operator when correctly fitted.
n Place the securing bolts through the front handle
and securely tighten them into the captive nuts on the
bracket.
NOTE: Do not attempt to remove the hook on the
bracket, this hook limits the upper position of the front
handle.
ASSEMBLY THE BLADE GUARD (Fig. 2b)
n Attach the blade guard to the guard mounting clamp,
install the two screws from the top of the mounting
clamp through the blade guard.
n Use the combination wrench supplied, tighten screws
securely.
ATTACHING THE GRASS DEFLECTOR TO THE
GUARD (Fig. 2b)
NOTE: When using the line trimming head, the grass
deector must be attached to the blade guard.
n Attach the grass deflector to the blade guard and
align the 3 screws on the grass deflector to the screw
holes on the blade guard.
n Use the combination wrench, tighten all 3 screws
securely.
INSTALLING THE ReelEasy
TM
LINE TRIMMER HEAD
(Fig. 2c)
n Stop the engine and disconnect the spark plug wire.
n Remove currently installed line trimmer head.
n Open the ReelEasy
TM
Line Trimmer Head by
depressing the latches on each side. The contents of
the line trimmer head are spring loaded, so keep your
other hand over the line trimmer head cover while
depressing the latches.
n Remove the line trimmer head cover, bump knob, and
line spool and set aside.
n Place the cutting head housing on the drive shaft.
Make sure the housing is fully seated.
n Install the hex bolt to secure the line trimmer head
to the drive shaft. Tighten by using the hex-shaped
opening on the inside of the bump knob.
NOTE: Only use the bump knob to tighten the bolt.
The use of other tools may allow over tightening of
the bolt, which could damage the line trimmer head.
n Reinstall the bump head spring into the line trimmer
head and push down to seat.
n Reinstall the line spool. For the straight shaft
attachment with the ReelEasy
TM
cutting head the
spool should be placed so “This side out for straight
shaft” is visible on the line spool.
n Replace the bump knob by inserting it into the centre
of the line spool.
n Replace the line trimmer head cover, aligning latches
with openings in the line trimmer head. Press cover
and line trimmer head together until both latches
snap into openings securely.
n Install line as described in the next section of this
manual.
INSTALLING LINE IN ReelEasy
TM
LINE TRIMMER
HEAD (Fig. 2c)
n Use 2.4 mm diameter monofilament line.
n Stop the engine and disconnect the spark plug wire.
n Cut one piece of line approximately 6.0 meters in
length.
n Rotate the bump knob on line trimmer head until line
on the centre of the bump knob aligns with arrows on
top of line trimmer head.
n Insert one end of line into eyelet located on the side
of the line trimmer head and push until line comes
out through the eyelet on the other side. Continue
to push line through the line trimmer head until the
middle section of the line is inside the line trimmer
head and line outside the line trimmer head is evenly
divided on each side.
n Rotate the knob on the line trimmer head to wind the
line. If using a straight shaft attachment, rotate the
knob clockwise.
n Wind the line until approximately 20 cm remains
protruding from the line trimmer head.
n Replace the spark plug boot
ATTACHING THE SHOULDER STRAP (Fig. 2d)
n Connect the latch on the shoulder strap to the strap
hanger.


 To Next Page
 Loading...