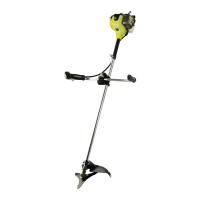
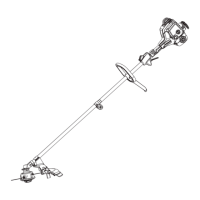
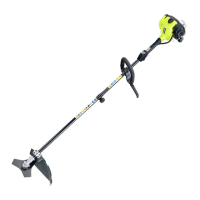
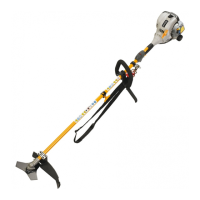
n Adjust the shoulder strap hanger to a balanced
position where the blade or cutter attachment will
suspend between 100 mm to 300 mm above the
ground surface.
n Adjust the strap hanger to a comfortable position.
NOTE: To quickly release the product from the
shoulder strap, sharply pull the quick release tab.
ATTACHING THE POWER HEAD TO THE TRIMMER
ATTACHMENT (Fig 2f)
WARNING
Never attach or adjust any attachment while
power head is running. Failure to stop the engine
may cause serious personal injury.
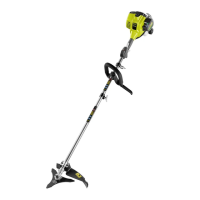
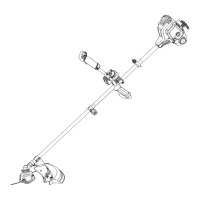
n The trimmer attachment connects to the power head
by means of a coupler device.
n Loosen the knob on the coupler of the power head
shaft and remove the end cap from the attachment.
n Push in the button located on the trimmer attachment
shaft. Align the button with the guide recess on the
power head coupler and slide the two shafts together.
n Rotate the trimmer attachment shaft until the button
locks into the positioning hole.
NOTE: If the button does not release completely in
the positioning hole, the shafts are not locked into
place. Slightly rotate from side to side until the button
is locked into place.
n Tighten the knob securely.
REMOVING THE ATTACHMENT FROM THE POWER
HEAD
For removing or changing the attachment:
n Loosen the knob.
n Push in the button and twist the shafts to remove and
separate ends.
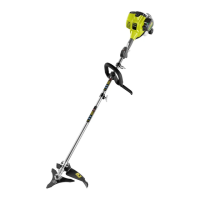
CONVERTING STRING TRIMMER TO BRUSH CUTTER
(Fig. 2e)
WARNING
To reduce the risk of serious personal injury,
always stop the engine and remove the spark
plug wire before making any adjustments such
as changing cutting heads.
TO REMOVE THE BUMP HEAD
n Remove the lower bump head, spool and bump knob.
n Align the slot in the upper flange washer with the
hole in the gear head. Place the combination wrench
through the slot in the upper flange washer and the
hole in the gear head. Turn the spool retainer bolt
clockwise to remove.
n Remove the upper bump head from the drive
connector.
n Place the combination wrench through the upper
flange washer and the gear head. Using the 16 mm
wrench supplied, turn the drive connector clockwise
to remove.
n Remove the upper flange washer from the gear shaft
and retain for blade installation.
n Use the combination wrench supplied to loosen all 3
bolts, then remove the grass deflector from the blade
guard.
NOTE: Store the bump head parts together for later
use.
TO INSTALL THE BLADE
n Place the upper flange washer over the gear shaft
with the hollow side towards the blade guard.
n Centre the blade on the upper flange, making sure
the blade sits flat. Install the cupped washer with the
raised centre away from the blade. Install the blade
nut.
n Place the combination wrench through the slot in the
upper flange washer and the hole in the gear head.
Using the 13 mm wrench supplied, turn the blade nut
counterclockwise.
n Tighten the nut securely.
CONVERTING BRUSHCUTTER TO STRING TRIMMER
TO REMOVE THE BLADE
n Place the combination wrench through the slot in the
upper flange washer and the gear head. Turn the
blade nut clockwise to remove.
n Remove the cupped washer and the blade.
n Remove the upper flange washer from the gear shaft
and retain for the bump head installation.
n Attach the grass deflector to the blade guard and
align the 3 screws on the grass deflector to the screw
holes on the blade guard.
n Using the combination wrench supplied, tighten all 3
bolts securely.
NOTE: Store the brush cutter parts together for later
use.
TO INSTALL THE BUMP HEAD (Fig. 9)
n Install the upper flange washer onto the gear shaft
with the hollow side towards the gear head.
n Place the combination wrench through the slot in
the upper flange washer and the hole in the gear
head. Using the 16 mm wrench supplied, turn the
drive connector counterclockwise to install. Tighten
securely.


 To Next Page