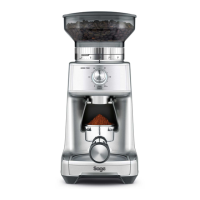
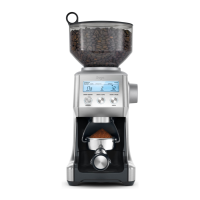
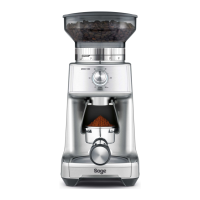
A. Bean Hopper Lid
B. Bean Hopper
C. Hardened Stainless Steel Conical Burrs. Removable and Adjustable Upper Burr
D. Grind Size Collar
E. GRIND TIME Dial
F. START / CANCEL Button
G. Grind Outlet
H. 50mm blade
I. Grind Tray
ACCESSORIES
J. Adjustable Razor™ Dose Trimming Tool
K. Portafilter Cradle 50–54mm
L. Portafilter Cradle 58mm
OPERATING YOUR NEW APPLIANCE
BEFORE FIRST USE
Remove and safely discard all promotional labels and packing materials attached to your Sage®
appliance. Wash hopper, and cradles in warm soapy water and dry thoroughly. Wipe exterior of
grinder with a soft damp cloth and dry thoroughly.
Place grinder on fl at level surface and plug power cord into 220-240V outlet and switch Power ‘ON’.
ASSEMBLING YOUR SAGE CONTROL DOSE™ PRO
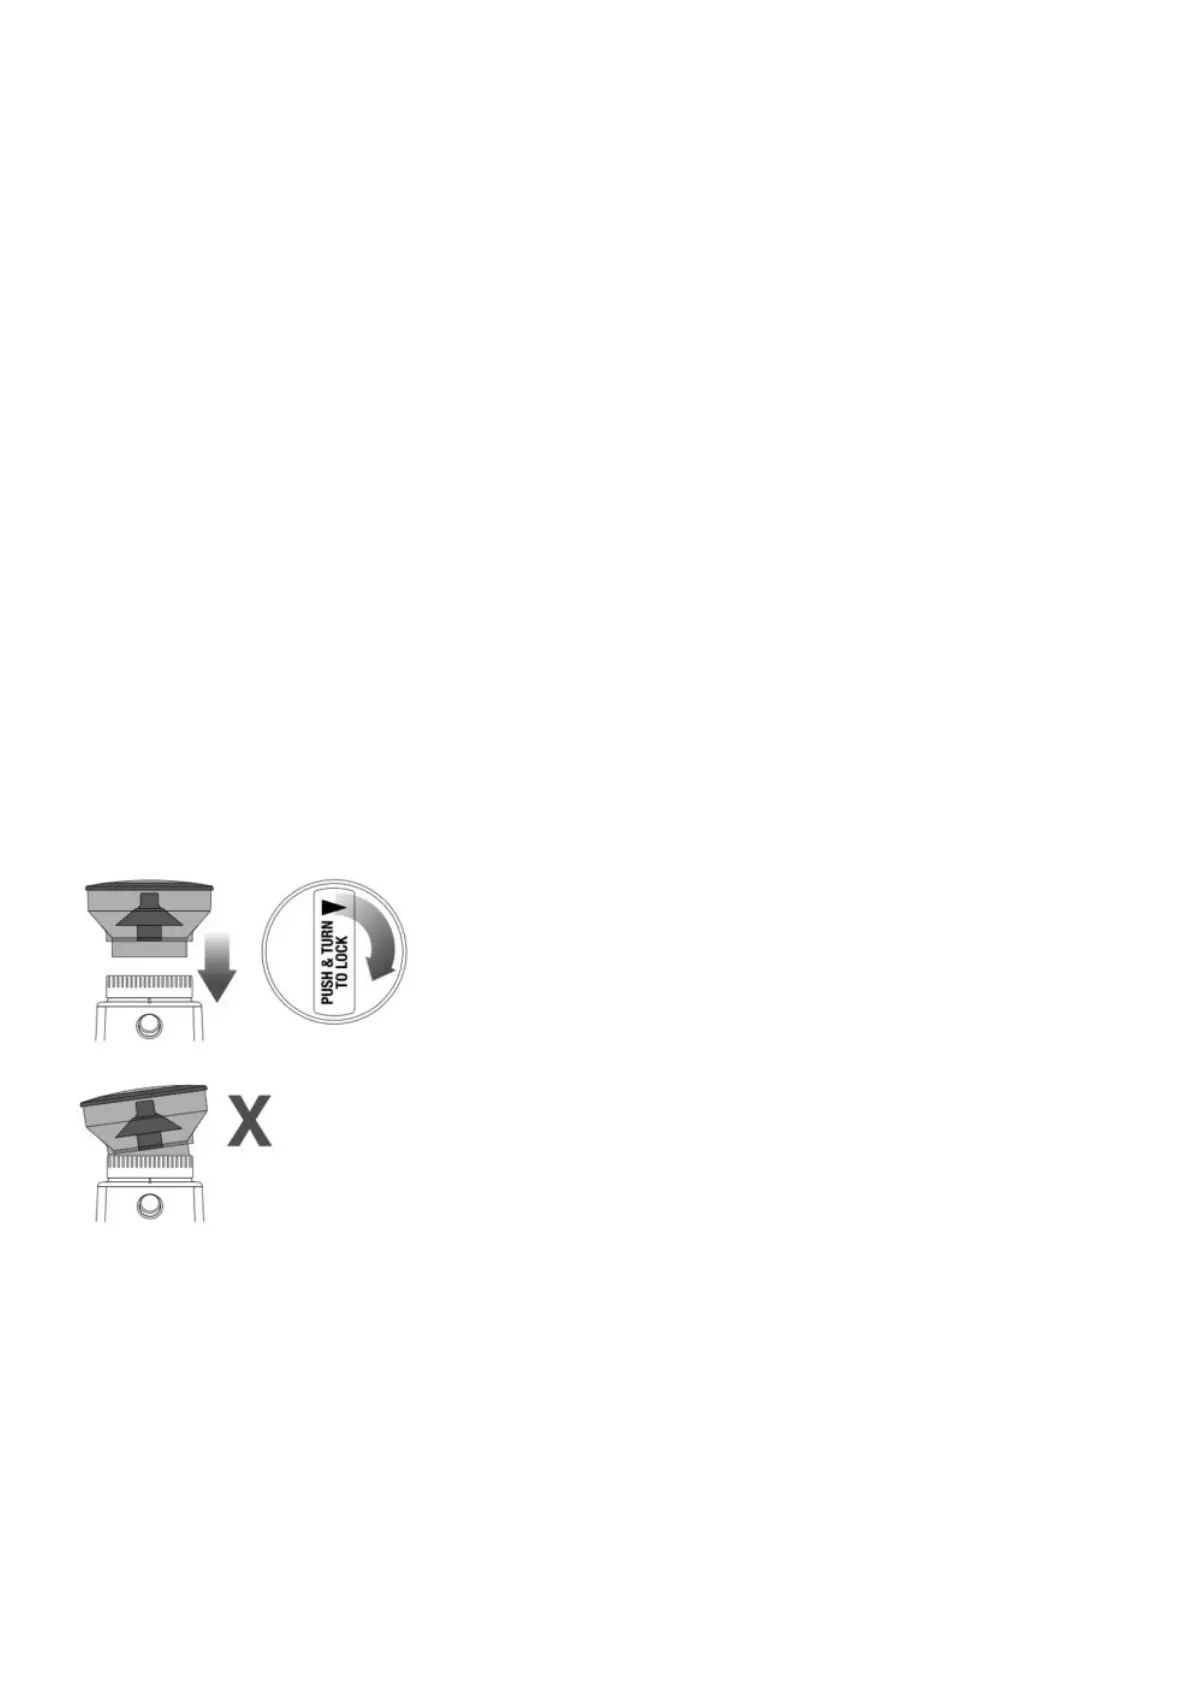
Bean Hopper
Align tabs on the base of the bean hopper and insert hopper into position. Holding the hopper, press
down fi rmly and turn the bean hopper dial 45° to lock into position.
A “click” sound will be heard when the hopper is properly locked in place.
Fill with fresh coffee beans and secure lid on top of bean hopper.
GRINDING FOR ESPRESSO COFFEE
Use single wall fi lter baskets when grinding fresh coffee beans. Use the fi ner 1–25 settings in the
ESPRESSO range.