6 7
2.1 Example of boilers compatible with the OpenTherm OT+ 4.0 protocol
COMPANY MODEL
Alpha Heating
E-Tec S
E-tec Plus
E-tec
Evoke
Intec GS
Atag
iC
iC Economiser
iS
Baxi
100 Combi
200 Combi
400 Combi
600 Combi
Daikin
D2CND 24Kw
D2CND 28kw
D2CND 35kw
Ferroli
i25 Condensing Combination Boiler
i29 Condensing Combination Boiler
Ideal
Independent + Combi
Independent Combi
Independent System
Logic Combi+ Combi C
Logic Combi C24, C30, C35 (via a separate bundle set)
Logic Code Combi (via a separate bundle set)
I-mini C24, c30 (via a separate bundle set)
Vogue Combi C26,C32, C40
Logic + System
Logic + Heat
Intergas
Intergas Rapid
Intergas Rapid Plus
Combi Compact, Compact Range
ECO RF
Xtreme
Xclusive
Main Eco Compact Combi 25-30
Navien Navien NCB
Ravenheat
Avanta, Quinta Ace
Quinta Pro
Gas 110 Eco
Vokera
Evolve C
Evolve S
Linea One (przez OpenTherm Kit Part_1221179)
Vision Combi (requires a control interface 294501430
Compact A (requires a control interface 29450143)
Verve (only heating mode)
Mynute I (only heating mode)
Vision System (only heating mode)
Unica I
Vibe
Vision C
COMPANY MODEL
Vokera
Linea HE
Mynute A
Mynute HE
Unica HE
Viessmann
Vitodens 100W Typ WB1A (Connection: X3.3 and X3.4)
Vitodens 100W Typ WB1B (Connection: X21.1 and
X21.2)
Vitodens 100W Typ WB1C (Connection: X21.1 and X21.2)
Vitodens 200-W WB2B 26+ 35 kW (via Expansion Mo-
dule OT and OT-A8 + _Terminal -10 and +10 are on the
extension of the A8 boiler)
Vitodens 200-W WB2C, B2HA,B2JA, B2LA (via icm
Expander OpenTherm)
Vaillant
(via Vaillant
VR33 module)
Ecotec Pro
Ecotec Plus
Ecotec Exclusive
Ecot Pure
Worcester
Bosch
(via Net
EMS-OT
OpenTherm
converter)
EMS capable boilers
Greenstar i
Greenstar i Junior (Made in July 2013)
Greenstar Si Compact
Greenstar CDi Compact
Greenstar CDi Classic (Made after 16.01.2007 with
CF12.10 software version and newer)
Greenstar Highow CDi
Greenstar 12i System – 24i System (On condition that
an optional integrated diverter valve manufactured
after February 2011 is installed)
Greenstar 27i System – 30i System (Provided the optio-
nal Integrated Changeover Valve is installed Greenstar
CDi Classic System (provided the optional Integrated
Changeover Valve manufactured after 02/16/2007 with
software version CF12.10 and above is installed))
2.2 Montage
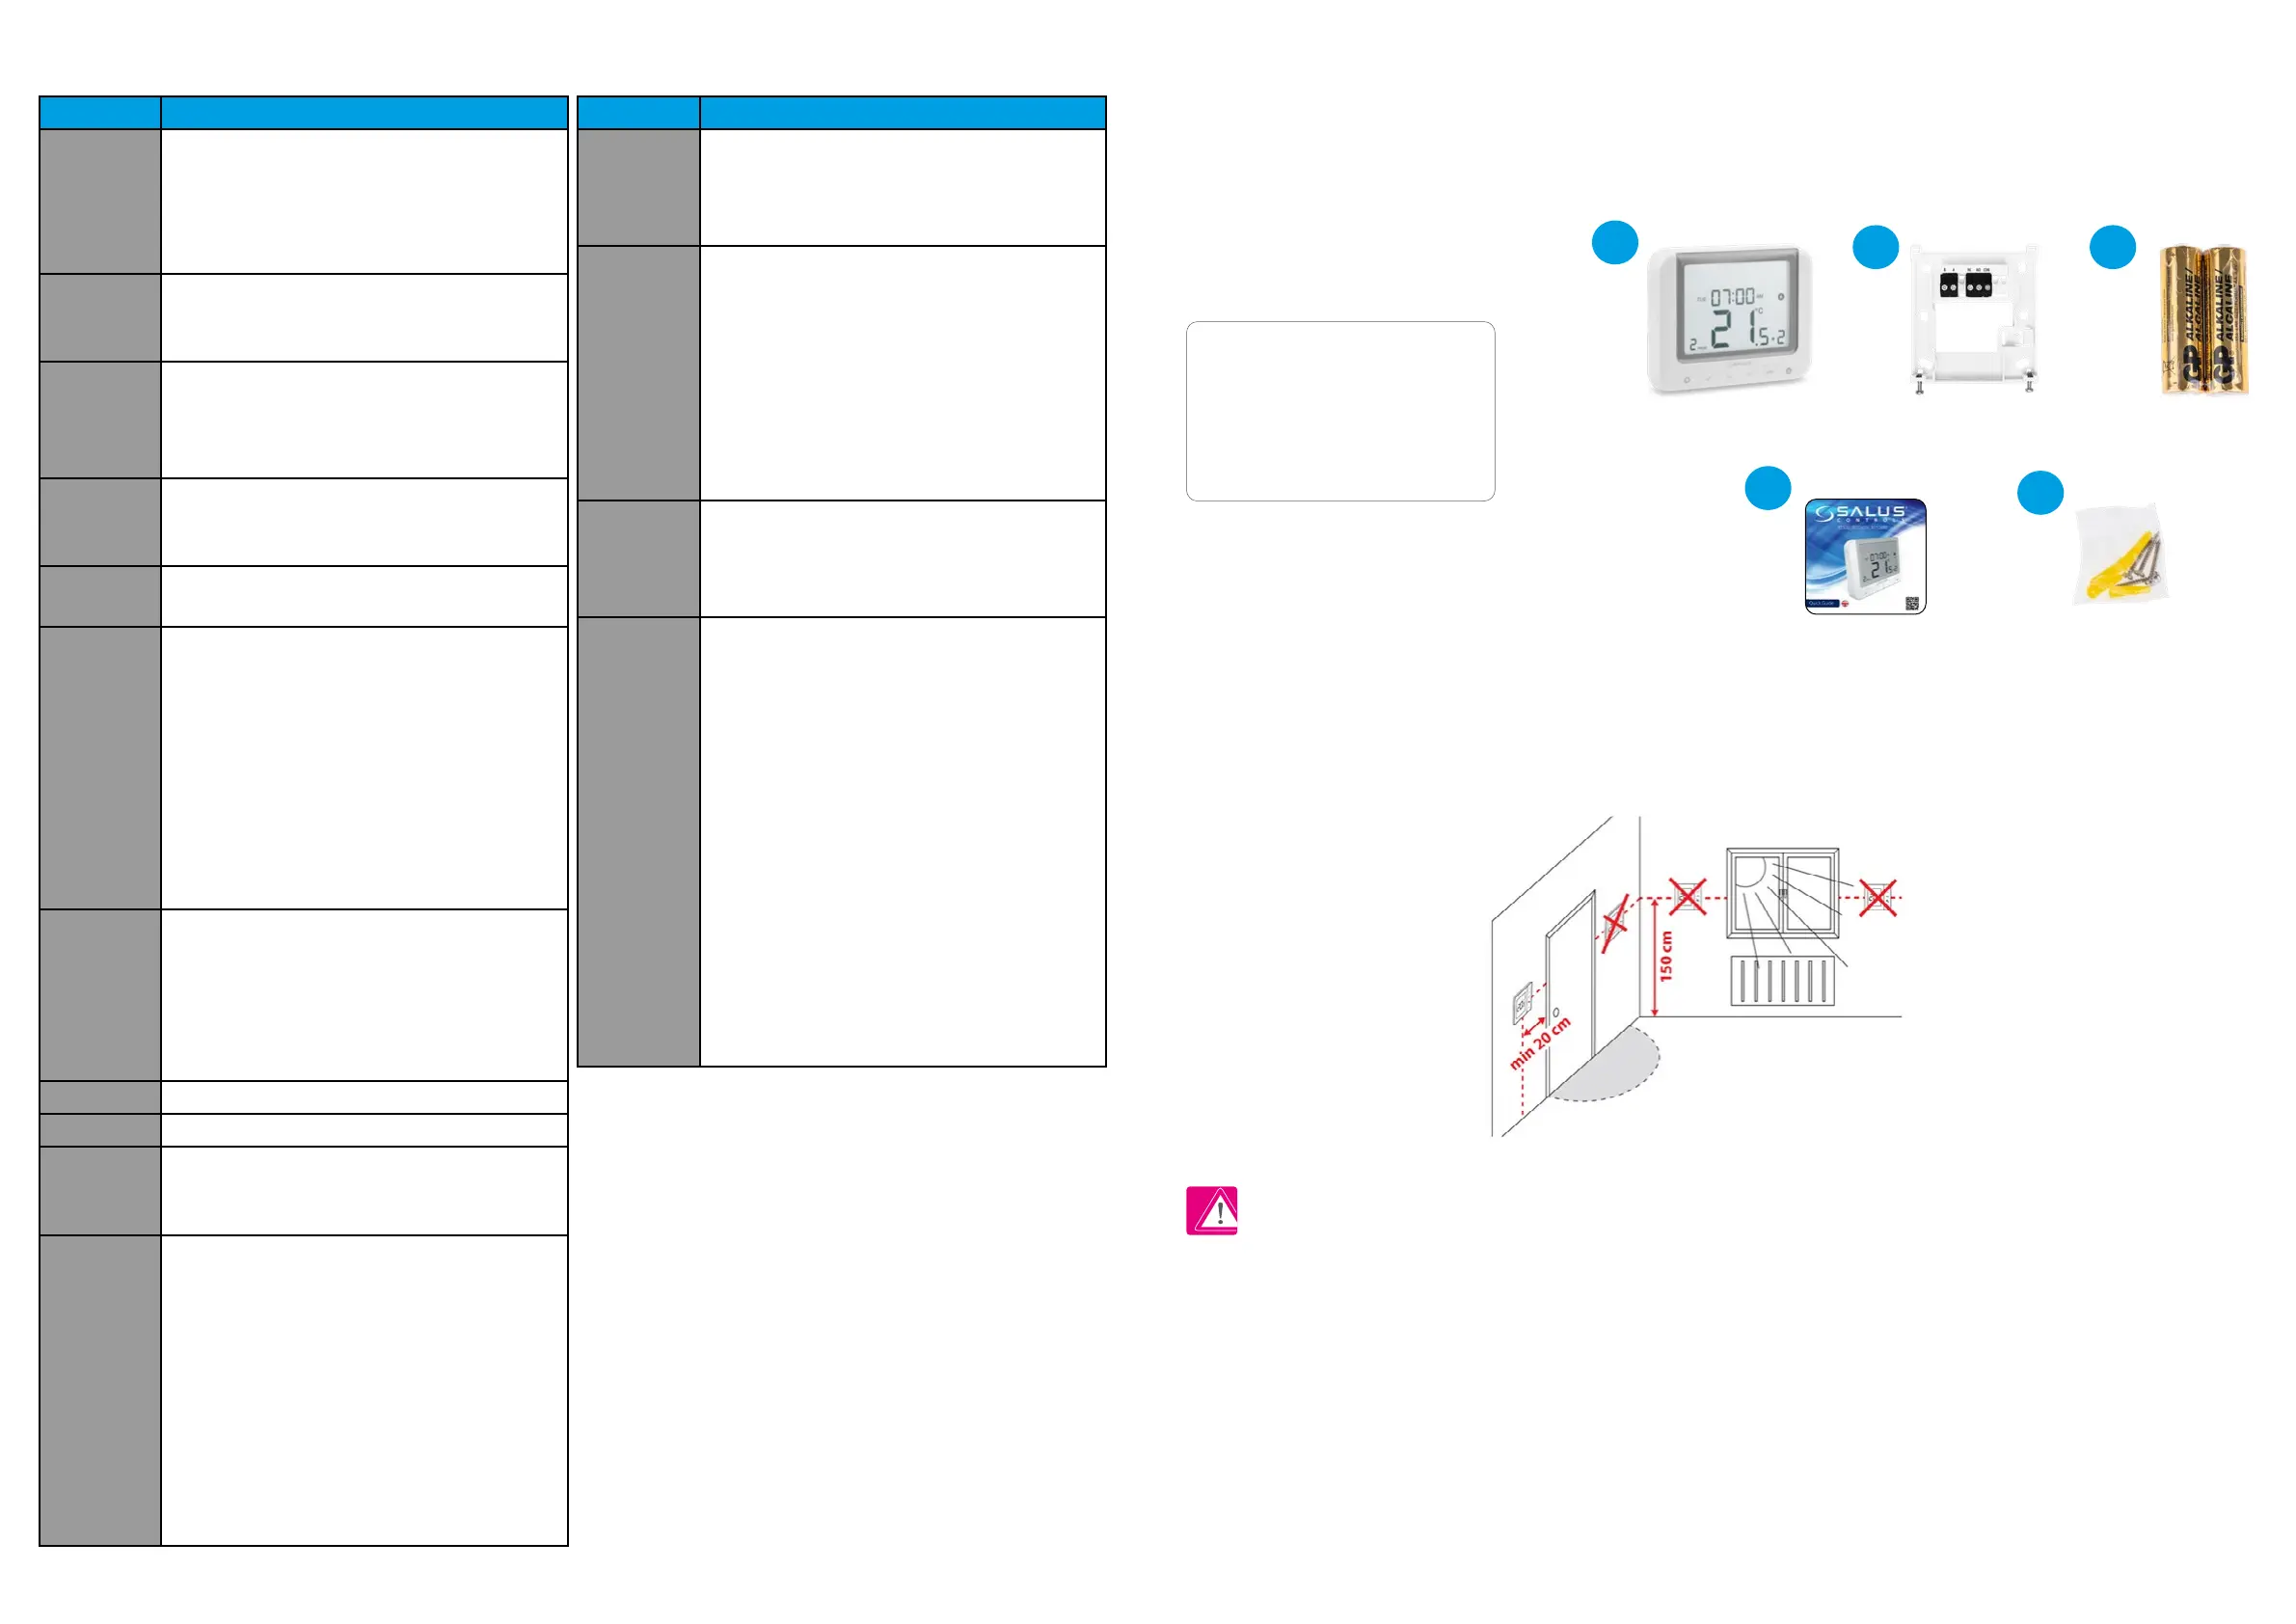
2.3 Package content
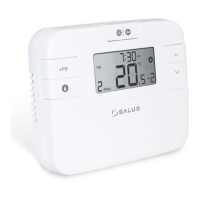
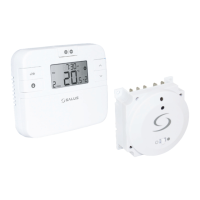
1) RT520 thermostat
2) Back housing
3) 2x AA batteries
4) Short instruction
5) Mounting screws
2.4 Proper thermostat location
Please note:
The ideal position to thermostat mounting is about 1,5m under oor level far from heating or cooling sources. Thermostat can’t be
exposed to sunlight or any extreme conditions like for example draft.
Because of re and explosion risk there is not allowed to use thermostat in atmosphere of explosive gases and ammable liquids (eg coal dust). In case
if any of listed dangers occur you have to use additional protection measures – anti-dust and explosive gases (tight cover) or prevent their formation.
Furthermore, thermostat can’t be used in condensation of water vapor conditions and be exposed to water action.
1
32
4
5