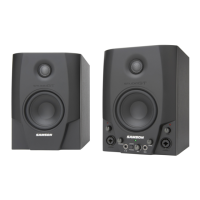
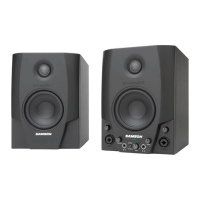
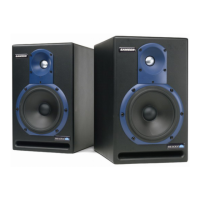
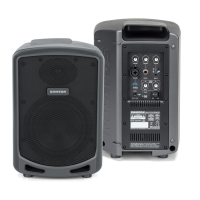
Resolv 40a Quick Connections
Before plugging in and turning on, remember the
” rule of power amplifiers (and powered
monitors). When powering up your system, be sure that all the wires are connected, turn your mixer and any other out-
board gear on, and then last turn your Resolv 40a’s on. When powering down, turn your Resolv 40a’s off first and then
your mixer and outboard gear.
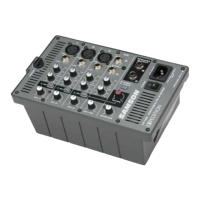
The Resolv 40a connections can be made via the rear panel RCA Inputs. Follow the simple steps and diagram below for
a quick connection using a standard recording console’s control room outputs.
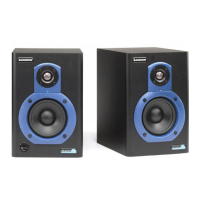
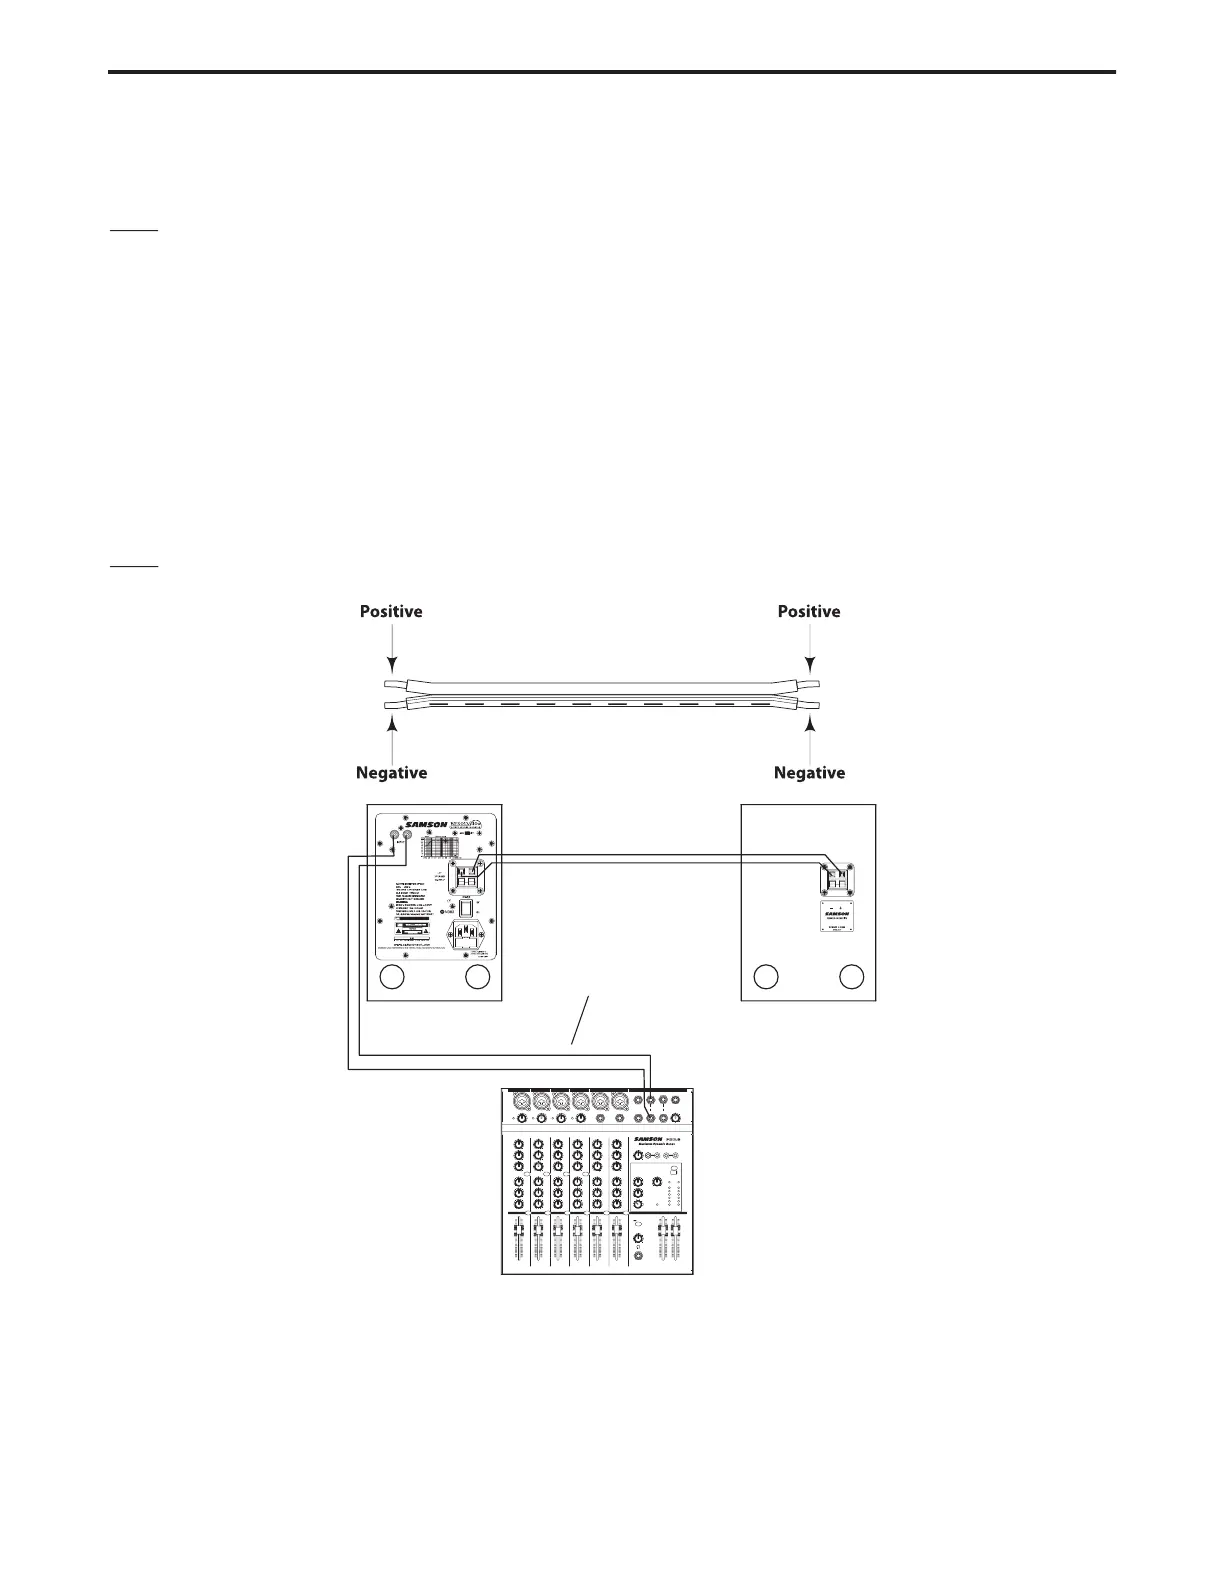
• Using the included 18-gauge Extension Speaker cable, connect the negative side of the wire to the Black terminal
and the positive side to the Red terminal on the Right-side monitor.
• Now, connect the Negative side of the wire to the Black terminal and the Positive side to the Red terminal on the
Just about all un-shielded speaker wire will have a marking indicating the negative side. To avoid phase cancelation
problems, be sure to maintain the correct connection for the positive and negative sides throughout your system.
• Lower your mixer’s master outputs to all the way off.
• Connect the mixer’s left Control Room output to the stereo input on the Right-side Resolv 40a .
• Set the Resolv 40a’s input Volume control to the 2 o’clock position.
Run an audio signal (like some music from a CD) through your mixer and raise the Control Room level to a comfort-
 Loading...