ENG
7
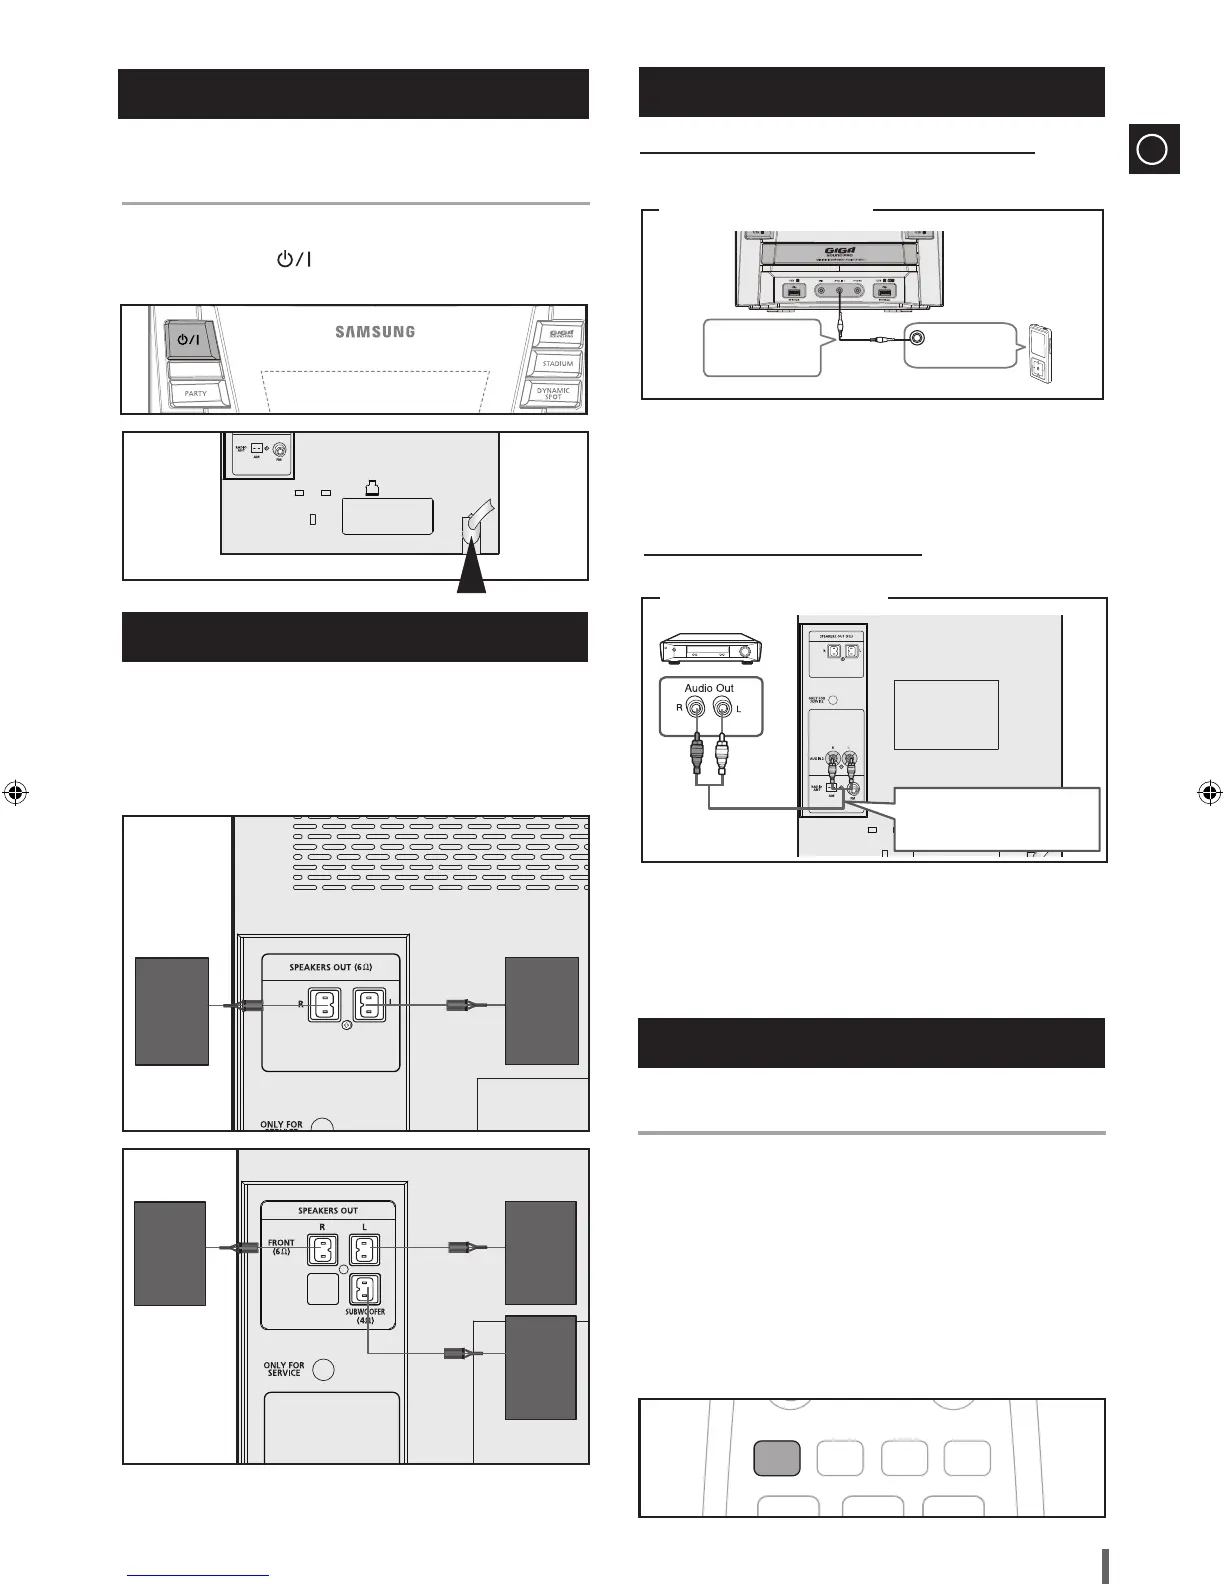
Before plugging your system into a main socket, you must check the
☛
voltage.
Plug the main lead into an appropriate socket.
1
Press the
2
POWER ( ) button to switch your mini-compact system.
The Speakers connector terminals are located on the rear of the system.
Left speaker (marked L)
◆
Right speaker (marked R)
◆
1
To achieve the correct sound quality, insert those speaker connector cables to
the speaker connector terminals of the system.
Speaker (R)
Speaker (L)
SUBWOOFER
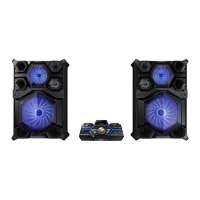
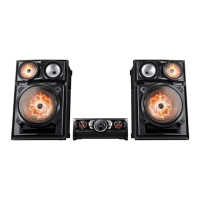
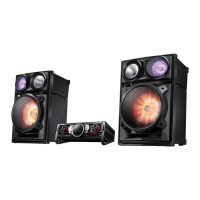
Connecting the Speakers
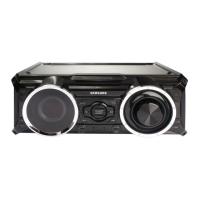
Connecting your System to the Power Supply
Connecting to an External Source
MX-D730
MX-D750
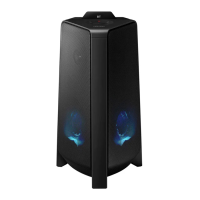
Connecting an External Component/MP3 player
Components such as an MP3 Player
Connect
1
AUX IN 1 on the front panel of the MINI COMPACT to the
Audio Out of the external component/MP3 player.
2
Press the AUX button to select the AUX 1 input.
You can select AUX 1 by pressing the FUNCTION button on the
remote control.
Audio Cable
(not supplied)
AUDIO OUT
AUX IN 1 : Front Panel
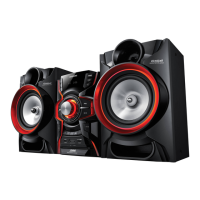
Connecting an External Analog Component
Example: Analog signal components such as a VCR, Camcorder, and TV.
Connect
1
AUX IN 2 on the player to Audio Out on the external analog
component.
•Besuretomatchconnectorcolors.
2
Press the AUX button to select the AUX 2 input.
You can select AUX 2 by pressing the FUNCTION button on the
remote control.
Audio Cable
If the external analog component
has only one Audio Out, connect
either left or right.
(not supplied)
AUX IN 2 : Rear Panel
POWER
TIMER
ON/OFF
REPEAT REPEAT
CD
MUTE
RDS PTY DELETE
MP3-CD/CD
SOUND
VOL VOL
EQ
TUNING /ALBUM
TUNING /ALBUM
MO/ST TUNING
MODE
RDS DISPLAY
TIMER/CLOCK SLEEP
USB REC
DISC SKIP
FUNCTION
DISPLAY
A-B
+
-
+10
MIC VOL
CD REC
SPEED
POWER
TIMER
ON/OFF
REPEAT REPEAT
MUTE
RDS PTY DELETE
MP3-CD/CD
SOUND
VOL VOL
EQ
TUNING /ALBUM
TUNING /ALBUM
MO/ST TUNING
MODE
RDS DISPLAY
TIMER/CLOCK SLEEP
USB REC
DISC SKIP
FUNCTION
CD
DISPLAY
A-B
+
-
+10
MIC VOL
CD REC
SPEED
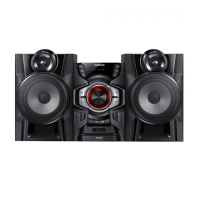
You can view all functions available on the display, adjust the brightness
of the display and select the Display/LED either on or off.
Each time you press the DISPLAY button on the remote control, the display
mode will change as follows:
The Demo function
◆
All functions available on the system appear on the front panel display.
The Dimmer function
◆
The Dimmer function is selected and the display darkens.
LED OFF
◆
The LED is turned off while the dimmer function is working.
Clock ON
◆
The Clock you set is displayed.
LED/Display ON
◆
All Display and LED are turned on.
DISPLAY function
MX-D730-XAP-with AM-ENG-1215.indd 7 2011-3-24 8:27:42