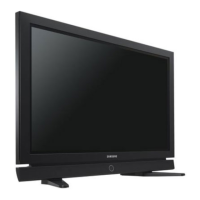
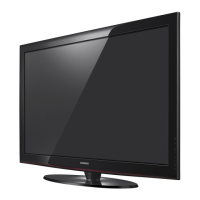
Moving to the remembered position
1
Complete Step 1 of Entering the menu.
2 Pressing a Color (Red, Green, Yellow) button moves the auto wall mount to the
saved position.
➢
You can move the wall mount to one of the 3 pre-set positions by pressing the
Red (Position 1), Green (Position 2) or Yellow (Position 3) buttons.
➢
If you adjust the positon after moving to a pre-set position, the position display
will disappear.
➢
For installation, refer to the Installation Manual provided with the wall mount.
➢
For product installation and the installation and moving of the wall mount, make
sure to consult a specialized installation company.
➢
This installation manual is to be used when attaching the wall mount to a wall.
When attaching to other building materials, please contact your nearest dealer.
➢
The auto wall mount will not work when Anynet
+
is operating.
➢
42 inches model is not compatible with the older wall mount model (WMN5090A).
Preparing before installing Wall- Mount on the wall
Once the wall mount is installed, the position of your TV can be easily adjusted.
1 Install Wall Mount with the torque range of 15kgf·cm or less. Make sure that parts can be damaged if the torque is out
of the specified range.
2 Accessory Kit contains Holder–Ring [
①] for installing other company’s Wall-Mount on Samsung TV. (Case B)
 Loading...


