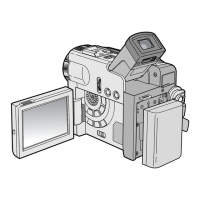
Do you have a question about the Samsung VP-D10 and is the answer not in the manual?
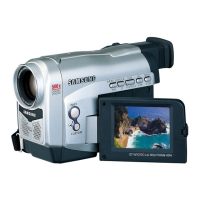
Guidance on safely rotating the camcorder's LCD screen to prevent damage.
Guidelines for safe and efficient use of the camcorder's battery pack.
Safety warnings and handling instructions for the lithium battery.
Step-by-step guide for installing the camcorder's internal lithium battery.
Guide on connecting the camcorder to AC power or battery pack.
Step-by-step instructions for charging the camcorder's lithium ion battery pack.
Instructions for inserting and ejecting Mini DV cassettes.
Step-by-step guide for making your initial recording with the camcorder.
Tips and techniques for achieving stable video images while recording.
How to play back recorded tapes using the camcorder's LCD monitor.
Guide on navigating the camcorder's menu system to select and adjust settings.
Explanation and usage of the digital image stabilizer function.
Using the digital zoom feature to magnify subjects during recording.
Using Program AE modes for automatic adjustment of shutter and aperture.
Adjusting the white balance to ensure accurate color reproduction in different lighting.
Controlling the shutter speed for capturing moving subjects or adjusting exposure.
Adjusting the iris to control the amount of light entering the lens.
Selecting between SP and LP recording modes for different tape capacities.
Selecting audio recording modes (12BIT or 16BIT) for sound quality.
Using manual or automatic focus for optimal picture clarity.
Compensating for backlight conditions to improve subject visibility.
Practical guide for viewing recorded tapes on the camcorder's LCD screen.
Connecting the camcorder to a TV for playback viewing.
Steps for playing back recorded tapes using the camcorder.
Connecting the camcorder to other DV devices via IEEE 1394 for data transfer.
Connecting the camcorder to a PC for data transfer using IEEE 1394.
Transferring still images from the camcorder to a PC via USB connection.
Instructions for connecting the camcorder to a PC using a USB cable.
Understanding the camcorder's self-diagnosis error indicators.
Common symptoms and their corresponding solutions for camcorder issues.
| Recording Media | MiniDV |
|---|---|
| Optical Zoom | 20x |
| Digital Zoom | 800x |
| LCD Screen Size | 2.5 inches |
| Image Stabilizer | Electronic |
| Viewfinder | Color |
| Battery | Lithium-ion |
| Video Resolution | 720 x 480 |
| Connector Type | USB |
| Video Format | DV |
| Interface | IEEE 1394, USB |
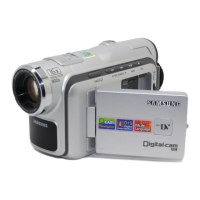
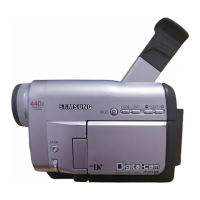
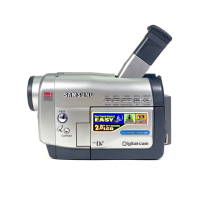
| Type | MiniDV Camcorder |
| Image Sensor | 1/6" CCD |