10 _ Disassembly and Reassembly
3-2. STANDARD DISASSEMBLY DRAWINGS
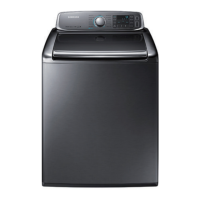
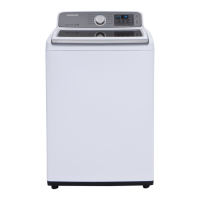
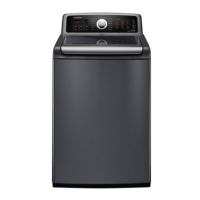
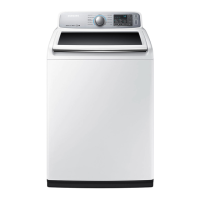
► Thisisastandarddisassemblydiagramandmaydifferfromtheactualproduct.
Usethismaterialasareferencewhendisassemblingandreassemblingtheproduct.
Part Figure Description
Sub and Main PCB
Assembly
1. Remove the 6 screws holding the control
panel assembly.
2. Separatethebothhooks.(LeftandRight)
3. Separate the cover panel upward.
Ifitisdifculttodisassemble,usethe(-)
drivertodisassemblehooks.
(Becarefuldamageofhooks.)
4. Remove the 2 screws holding the control
panel assembly and turn the panel over.
5. PulltheEncoder-Knobtoseparateitand
thenremovethe4xingscrews.
WhenreassemblingthePCB,takecare
that you do not damage the control-panel
xinghook.AfterreplacingthesubPCB,
checkthekeyoperation.
6. Separatethecoverpcb(m)andthewires
connectedtothemainPBA.
Afterreassemblingthehousing,check
if the wires are properly connected.
When disassembling and reassembling
thehousing,takecarethatyoudonot
damage the part.
 Loading...